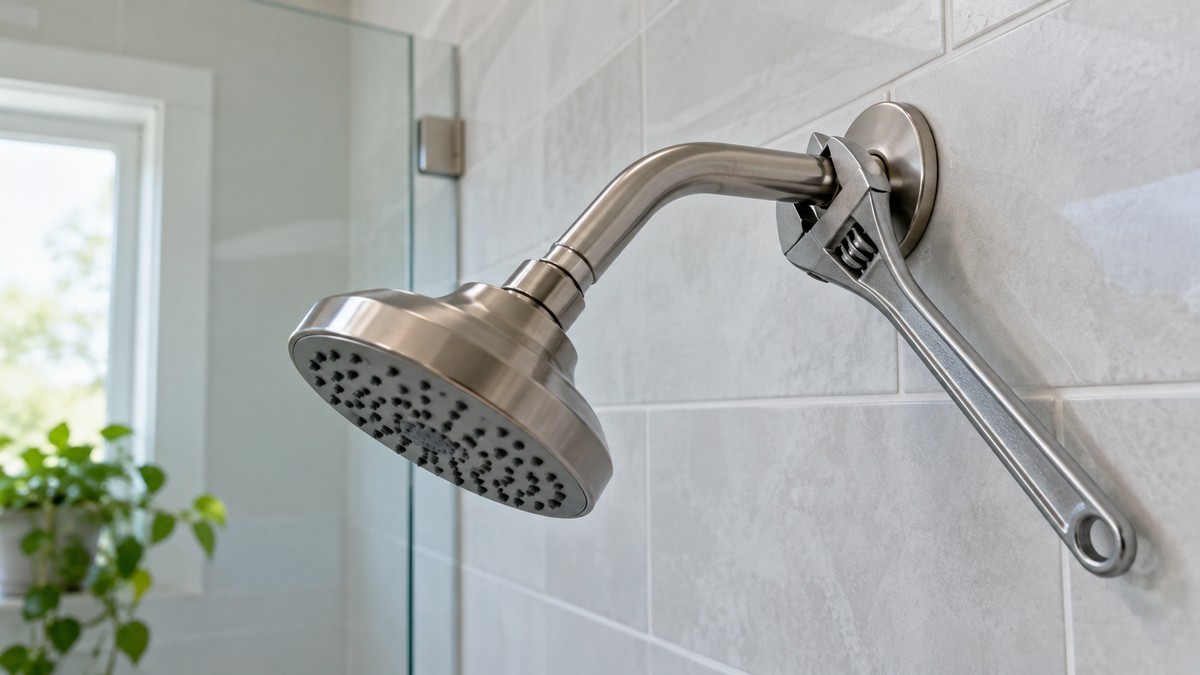
How to Replace a Shower Arm
As an Amazon Associate we earn from qualifying purchases.
This guide explains how to replace a shower arm, the arm that the shower head screws onto, and where the sources stop. The sources cover the threaded end of the arm: removing the old head, cleaning and taping the threads, reattaching the head, and checking for leaks. They do not cover wall or pipe work, arm length or height, or thread size, so check the arm or the manual.
Quick answer
- Work only at the threaded end of the arm. The sources do not describe unscrewing an arm from the wall, and they do not cover pipe or valve work.
- Remove the old head by hand first. If that fails, the New Jersey guide describes wrapping the arm with a cloth and loosening the head with an adjustable wrench.
- Clean and dry the arm threads, then wrap them with tape. The sources disagree on tape, so follow your manual.
- After the water is on, check for leaks. The New Jersey guide says to re-wrap the threads and tighten carefully if a connection leaks.
What the sources cover
The New Jersey guide’s component diagram labels the shower arm, its pipe threads and the connecting nut on the head. The Moen magnetic docking sheet attaches its bracket to the shower arm, and the Moen handheld sheet says the existing shower arm is not included in its kit. So the arm is a separate part from a handheld kit, and the Moen steps attach to the arm you already have.
The sources describe the threaded end of the arm: getting the old head off, cleaning the threads, taping them and reattaching the head. They do not describe removing the arm from the wall, and they give no thread size. Pipe and valve work is outside the sources, and this guide does not give those steps.
Before you start
The New Jersey guide’s supply list includes an adjustable wrench, needle nose pliers, thread sealant tape, a cloth and a toothbrush. For an arm job, the wrench, cloth, tape and toothbrush are the items the sources name. The vinegar soak in that guide is for the shower head, not the arm, and no source describes soaking an arm. The magnetic docking sheet lists thread seal tape among its helpful tools.
Step by step
Step 1: Remove the old head
The New Jersey guide says to try removing a shower head by hand first. Depending on the design, you grip the head or the connecting nut and turn it counterclockwise. If that fails, it says to wrap the arm with a cloth, hold it with pliers and loosen the head with an adjustable wrench. The DOE job aid says to remove the old head carefully with an adjustable wrench and to take care not to loosen the shower arm. If the old head does not have flat sides at the connection, DOE says to wrap it with a buffer such as a piece of rubber.
Step 2: Loosen the connection at the arm if needed
The DOE job aid says to use a pipe wrench or channel locks to loosen the connection at the shower arm. It does not say how far to loosen, and it does not describe the arm connection at the wall.
Step 3: Clean and dry the threads
The DOE job aid says to clean the threads of the shower arm well to remove old residue. The New Jersey guide says to remove any old tape, clean off rust or mineral deposits with a cloth or toothbrush, and turn the water off and dry the threads completely. The same guide says to use that moment to flush the plumbing, since the flow is not restricted by the head while it is off. It does not say how long to flush, and the DOE job aid does not mention flushing.
Step 4: Tape and reattach the head
The New Jersey guide says to wrap thread seal tape in a clockwise direction two or three times around the threads of the shower arm, or as many times as the manufacturer recommends, and to press the tape into the threads. The DOE job aid says to wrap new thread tape around the threads, and its list says “Use thread tape at all connections.” Then screw the head back on by turning clockwise. The New Jersey guide says that if the arm is not sturdy, you may need to hold it with a rag and pliers while you screw on the head.
Step 5: Test the connection
Turn the water on and check for leaks. The DOE checklist says there is “no water leakage upon completion” and that fixtures are “fully functional” once they are checked. If the connection leaks, the New Jersey guide describes re-wrapping with tape and tightening carefully with an adjustable wrench.
Finish care on Moen parts
The magnetic docking sheet gives cleaning steps for Moen’s Spot Resist finishes. It says: “Moen recommends cleaning the Spot Resist finish with a mild soap, rinsing thoroughly with warm water and drying with a clean, soft cloth.” It says not to use abrasives, ammonia, bleach or sodium hypochlorite, organic solvents, or harsh chemicals such as lime scale removers, because they may damage the finish. It also warns that failing to follow these instructions may void Moen’s warranty. The sources do not give cleaning or soak limits for other finishes, such as brass or matte black.
What each source says, step by step
The table puts the four sources side by side. “Not stated” means the source does not give that step.
| Step | New Jersey guide | DOE job aid | Moen sheets |
|---|---|---|---|
| Remove the old head | By hand first; if stuck, a cloth on the arm, pliers, then an adjustable wrench | Adjustable wrench; do not loosen the arm; buffer if the head has no flat sides | INS10819 and INS10567A: remove the existing showerhead, using a wrench if necessary |
| Hold or loosen the connection | Pliers hold the arm while the head turns | Pipe wrench or channel locks on the arm connection | Not stated |
| Prepare the arm threads | Remove old tape; clean rust and deposits; flush the plumbing; dry | Clean the threads well to remove old residue | INS10567A: add thread seal tape to the arm threads |
| Tape | Thread seal tape clockwise two or three times, pressed into the threads | Wrap new thread tape around the threads; use tape at all connections | INS10819: tape not recommended; INS10567A: tape added to the arm |
| Reattach | Turn clockwise; hold the arm with a rag and pliers if it is not sturdy | Install for occupant needs, such as handheld, shut-off or swivel | INS10819: hand tighten the bracket to the arm; INS10567A: attach the bracket, then tighten with a wrench |
| Leak check | Turn the water on; re-wrap and tighten if it leaks | Connections must not leak; a buffer prevents damage; no leakage on completion; fixture fully functional | Not stated |
Where the sources disagree
The sources do not agree on tape or tightening. The New Jersey guide and the DOE job aid both put tape on the threads. The magnetic docking sheet adds thread seal tape to the shower arm threads, then attaches the bracket and tightens it with a wrench. The Moen handheld sheet says thread seal tape is not recommended for its project, and it says to hand tighten the bracket to the shower arm. The two Moen sheets cover different products, so the manual for your model should decide.
Mistakes the sources warn about
- Loosening the arm. DOE says to take care not to loosen the shower arm when you remove the old head.
- Leaving old tape or residue. The New Jersey guide says to remove old tape and clean rust or mineral deposits before retaping.
- Skipping the flush. The New Jersey guide says to flush the plumbing while the head is off.
- Using harsh cleaners on the finish. Moen says abrasives, ammonia, bleach, solvents and lime scale removers may damage a Spot Resist finish.
- Overtightening. The Moen handheld sheet says not to overtighten.
- Skipping the leak check. DOE and the New Jersey guide both say to check for leaks once the work is done.
- Going past the arm. The Moen handheld sheet says to install with a backflow preventer as required by the local plumbing code. The sources do not explain that device, and this guide does not cover pipe work.
Fit and reach
The sources do not give arm length, arm height or a standard head height. The arm thread size is not stated in any source we opened, so check the arm or the manual before you buy. If your problem is reach or height and you would rather not replace the arm, see shower bars for a shower head. If you want a mount that does not need drilling, see drill-less shower slide bars. If you are weighing a fixed arm against a sliding setup, see sliding shower heads. For another option, see shower wand bars.
How we chose
This guide is built from four sources, all opened on 2026-10-21. Each one was used for a claim it could support. The New Jersey Department of Health guide and the DOE job aid were used for the removal, cleaning, tape and leak steps. The two Moen sheets were used only for the parts and steps of the named models. Pages that did not open were left out, and no products were ranked.
What we could not verify: what the sources do not say
- Shower arm thread size. No opened source states it. The thread size must be checked on the arm or in the manual.
- Shower head height above the floor. No opened source gives a standard height.
- Arm length and reach. The sources do not state them.
- Removing an arm from the wall, wall fittings, flanges and pipe connections. Not covered, and this guide does not cover them.
- Whether a new arm changes the rated flow of the head. The sources do not say.
- Matching a new arm to an existing finish, and cleaning a finish. The Moen sheets give cleaning steps for Spot Resist finishes only, and no source gives soak limits for any finish.
- Whether a given arm fits a given head. The sources do not say.
Frequently asked questions
Can I replace the arm without touching the pipes?
The sources do not describe how to remove an arm from the wall or the pipe, so this guide does not give those steps. The steps here stay at the threaded end of the arm.
Which tape goes on the arm threads?
The sources do not all agree. The New Jersey guide and DOE’s job aid put tape on the threads, and the magnetic docking sheet adds it too. The Moen handheld sheet discourages it for its project. Use the tape your manual names.
How tight should the head be on the arm?
The New Jersey guide says to screw the head on by turning clockwise. The sources do not give a torque or a number of turns. If a connection leaks after the water is on, the guide says to re-wrap the threads and tighten carefully.
What if the arm wobbles when I tighten the head?
Hold it steady with a rag and pliers, as the New Jersey guide describes for reattaching the head. The sources do not say how to fix a loose arm inside the wall.
Do I need the vinegar soak for a new arm?
No source describes soaking an arm. The vinegar soak in the New Jersey guide is for a shower head, where minerals can build up and block the nozzles.
Bottom line
Work only at the threaded end of the arm, follow your manual on tape, and do not add force until a leak check shows you need it.
Sources
- New Jersey Department of Health, Guidance for Removing and Cleaning a Shower Head: https://nj.gov/health/cd/documents/topics/legion/ShowerHead_Cleaning_Guidance.pdf (opened 2026-10-21)
- U.S. Department of Energy, Install a Low-Flow Showerhead, Weatherization Installer Job Aid 24-1 (July 2024): https://www.energy.gov/sites/default/files/2024-07/24-1_install-low-flow-showerhead.pdf (opened 2026-10-21)
- Moen, Magnetic Docking Handheld Shower Instruction Sheet INS10567A: https://assets.moen.com/shared/docs/instruction-sheets/ins10567a.pdf (opened 2026-10-21)
- Moen, Handheld Shower Installation Guide INS10819: https://assets.moen.com/shared/docs/instruction-sheets/ins10819.pdf (opened 2026-10-21)