How to Stop a Rain Shower Head From Dripping
As an Amazon Associate we earn from qualifying purchases.
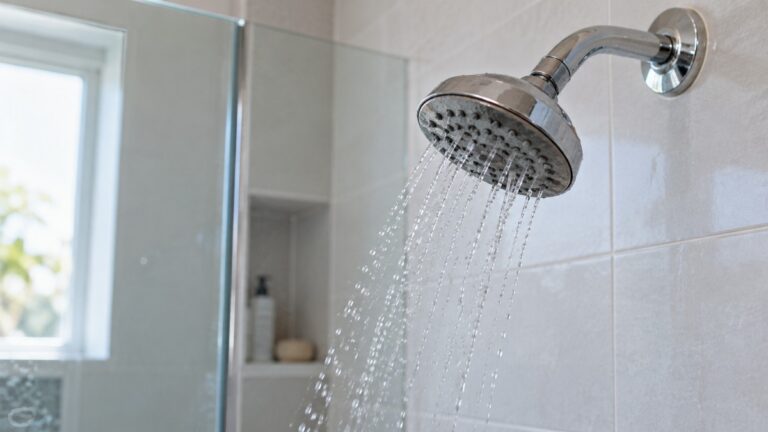
A rain shower head can drip after the water is off for three main reasons, according to manufacturer guides: water left in the head, a leaking joint where the head meets the arm, or a valve problem. This guide explains how to stop rain shower head from dripping by sorting out which cause you have. Kohler, Kallista, Hansgrohe, Delta and New Jersey guidance give the checks. Some steps need a licensed plumber, and the sources say so.
Quick answer
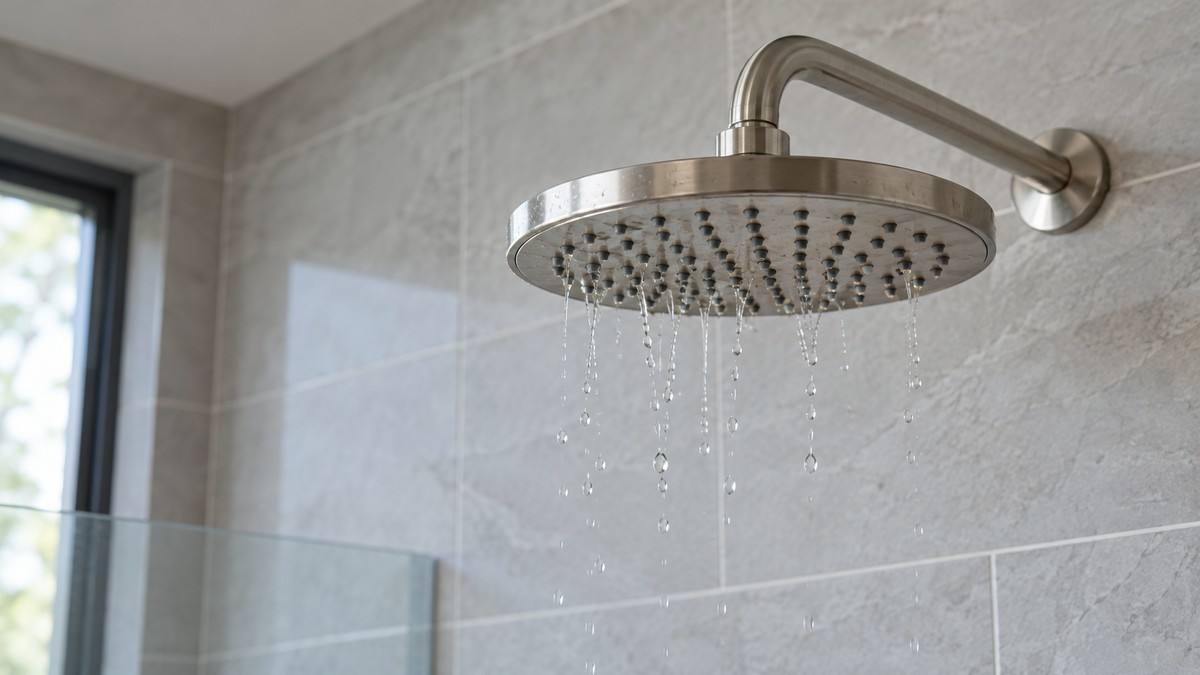
- A few drops for a short time after shutoff can be water left in the head. Kohler’s valve page gives up to 90 seconds for that, and its rain head guides say to tilt the head after each use.
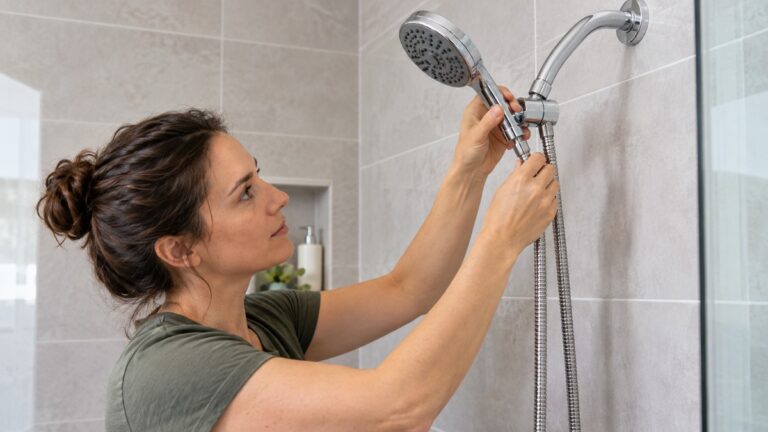
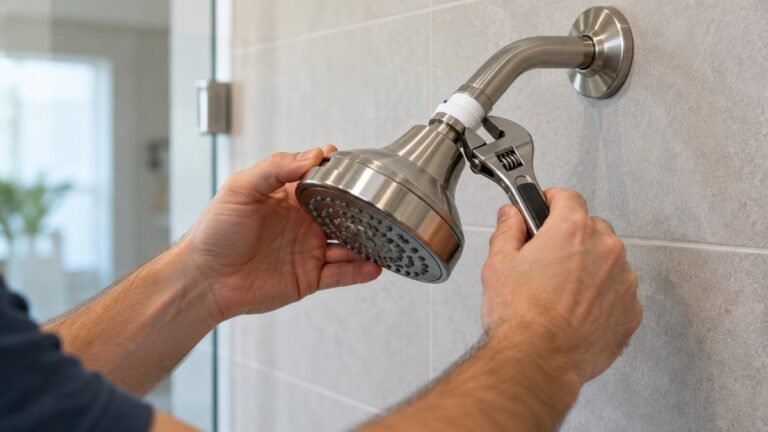
- If the drip is at the joint between the head and the arm, shut off the water, remove the head by hand, clean the arm threads, add sealant tape, and retest. Repeat until there is no leakage.
- If the drip continues with the head removed, the valve is the likely cause. Kohler’s valve page says to identify the valve first. The sources give no valve repair for rain heads, so treat valve work as a job for a licensed plumber.
Residual water or a real leak?
Water can stay in a rain head after use. Kohler’s valve page says that “Showerheads can experience residual water drips/leaks for up to 90 seconds after the valve is turned off.” The same page adds that “Changes in water pressure throughout the home may also cause water to drip or leak for a short period of time.” The page files both under a drip that stops on its own.
Kohler’s rain head guides give the simplest prevention. Both the installation guide and the care guide say “NOTE: After each use, tilt the showerhead to drain.” The installation guide adds that “After each use some water may remain in the showerhead.”
The Rite-Temp page also gives a check to separate residual water from a real leak. If your setup has a tub spout and a showerhead, remove the showerhead from the shower arm and see whether the drip stops. The page says that when the drip stops, “The issue is residual water draining from the showerhead.” If the drip continues, “The issue could be an internal seal or tear.” The page covers single-control valves only, so confirm which valve you have before you follow its steps.
Check the joint between the head and the arm
A drip at the joint, where the head screws onto the arm, is a sealing problem. Kohler’s installation steps say to “Apply sealant tape to the threads of the shower arm.” After reinstalling, they say to “Check all connections for leaks.” Kohler’s Bravura sheet, an older showerhead and arm guide from 1997, says to “Use thread sealant on all threaded connections” and to “Turn on water and check for leaks. Repair as required.”
When the head is off, the steps the sources agree on look like this:
- Shut off the water supply. Kallista’s installation sheet begins with “Shut off the water supply.”
- Remove the head by hand first. New Jersey’s guidance says to “First try removing the shower head by hand.” If it will not come loose, Kohler’s care guide says to “Use a clean wrench to remove the showerhead from the shower arm,” and to “be careful not to mar the finish.”
- Clean the threads on the arm. The DOE installer job aid says to “Clean threads of shower arm well,” and to “Carefully remove old showerhead” before the new one goes on.
- Wrap new tape. New Jersey says to “Wrap thread seal tape in a clockwise direction two or three times around the threads of the shower arm.” The DOE job aid says to “Use thread tape at all connections.” Kallista’s sheet says “Do not use thread sealant compound (pipe dope),” and notes that tape helps avoid “plugging the showerhead spray outlets.”
- Reinstall and tighten. Kohler’s installation guide says to “tighten securely with a clean strap wrench.” Delta’s raincan guide says the opposite on tools: “Hand tighten the shower head onto the shower arm. Do not use a wrench or pliers.” Follow the guide for your model.
- Turn the water on and check. New Jersey says to “Turn the water on and check for leaks.”
- If the joint still leaks, take the head off again, add more tape, and retest. New Jersey says that if the connection does leak, “re-wrap the threads with thread sealant tape and carefully tighten again with an adjustable wrench.” Kallista’s sheet says to “Repeat until no leakage occurs.”
Two more instructions are worth following. Kohler’s installation steps flush the arm before the head goes back on: “Turn on the water to flush any debris through the shower arm.” The DOE job aid’s closing check is that “There is no water leakage upon completion.”
If your head hangs from a slide bar, the bar’s connections are a separate place to check, and our page on shower slide bar replacement parts covers those pieces. If your setup has a handheld hose, the hose connection is another joint, and our page on replacement hoses for Waterpik shower heads covers that part.
Check the wall side before you tighten anything
Hansgrohe’s Raindance sheet says to “Seal the wall around the nipple with waterproof sealant,” and warns that “Failure to seal the wall can lead to possible water damage.” If water shows at the wall or the ceiling, the sources do not give a repair for that, and their installation warnings point to a professional. Hansgrohe’s 26481xx1 rain showerhead sheet says that “For best results, Hansgrohe recommends that this unit be installed by a licensed, professional plumber.”
Kohler’s care guide asks for a solid elbow before the head goes on: “Make sure the elbow is securely mounted and has adequate strength to support the showerhead.” Delta’s raincan guide says “Prior to installation, ensure that all fittings are securely fastened behind the wall or ceiling,” and adds “Failure to do so may result in leakage or damage.”
When the valve is the likely cause
If the drip continues after the head is off, the sources point to the valve. The Rite-Temp page says that “The first step in correcting a dripping or leaking valve is to identify the valve installed in your home.” It then names internal valve parts as repair items. Those repairs go beyond swapping or re-taping a head, so this guide does not give valve steps.
Delta’s support pages on drips returned a bot challenge when we opened them, so they are not cited here. The sources we opened do not give a valve repair that applies to rain heads.
Symptoms and first checks
The table lists what each source states for common drip patterns. “Not stated” means the source does not give that detail.
| Pattern | What the sources say | First check |
|---|---|---|
| A few drops for a short time after shutoff | Residual water can drip for up to 90 seconds after the valve is off (Kohler valve page) | Tilt the head after each use; if the drops stop, it is residual water |
| Drip at the head-to-arm joint while the water is on | Check all connections for leaks; re-wrap and tighten if the connection leaks (Kohler, New Jersey) | Remove the head, clean the threads, add sealant tape, retest |
| Drip continues after the head is removed | The issue could be an internal seal or tear (Kohler valve page) | Identify the valve; the page names valve parts for repair; call a licensed plumber |
| Water at the wall or ceiling | Failure to seal the wall can lead to possible water damage (Hansgrohe) | Not stated; the sources give no repair procedure |
Clean the spray holes, with a caveat
The Rite-Temp page suggests that “Cleaning the showerhead with a 50/50 solution of white vinegar and water might reduce the amount of residual water in the showerhead.” The wording “might reduce” matters. The page presents this as a way to reduce residual water, not as a fix for a seal or a valve. Kohler’s rain head guide says to “Firmly rub your finger back and forth across the spray holes in the showerhead face” first, and to clean the screen washer only if that does not improve the spray.
How we chose
This guide covers drips from rain shower heads. We opened 10 sources for it. Four are Kohler pages: two rain head guides, a Rite-Temp valve page and a 1997 showerhead and arm guide. The others are a Kallista installation sheet, two Hansgrohe sheets, a Delta raincan sheet, the New Jersey Department of Health guidance and the U.S. DOE installer job aid. Eight of the pages were opened on 2026-10-22. The New Jersey and DOE pages come from the existing library and were opened on 2026-10-21. We picked the sources that describe the joint, the valve or the wall in plain terms. We did not rank products or brands, and the table shows where the sources disagree.
What we could not verify: what the sources do not say
- How long residual water should last on every rain head. The 90-second figure is Kohler’s figure for its valve system, and the sources we opened give no limit for other brands.
- How tight the joint should be. Kohler says to “tighten securely,” and Delta says to hand tighten. No source we opened gives a torque value.
- The thread size of your arm. The sources we opened do not state it, so check the arm or the manual before you buy tape or parts.
- Valve repair steps for rain heads. The Rite-Temp page covers single-control valves only, and the other sources do not give a valve repair.
- Whether a worn seal inside the head is the cause of a drip. The Rite-Temp page raises an internal seal for the valve case. The sources we opened do not describe seals inside a rain head.
- Delta’s leak pages, which returned a bot challenge when we opened them.
Frequently asked questions
Is a few drops after a shower normal?
It can be. Kohler’s valve page says residual drips can last up to 90 seconds after the valve is turned off. Its rain head guides say to tilt the head after each use so the water drains. A drip that keeps going past that window needs a different check.
Why does my rain head drip when the shower is off?
Start with timing. Water left in the head drips for a short time. If the drip continues after the head is removed, the sources point to an internal seal or tear in the valve. The joint between the head and the arm is the other place to check, and it needs sealant tape, a firm connection and a leak check.
Should I use thread tape or pipe dope?
Use thread sealant tape. Kallista’s sheet says “Do not use thread sealant compound (pipe dope),” and explains that tape helps avoid plugging the spray outlets. New Jersey and the DOE job aid both use tape in their steps.
How tight should the head be?
Follow your model’s guide. Kohler’s installation guide says to tighten the head securely with a clean strap wrench. Delta’s raincan guide says to hand tighten and not to use a wrench or pliers. The sources we opened do not give a torque value.
Can vinegar stop the drip?
It might reduce the water left in the head, according to Kohler’s valve page. The page says the solution “might reduce” residual water, and it does not say that vinegar fixes a seal or a valve leak.
When should I call a plumber?
Call a licensed plumber if the drip continues with the head removed, if water shows at the wall or ceiling, or if the fix involves the valve. Hansgrohe recommends a licensed professional plumber for its rain head installation, and the Kohler valve page points to valve parts for repair. If you are replacing the head instead of repairing it, see our pages on water-efficient handheld shower heads or sliding shower heads.
Bottom line
If the drip stops within the 90 seconds Kohler’s valve page describes, and tilting the head helps, it is residual water. If it keeps going with the head removed, or water shows at the wall, stop and call a licensed plumber.
Sources
- Kohler Co., Installation and Care Guide, Rain Showerheads (1141989-2-G), https://resources.kohler.com/webassets/kpna/catalog/pdf/en/1141989-2.pdf (opened 2026-10-22)
- Kohler Co., Installation Guide, Rain Showerheads (1393862-2-A), https://techcomm.kohler.com/techcomm/pdf/1393862-2.pdf (opened 2026-10-22)
- Kohler Assist, Rite-Temp Valve Dripping from Showerhead or Spout, https://assist.kohler.com/en/valves-shower-bath/Rite-Temp-Valve-Dripping-from-Showerhead-or-Spout (opened 2026-10-22)
- Kohler Co., Showerhead and Arm installation guide (113442-2-AA), https://techcomm.kohler.com/techcomm/pdf/113442-2.pdf (opened 2026-10-22)
- Kallista, Multi-function Showerhead with Arm, Installation Instructions (1205966-2-B), https://resources.kohler.com/interiors/kallista/pdf/1205966_2.pdf (opened 2026-10-22)
- Hansgrohe, Raindance S rain showerhead and arm instructions (16__hruh1151), https://assets.hansgrohe.com/mam/celum/celum_assets/16__hruh1151_pdf.pdf (opened 2026-10-22)
- Hansgrohe, Raindance 26481xx1 instructions (16__aruh0381), https://assets.hansgrohe.com/mam/celum/celum_assets/16__aruh0381_pdf.pdf (opened 2026-10-22)
- Delta Faucet, Shower Head 114017 Rev C instructions (raincan), https://media.deltafaucet.com/MandI/114017%20Rev%20C.pdf (opened 2026-10-22)
- New Jersey Department of Health, Guidance for Removing and Cleaning a Shower Head, https://nj.gov/health/cd/documents/topics/legion/ShowerHead_Cleaning_Guidance.pdf (opened 2026-10-21)
- U.S. Department of Energy, Install a Low-Flow Showerhead, Weatherization Installer Job Aid 24-1 (July 2024), https://www.energy.gov/sites/default/files/2024-07/24-1_install-low-flow-showerhead.pdf (opened 2026-10-21)