How to Clean a Clogged Faucet Aerator
As an Amazon Associate we earn from qualifying purchases.
If you are looking up faucet aerator clogged clean, the short answer is this: unscrew the small screened tip of the faucet, soak it in white vinegar, scrub it gently, rinse it, and screw it back on. The aerator is the round part at the end of the spout. It mixes air into the water so the stream is smooth and less splashy. The sources checked for this guide say that sediment and mineral buildup collect in it over time, and that regular cleaning keeps the faucet working as it should.
Quick answer
- Cover the sink drain first so small parts cannot fall in.
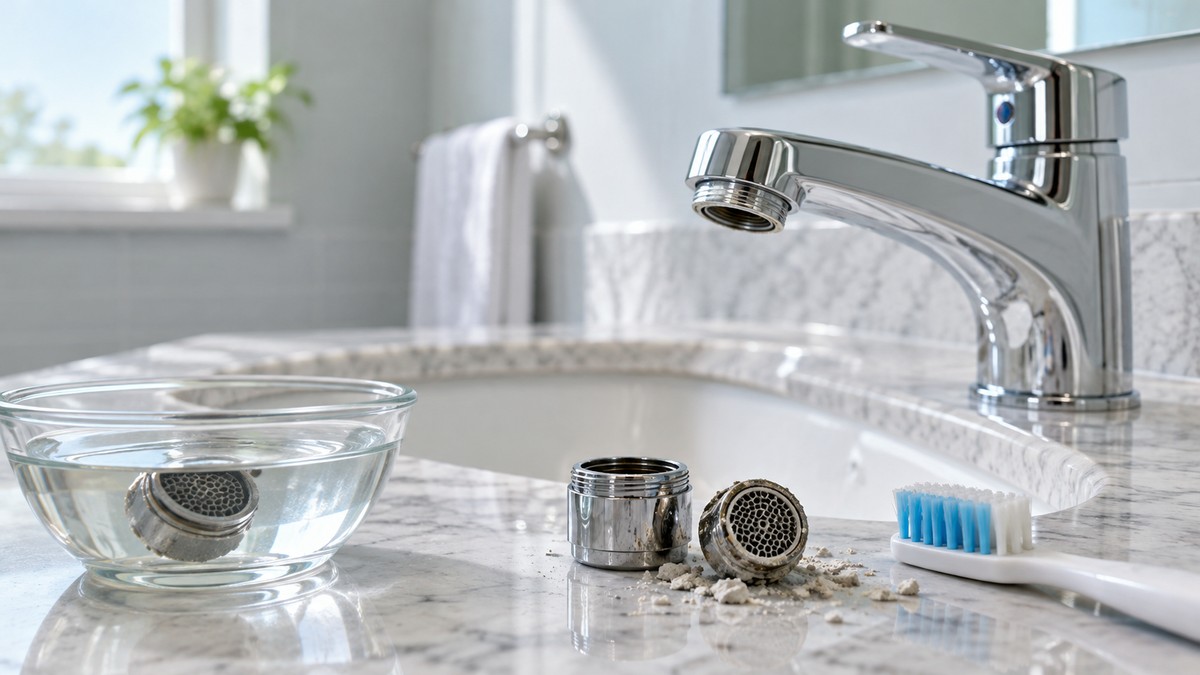
- Unscrew the aerator by hand, or with a wrench wrapped in masking tape, or with an aerator key if it is hidden.
- Soak the parts in white vinegar. One source gives 20 to 30 minutes as typical.
- Scrub with a toothbrush, rinse under running water, and reassemble in the same order.
- Screw it back on by hand, then turn the faucet on to check flow and look for leaks.
- Replace the aerator if it is damaged or very dirty.
What an aerator does
The Philadelphia cleaning guide describes the aerator as a device attached to the tip of a faucet that saves water, filters out debris, and prevents water from splashing. The New Jersey Department of Health describes it as a small, round screen that helps mix air with water to create a smooth stream, reduce splashing, and lower water use. Both descriptions point to the same part: a screen at the very end of the spout.
Moen’s support article gives the reason most people look for a cleaning guide in the first place. In its words, “Over time, aerators can accumulate debris and mineral deposits, which can restrict water pressure or distort the spray pattern. Cleaning the aerator may improve faucet performance.” The article does not put a number on that improvement, so this guide does not either.
How we chose
The steps below come only from the sources listed at the bottom of this page. A step is included only when at least one opened source describes it. Where sources give different advice, both versions are shown. Recommendations about schedules, replacement and when to call a professional come from the source that states them, and the source is named.
Two sources were picked for their type: a New Jersey Department of Health guide and a Moen support article, which is the manufacturer view. A City of Philadelphia cleaning guide and a home-repair article about Delta hidden aerators were added to fill gaps on schedules and concealed aerators. A Michigan State University extension article on keeping aerators clean was also considered, but its page returned a bot-protection block when the sources for this guide were opened, so it is not cited.
Tools and supplies
The New Jersey guide lists an adjustable wrench, a cup, a towel, a faucet aerator key, masking tape, a plastic bag, a toothbrush, and distilled white vinegar. The Philadelphia guide lists a rag, masking tape, a wrench or pliers, an old toothbrush, white vinegar, a small plastic tub, and spare aerators and washers. The lists differ, and not every item is needed for every faucet. The New Jersey guide uses an aerator key for an aerator hidden inside the spout.
Step by step: cleaning a clogged faucet aerator
Step 1: Protect the sink drain. The New Jersey guide says to “Cover the sink drain with a towel or plug it before unscrewing the aerator.” This stops parts or fittings from falling into the drain.
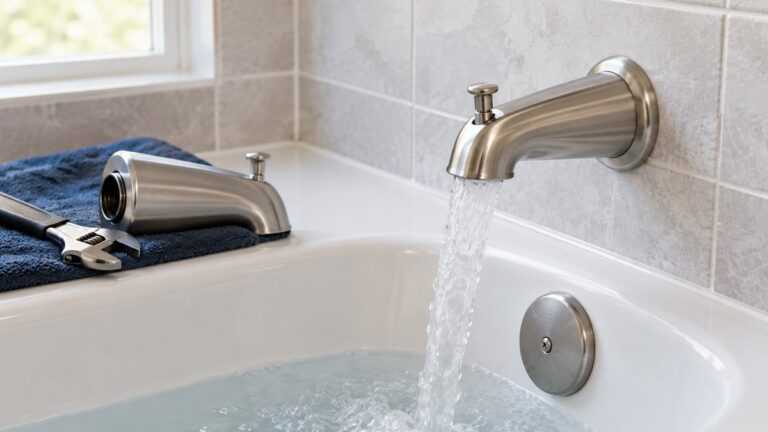
Step 2: Unscrew the aerator. Depending on the design, an aerator that sticks out of the spout can be unscrewed by hand or with a wrench. The New Jersey guide says to protect the finish: “wrap masking tape around the aerator before using any tools for removal.” If you see no aerator at all, it may be hidden. Use an aerator key, which may have come with the faucet or can be bought at a hardware store.
Step 3: Photograph the parts. Before taking the aerator apart, take pictures of it. The New Jersey guide notes that this helps you put everything back together in the correct order.
Step 4: Remove stuck parts. Check inside the spout and remove any rubber washers, inserts, or parts that might be stuck there. The Philadelphia guide tells you to separate the aerator housing, the screen and the rubber washer, and to remove small bits from the screen and other parts.
Step 5: Soak in white vinegar. Submerge the parts in a cup of white vinegar. The New Jersey guide says: “Typically, soaking for 20 to 30 minutes will be enough to clean the aerator.” It adds that a longer soak may help with tough residue. The Philadelphia guide uses a shorter phrase, “Soak the parts in white vinegar for a few minutes,” so the two sources differ on time. Both times are shown so you can judge the residue on your own parts.
Step 6: Scrub gently. Use a toothbrush on all the parts. The New Jersey guide warns: “Be gentle and slow when scrubbing the screen part, as tough bristles can damage it.” Hold the screen up to a light source to see whether debris is left. Repeat if needed.
Step 7: Rinse. The New Jersey guide says to “Thoroughly rinse each part of the aerator under fresh running water,” and to hold the screen upside down so any remaining debris washes out.
Step 8: Reassemble in order. Put the parts back in the order shown in your photo. The Philadelphia guide also says to check the rubber washer and replace the aerator and washer if they are in poor condition.
Step 9: Screw it back on and check. Screw the aerator back onto the faucet by hand, then tighten it gently with a wrench or key. The New Jersey guide says: “Turn on the faucet to check for proper water flow.” If water sprays or leaks around the aerator, it advises: “gently and carefully tighten it a little more.” It also warns against over-tightening, so do not force it.
Hidden and concealed aerators
Some faucets have no visible aerator. The Philadelphia guide says: “If you have a hidden aerator, follow the manufacturer’s instructions.” Moen’s article describes concealed aerators that thread into the spout body and are not visible from outside the spout tip. It says removal tools “are only used for faucets with a concealed aerator,” and that “They are supplied with the faucet or the aerator service kit.” Moen also recommends using a mirror to closely compare the details of the aerator you have.
Delta faucets are a common example. The Hunker article says: “The cache aerator is a common feature on Delta faucets,” and that you “can’t do it with a wrench.” It adds that “Delta makes a key for removing a Delta faucet aerator, and you can also buy a third-party key that works on most available faucets, including Delta faucets.” The article does not say how to remove a cache aerator without a key beyond the tools it names.
When the aerator will not come off
The New Jersey guide describes a bag method for a stuck aerator. Fill a small plastic bag with white vinegar and tie it around the faucet so the aerator is completely submerged for 10 to 20 minutes. Remove the bag and try again. The guide also says that removing old aerators, “especially if they haven’t been cleaned in a long time, can be difficult and may damage your faucet due to rust or corrosion.” If it is still stuck, the guide says: “If you’re still unable to remove it, consult a licensed or qualified plumber.”
Replace instead of clean
Cleaning does not fix every aerator. The New Jersey guide says that “If the aerator is damaged or very dirty, it’s best to replace it with a new one.” The Philadelphia guide gives a schedule: “It’s recommended you replace the aerator annually, and then clean the aerator twice a year.” It adds that if the aerator “appears to need frequent cleaning or becomes worn,” it may need replacing more often. Those two sources give different advice on how often to clean, so the schedule is the Philadelphia guide’s and should be read as its recommendation, not a universal rule.
Common mistakes
- Skipping the drain cover. Small parts can drop into the drain during removal, as the New Jersey guide warns.
- Scrubbing too hard. The screen can be damaged by stiff bristles.
- Losing the order of parts. The photo step in both the New Jersey and Philadelphia guides exists for this reason.
- Forcing a stuck aerator. The New Jersey guide tells you to try the bag soak, then call a plumber if it still will not move.
- Over-tightening on reinstall. The New Jersey guide advises against it.
Related reading
If the weak flow is at the shower rather than the sink, the guides below cover related flow and spray issues on shower heads. For the shower side of the same problem, see removing a water saver from a shower head, high-pressure shower heads that save water, and water-efficient hand-held shower heads. A faucet aerator and a shower head are different parts, so check which one is causing the problem before you buy anything.
What we could not verify: what the sources do not say
- The Michigan State University extension article on keeping aerators clean returned a bot-protection block when opened. It is not cited.
- No opened source gives a vinegar strength or a dilution ratio.
- Only the Philadelphia guide gives a number of times per year. The New Jersey guide says to clean aerators routinely and after water service disruptions, without a number.
- The sources do not say how much flow a cleaning will restore on a given faucet.
- The sources do not give brand-specific steps for most faucet makers. The Moen article covers Moen aerators only, and the Delta source is a third-party article, not a Delta manual.
FAQ
Why does a faucet aerator get clogged?
Moen’s article says that aerators “can accumulate debris and mineral deposits.” The New Jersey guide says aerators “can get clogged with sediment, minerals, and other buildup.”
How often should I clean a faucet aerator?
The Philadelphia guide recommends cleaning it twice a year and replacing it annually. The New Jersey guide says to clean aerators routinely, without a fixed interval.
Is white vinegar the only option?
No. The New Jersey guide says “white vinegar or another cleaning solution.” It does not name another product.
What if the aerator is hidden?
Check whether the faucet has a hidden aerator. The Philadelphia guide says to follow the manufacturer’s instructions for hidden aerators. Moen’s article describes removal tools for concealed aerators.
Do I need a special tool?
Not always. An aerator that protrudes can often be unscrewed by hand or with a wrench wrapped in tape. A removal key is needed for concealed or cache aerators.
When should I call a plumber?
The New Jersey guide says that if you are unsure, or the faucet is difficult to service, “it’s safest to hire a qualified plumber.”
Bottom line
Clean the aerator when the stream is uneven or weaker than it used to be. Soak it in white vinegar, scrub gently, reassemble in order, and replace it if it is damaged or very dirty.
Sources
- Moen, “Faucet Aerator Cleaning,” Moen Solutions Article Library. https://solutions.moen.com/Article_Library/Faucet_Aerator_Cleaning (opened 2026-10-22)
- New Jersey Department of Health, “Guidance for Cleaning Faucet Aerators.” https://www.nj.gov/health/cd/documents/topics/legion/faucet_aerator_09.23.25.pdf (opened 2026-10-22)
- City of Philadelphia, “Cleaning faucet aerators” daily cleaning guide. https://www.phila.gov/media/20190912114607/DailyCleaning_FaucetAerators-1.pdf (opened 2026-10-22)
- Hunker, “How To Remove Hidden Aerators In Delta Faucets.” https://www.hunker.com/13417518/how-to-remove-hidden-aerators-in-delta-faucets (opened 2026-10-22)