Plan an RV Shower Head Installation for Long Hose
As an Amazon Associate we earn from qualifying purchases.
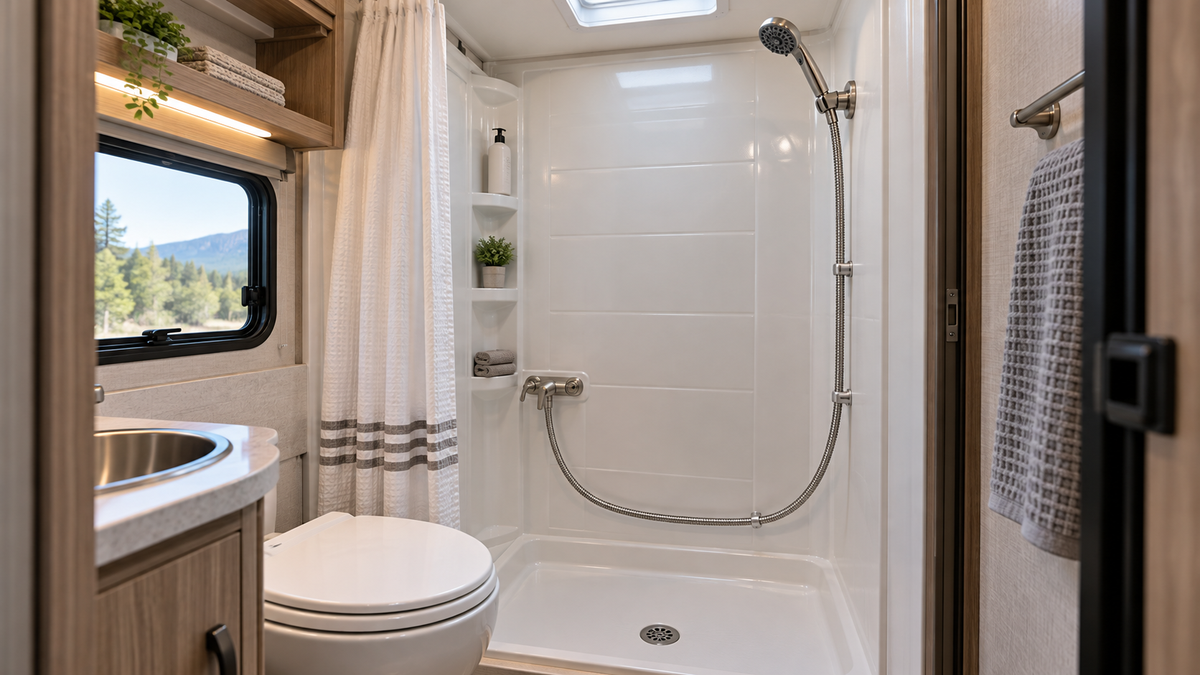
RV shower head installation planning for a long hose is mainly a routing problem, not a strength contest with the fittings. The replacement hose must reach the user and cleaning areas while keeping its lowest loop away from the shower floor, drain, door, sharp trim, and heater vents. Before ordering, identify the faucet outlet, the shower-head inlet, the sealing washers, and the holder location. Then mock up the proposed length with cord. A longer hose that drags, kinks, or pulls sideways on a lightweight RV wall mount is not an upgrade.
Quick answer
- Measure the entire route from faucet outlet through the natural hanging loop to the handheld, not a straight diagonal.
- Confirm both end fittings and washers against the head, faucet, and hose manuals before removing anything.
- Support the hose so it hangs freely without rubbing, pinching in a door, or loading the wall holder.
- Stop for an RV technician if the wall is soft, the outlet turns in the wall, or water appears behind an access panel.
Define what “long enough” must accomplish
Start by listing the farthest places the handheld must reach: the seated shower position, lower corners of the pan, the door track, or a pet-washing height. Do not select length solely from the old hose label. The useful reach depends on the outlet height, holder height, curvature of the loop, and how much of the hose must remain relaxed at the connections.
Use a non-stretch cord to trace the intended path. Let it drop naturally from the faucet outlet, rise to the holder, and extend to each target without pulling taut. Mark the cord, measure it, and compare that route with the candidate hose’s stated length. If the cord must take a sharp turn at either nut, revise the holder or route rather than adding tension.
Calculate the loop allowance before buying
A simple planning calculation exposes obvious fit problems:
Remaining loop allowance (R) = stated hose length (L) − vertical distance from outlet to holder (V).
For example, if a proposed hose is 72 inches and the vertical outlet-to-holder distance is 36 inches, R is 36 inches. That number is not the actual loop depth because the hose follows a curve and the handheld connection consumes part of the path. It is a comparison tool: a very small R suggests tension when docked, while a very large R warns of excess hose near the pan. Always confirm with the cord mock-up.
| Mock-up result | Likely consequence | Planning response |
|---|---|---|
| Cord pulls straight at the outlet | Side load on fitting; poor swivel movement | Choose more length or move holder within approved area |
| Loop touches floor or drain | Soiling, trapped loop, trip or door interference | Choose less length or add an approved routing clip |
| Cord crosses door edge | Pinching and abrasion | Change route; do not rely on remembering to move it |
| Handheld cannot reach pan corners | Cleaning purpose not met | Recheck target reach and holder position |
Identify the seal at each end
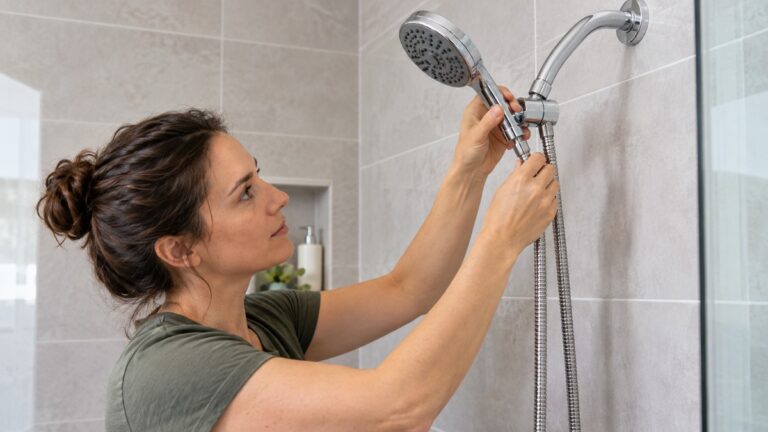
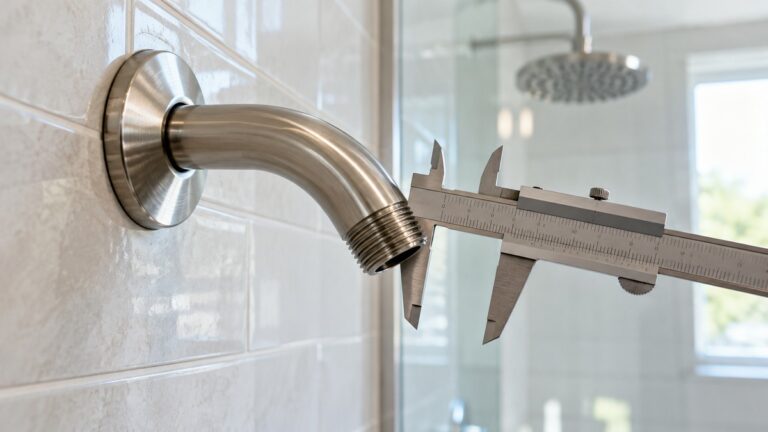
Lay the new hose beside the old one before disconnecting the water. Check nut shape, thread engagement, swivel direction, and the presence of a washer in each end. Oxygenics’ PowerFlow RV instructions specifically call out preinstalled washers in both hose ends. A missing, doubled, twisted, or damaged washer can create a leak even when the nut feels tight.
Tape rules are not universal. The Oxygenics Voyage RV manual says to remove old tape and optionally apply two or three clockwise turns at the faucet mount for that model, then hand-tighten the hose and handheld connections. Other hose joints rely on washers. Treat the exact manual as the authority: tape only the joint it identifies, never tape over a flat sealing face, and do not add compound unless the maker calls for it.
Check that the hose and head can rotate without loosening the nut. If an adapter is required, confirm it is approved for the specific outlet and does not make the assembly too long for the stall. A stack of improvised adapters adds leverage and more potential leak points.
Inspect the RV wall and holder
RV shower walls can be thin and may not provide the same backing as a house wall. Push lightly around the existing holder and faucet outlet before removal. Flex, cracking, staining, softness, or a fastener that spins is a stop sign. Do not enlarge a hole or install a generic anchor until the RV or fixture manufacturer confirms the wall construction and fastening method.
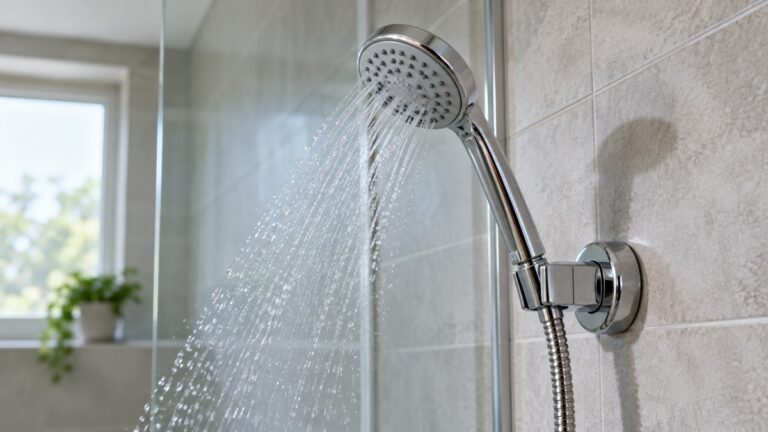
The holder has to carry the handheld without asking the hose to serve as a tether. With the mock-up docked, verify that the handset’s center of mass sits securely in the cradle and that the hose leaves the handle in a relaxed curve. Confirm headroom, spray direction, and clearance from a folding door or curtain.
Some kits use an adhesive holder. Oxygenics tells users to apply its supplied double-stick tape to a clean, dry shower wall and press firmly. That instruction applies to the matching holder, not every adhesive mount. Surface texture, residue, cold storage, and wall flex can affect an adhesive system, so follow its preparation and cure directions exactly.
Prepare the small workspace
Turn off the RV’s main water supply and water pump. Open the shower control briefly to relieve pressure, then close it. Dura Faucet’s RV manual also directs installers to cover the drain so small parts cannot fall through and to inspect the fixture for damage. Put a towel in the pan to protect the finish and keep dropped washers visible.
Gather the new hose, confirmed washers, the exact instructions, a clean cloth, and only the tool named by the manual. Keep pliers away from decorative nuts unless the instructions require them and specify how to protect the finish. Photograph the original routing and washer orientation. Have a dry tissue ready for the leak check.
Replacement sequence for an exposed hose and head
- Support both sides. Hold the faucet outlet steady while turning the old hose nut counterclockwise. Stop if the outlet rotates in the wall.
- Account for the old seals. Remove the hose and find every washer. A washer left stuck to the outlet can cause a doubled seal when the new hose is installed.
- Clean without cutting. Wipe the sealing face and remove old tape only where the new manual requires a taped thread. Do not scratch plastic or plated surfaces.
- Install the specified seals. Seat one correct washer flat in each washer-sealed nut. Apply tape clockwise only at a joint for which the manual calls for tape.
- Start by hand. Thread the hose to the faucet clockwise. It should advance smoothly for several turns. Back off and restart if it binds.
- Connect the handheld. Keep the hose untwisted and hand-tighten the second end as directed. Oxygenics’ RV instructions use hand-tight connections for both ends.
- Route and dock. Form the planned loop, place the handheld in its holder, and sweep the door through its full travel.
Commission the hose in four positions
Restore the water supply slowly. With the shower control still off, inspect the faucet outlet for a static seep. Then run water at a modest setting and check both hose nuts. A dry tissue placed beneath—but not wrapped around—the joint makes a forming drop easier to see.
Operate the handheld in four positions: docked, at the user’s farthest reach, near the shower floor, and during door movement. Watch the nuts as the hose moves. They should not unwind, cock sideways, or press against sharp trim. Ensure the hose drains as expected and does not cover the pan drain.
If a washer joint leaks, shut off the water, relieve pressure, and inspect the washer and sealing faces. Do not solve a cross-thread, cracked nut, or tilted washer by tightening harder. If water emerges from behind the faucet or wall panel, stop and keep the system off until an RV technician can inspect it.
Include storage and winterization in the plan
A longer hose can retain water in a low loop. Its role in winterization must therefore come from the RV owner’s manual, not a household-plumbing shortcut. Grand Design instructs owners of the cited RV line to winterize before freezing exposure, empty the water systems, use only RV antifreeze as directed, and run the procedure through shower fixtures and drains. It explicitly warns against automotive and windshield-washer antifreeze.
Before cold storage, place the handheld and hose in the position specified by the RV maker so water or approved winterizing fluid reaches and leaves the assembly as intended. Follow the RV maker’s winterizing position for the hose; if the manual does not say, disconnect it and drain it. Label any washer that is removed and protect open fittings from dirt.
How we chose
We used RV-specific fixture manuals rather than residential assumptions. The Oxygenics manuals support the hose-removal order, washer check, optional model-specific tape step, hand tightening, and holder preparation. Dura Faucet supports shutting off the RV water, covering the drain, checking codes, and inspecting parts. An RV manufacturer’s owner manual defines the winterization boundary.
What we could not verify
The sources do not provide a universal hose length, connection thread, wall construction, anchor, tape rule, or holder placement for every RV. They do not verify that a particular long hose will fit the reader’s faucet or remain above the floor. The RV and hose model manuals must supply those details.
FAQ
Is a longer RV shower hose always better for cleaning?
No. More reach helps only if the loop remains clear of the floor, drain, door, and heat or sharp edges. A cord mock-up reveals whether the added length solves a reach problem or merely creates an unmanaged loop.
Should I put thread tape on both hose ends?
Not automatically. Hose nuts commonly depend on flat washers, while a particular faucet-mount thread may call for tape. Follow the connection diagram for the exact kit. Never substitute extra tape for a missing washer.
How tight should the RV shower hose be?
The cited Oxygenics instructions specify hand tightening. If another manufacturer calls for a tool or a finishing turn, use that direction. Stop when the seal is seated; over-tightening lightweight fittings can deform or crack them.
Can I reuse the old holder with a new handheld?
Only after confirming the handle fits securely, the spray angle is safe, and the long hose does not pull it out of the cradle. If the holder or wall flexes, correct the support with an approved method before use.
When should an RV technician handle the work?
Call a technician when the faucet outlet moves in the wall, the panel is cracked or soft, a connection leaks behind an access panel, the new parts need unverified adapters, or the RV’s winterization path is unclear.
Bottom line
Choose the shortest hose that reaches every required target with a relaxed curve, intact washer seals, and no contact with the floor, drain, door, or sharp edges.
For a broader connection walkthrough, read how to change a shower hose. The separate guide to thread tape on handheld shower hoses explains why the joint design matters. If the project is still at the equipment-selection stage, compare the verified fit details in the RV shower head and hose guide.
Sources
- Oxygenics — Voyage RV Easy Installation Instructions (opened October 27, 2026)
- Dura Faucet — DF-SA130 RV Shower Head and Hose Manual (opened October 27, 2026)
- Oxygenics — PowerFlow RV Installation Instructions (opened October 27, 2026)
- Grand Design RV — Momentum Owner’s Manual, Winterizing the Plumbing System (opened October 27, 2026)