Why Your Filter Cartridge Leaks at the Connection—Checks in Order
As an Amazon Associate we earn from qualifying purchases.
Why your filter cartridge leaks at the connection usually comes down to one of three visible problems: the cartridge is not firmly hand-tightened, the upper-housing O-ring is out of position or damaged, or the water is actually escaping from a neighboring collar rather than the cartridge seam. Check the wet joint before turning anything. Then remove the complete filter from the shower arm, inspect the correct seal, and reinstall it according to that model’s manual. Stop if the housing is cracked, the shower arm moves, or the leak comes from the wall; those are not cartridge-tightening problems.
Quick answer
- Dry the assembly and run the shower briefly to identify the first place that becomes wet.
- For the Aquasana models covered here, remove the complete filter before separating the cartridge, then confirm that the upper O-ring is present, flat, and undamaged.
- Hand-tighten the cartridge firmly. Do not transfer the pipe-connection tape rule to the cartridge seam.
- Stop when the seal or housing is damaged, the arm shifts, or water appears at the wall.
First map the three nearby connections
A drip can travel down a smooth housing and make the lowest seam look guilty. Before disassembly, wipe the filter, collar, shower head, and arm dry. Turn the shower on only long enough to watch where moisture first appears. Use a dry tissue at each joint if the surface makes a fine bead hard to see. Keep the tissue away from the spray face.
On the Aquasana configuration described in the opened manuals, three joints sit close together. The lower cartridge meets the upper housing at a seam sealed by an O-ring. The chrome inlet collar connects the upper housing to the shower pipe and uses a flat white gasket. A separate outlet supports the shower head or handheld assembly. Those seals are not interchangeable, and neither are their remedies.
| First wet point | Seal named by the manual | First reversible check | Do not do |
|---|---|---|---|
| Seam between cartridge and upper housing | Upper-housing O-ring | Remove the unit, reseat the O-ring, and firmly hand-tighten the cartridge | Add tape to the seam or force it with pliers |
| Chrome inlet collar at shower arm | Flat white gasket | Confirm the gasket is present, flat, and fully seated | Assume the cartridge O-ring will fix it |
| Shower-head outlet | Model-specific washer or gasket | Follow that shower head’s manual | Apply another product’s tape instruction |
| Wall opening or moving shower arm | Not covered by the cartridge instructions | Turn the shower off and stop | Open the wall or keep twisting the arm |
This location check prevents a common diagnostic error: repeatedly tightening the cartridge when the wet point is the inlet collar. It also distinguishes a fixture symptom from a supply-side condition. Water originating behind the escutcheon, at the wall opening, or from an arm that moves under light hand pressure is outside this cartridge procedure.
Run the checks from least invasive to stop condition
1. Confirm the model and get its instructions
The detailed steps below apply to Aquasana AQ-4105CHR, AQ-4105, AQ-4100, and AQ-4100NSH assemblies using the AQ-4125 replacement. A different filter may use a different housing, seal, direction of rotation, tape rule, or pressure limit. Find the model number on the housing or paperwork before copying any step. If you cannot identify the filter, limit the work to locating the leak and contacting the manufacturer.
2. Shut the shower off and support the filter
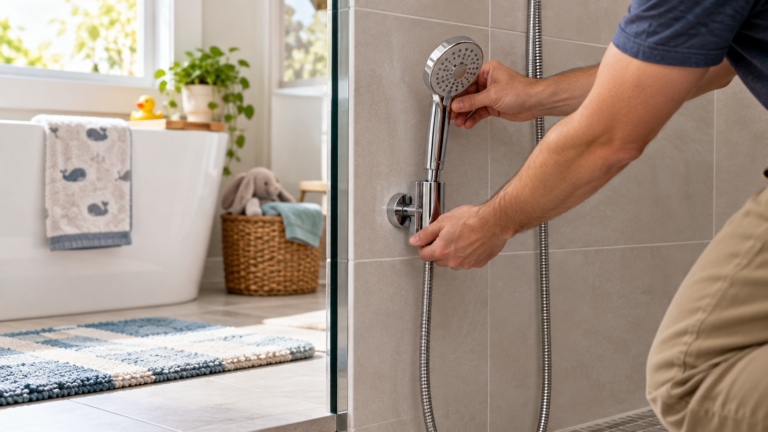
Do not try to tighten a wet, pressurized cartridge. Turn the shower control fully off, wait for flow to stop, and place a towel in the tub or shower base. Support the housing with one hand so its weight does not lever the shower arm. Keep the shower arm from turning while you work on the filter housing; that boundary matters even when the removable fixture is a filter.
3. Remove the entire filter from the pipe
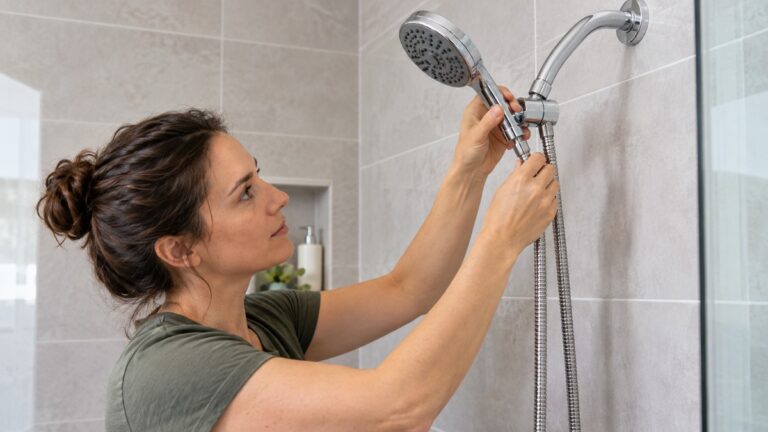
Aquasana’s replacement sheet specifically says to remove the complete filter system from the shower pipe before removing the lower cartridge. It warns that separating the cartridge while the filter remains attached may damage the point where the filter connects to the pipe. Turn the chrome collar left while supporting the assembly, then remove the shower head as the product instructions direct. If the arm begins to rotate or the wall connection moves, stop rather than counter-twisting harder.
4. Separate the lower cartridge over a towel
Hold the upper filter housing firmly and turn the lower cartridge left. This exposes the seal without asking the shower arm to resist the torque. Keep track of the O-ring; do not substitute a random ring based only on outside diameter. A sealing ring also has a cross-section and material chosen for its groove and service conditions.
5. Inspect the upper-housing O-ring
The installation manual’s troubleshooting table tells the reader to make sure this O-ring is fully seated and to inspect it for cracks or flattening. Check that it sits evenly in its groove, without a twisted section, trapped debris, cut, or visibly flat side. A displaced but intact ring can be returned to its proper seat. A damaged or missing ring is a stop condition: obtain the specified replacement from the manufacturer instead of compensating with more tightening.
6. Refit and firmly hand-tighten the cartridge
With the O-ring correctly seated, turn the cartridge to the right and tighten it firmly by hand. The replacement sheet directly links an insufficiently tightened filter to leaking around the seam between the upper housing and cartridge. That instruction does not authorize wrench force on the cartridge body. Hand pressure compresses the designed seal; pliers on a plastic or finished housing can deform or crack a part the manual does not tell you to repair.
7. Check the inlet gasket before reattaching
Because the whole assembly is already off, inspect the white gasket inside the chrome collar. It must be present, flat, and fully seated. On the covered models, Aquasana says that this gasket—not plumber’s tape—makes the seal at the shower pipe. Remove pre-existing tape only if your own model’s current instructions give that rule. The site’s broader shower-filter installation guide can help you plan the full swap, but the manual supplied with the actual filter remains controlling.
8. Reinstall and perform a controlled leak check
Turn the chrome collar right by hand. Aquasana permits only a further quarter turn with pliers if that collar leaks, and warns that overtightening can compress the gasket into the shower pipe. Protect the finish when a tool is expressly permitted. Reattach the remaining parts, then run cold water and observe each joint. A pass means proper flow and no leaks.
Use the leak location, not force, to choose the next action
If the cartridge seam stays dry but the inlet collar wets first, return to the flat gasket check. If the collar remains dry but the outlet wets first, consult the shower head or handheld manual. If water begins at the wall, shut the shower off. Moving from joint to joint by evidence is safer than adding another quarter turn everywhere.
The model-specific pressure range also creates a boundary. Aquasana lists 30–80 psi for the covered system and says not to install it where line pressure may exceed 80 psi. This article does not provide a pressure test or a supply-pressure adjustment procedure. If excessive pressure is suspected, or other fixtures also show forceful flow, banging, or recurring seal failures, ask a licensed plumber to assess the supply side.
A small calculation for replacement planning
The Aquasana sheet gives two replacement triggers: six months or 10,000 gallons for the named models. The useful planning calculation is not a promise of exact life; it shows which limit would arrive first under an assumed use rate.
Days to 10,000 gallons = 10,000 ÷ estimated shower gallons used per day.
At an assumed 40 gallons through the filter per day, the capacity calculation is 10,000 ÷ 40 = 250 days. The calendar instruction of about six months would occur first. At 60 gallons per day, the arithmetic is about 167 days, so the gallon limit could arrive first. Use the actual manual and household use estimate rather than treating these examples as measured consumption.
A clogged cartridge is relevant because Aquasana says it may restrict flow and/or contribute to leaking. Replacement timing is therefore one visible item to check after seating and tightening, not a reason to diagnose every seam leak as an expired cartridge. For a broader distinction between point-of-use and supply-wide treatment, read the guide to choosing a shower filter or whole-house filter.
When to stop and call for help
- The O-ring is cut, cracked, permanently flattened, missing, or will not remain in its groove.
- The cartridge or upper housing is cracked, cross-threaded, oval, or visibly deformed.
- The shower arm turns, droops, or moves at the wall while you support the filter.
- Water first appears at the wall opening rather than a removable fixture joint.
- The correct gasket and O-ring are seated, the permitted hand tightening is complete, and the same seam still leaks.
- The line may exceed the filter’s stated operating range or several plumbing fixtures show pressure symptoms.
These conditions need the correct replacement part, manufacturer support, or a licensed plumber. They do not justify concealed-valve work or opening the wall as an extension of a cartridge check.
How we chose
We ordered the checks by reversibility and by the parts named in two Aquasana manuals: identify the wet joint, remove the whole assembly, inspect the upper O-ring, hand-tighten the cartridge, inspect the separate inlet gasket, and then retest. Hold the shower arm steady and finish with a no-leak inspection. We used model-specific instructions wherever they differ from general shower-head practice. No product ranking or contaminant-performance claim is needed to answer this repair question. Readers who are still choosing hardware can compare the site’s shower-head filters and replacement cartridges separately.
What we could not verify
- The cause of a leak in a filter model other than the four Aquasana systems named in the opened instructions.
- A universal O-ring size, material, lubricant, or tightening torque for shower-filter cartridges.
- Whether a particular home’s supply pressure is inside the model’s range without a proper measurement.
- Whether a persistent leak indicates damaged threads, a distorted housing, or another defect after the visible seal checks.
- Any safe repair to a concealed pipe, valve, or wall connection.
FAQ
Should I put plumber’s tape on the cartridge connection?
Not on the Aquasana cartridge seam covered here. Its instructions identify an O-ring at the upper housing and call for firm hand tightening. They also say the white gasket seals the chrome inlet collar on these models. Other brands may differ, so use tape only where the manual for the exact model directs it.
Can overtightening stop a cartridge leak?
More force is not a substitute for a correctly seated seal. Aquasana calls for firm hand tightening at the cartridge and warns against overtightening the chrome inlet collar. If the O-ring is damaged or the housing is deformed, additional force can make the problem worse.
Why does the seam look wet when the cartridge O-ring is fine?
Water can travel down from the inlet collar or across the housing from the outlet. Dry the complete assembly and watch for the first wet point during a brief test. Diagnose that joint rather than the place where the drop finally hangs.
Could an old cartridge cause the leak?
Aquasana says a clogged cartridge may restrict flow and/or cause leaking in the covered models. Check its replacement interval, but also inspect the O-ring and identify the exact wet joint. Age alone does not prove which seal is leaking.
Do I need to shut off the home’s main water?
The opened replacement instructions start by removing the shower filter after the shower is off; they do not call for a whole-home shutoff for this removable fixture procedure. If the shower control will not stop the flow, water appears at the wall, or the work extends beyond the filter and shower arm, stop and use professional help.
Bottom line
Follow the water to the first wet joint: reseat the specified O-ring and firmly hand-tighten only when the cartridge seam is truly the source; stop instead of adding force when the seal, housing, arm, wall connection, or supply side is the problem.
Sources
- Aquasana, Shower Filter Replacement Filter Instructions (AQ-4125), opened October 27, 2026.
- Aquasana, Shower Filter Use & Care and Installation Steps, opened October 27, 2026.