Why a Shower Head Sprays in Different Directions
As an Amazon Associate we earn from qualifying purchases.
A shower head sprays in different directions for a short list of reasons, and the checks mostly involve the arm, the joint, and the face of the head. The usual causes are an arm that is not set straight, a joint that is not tight, a leak at the connection, and mineral deposits or debris on the spray face. This guide covers those four causes, shows what the manufacturer and university sheets say about each, and lists what the sheets do not cover, such as a bent arm.
Quick answer
- Check the arm first. Delta’s sheet says to position the adjustable arm straight, and Kallista’s sheet says to tighten the arm until it is oriented correctly.
- Next, check the joint. Kallista’s sheet says to ensure the ball joint is tight with a clean wrench, and Delta’s sheet says to tighten the wing nuts once the angle is set.
- Then check the connection and the nozzles. The New Jersey guidance says minerals can block the nozzle holes, and it says to re-wrap and tighten a connection that leaks.
- The opened sources do not describe a bent arm or a cross-threaded connection. Delta recommends a professional plumber for installation and repair of faucets.
What sets the direction of the spray
The opened sheets point to two settings that affect where the water goes: how the head sits on its joint or arm, and how the arm sits at the wall. The sheets describe each in different words, so check which kind of head you have before you adjust anything.
Delta’s sheet for an adjustable arm sets the angle with wing nuts: “To set the shower angle, loosen the wing nuts and adjust the arm to desired position.” Kallista’s sheet describes a ball joint with a cone instead. Its note says: “To adjust the stiffness in the ball joint, grasp the cone tightly with one hand, and tighten the head with” the other hand. The sheets do not say how to tell the two designs apart, so check the part on your own head.
The sheets also treat the spray pattern as a separate setting. Kohler’s 1993 sheet for a one-way adjustable head says to “grasp the outer ring of the showerhead and rotate to change the spray pattern.” Hansgrohe’s Clubmaster sheet changes spray mode with the face ring: clockwise for a soft aerated spray and counter-clockwise for massage. If you would rather hold the spray in your hand, handheld shower heads on a slide bar are a different setup.
The table below lists what each opened sheet says about each cause. It does not rank them, and the sources do not say which one is most common.
| Possible cause | What the opened sheet says | Source |
|---|---|---|
| Arm not set straight | “Position the adjustable arm straight (shown below).” | Delta, model 85187 Rev. C |
| Arm not oriented correctly | Tighten the arm until “the shower arm is oriented correctly.” | Kallista, 1205966-2-B |
| Ball joint not tight | “Ensure ball joint is tight using a clean wrench.” | Kallista, 1205966-2-B |
| Connection leaks | “If the connection does leak, re-wrap the threads with thread sealant tape and carefully tighten again.” | New Jersey Department of Health |
| Minerals in the nozzles | “naturally occurring minerals can build up and block the nozzles (holes) through which water passes.” | New Jersey Department of Health |
| Clogged spray ring | The chart lists a poor spray pattern on regular spray, with a clogged spray ring as the cause. | Kohler MasterShower sheet, 112766-2-AA (1993) |
Check 1: the arm, the washer, and the first tightening
Begin with the arm, because the other checks depend on where it points. Delta’s sheet for an adjustable arm tells the installer to wrap plumber’s tape around the arm threads and hand-tighten the arm nut. It then says: “Position the adjustable arm straight (shown below).” If the arm spins after tightening, the sheet says to “use a wrench to tighten the nut until the arm is held in place.”
The same sheet covers the head. It says: “Ensure the washer is installed in the female nut on the shower head. Carefully hand-tighten” the head, and then the sheet says “the metal nut of the shower head clockwise onto the adjustable arm.” The sheet asks you to make sure the washer is in place, but it does not say what a missing washer does to the spray.
Remove the head with care too. Delta’s sheet says to hold the shower arm secure, so the arm itself is not unscrewed while you work on the head.
Kallista’s sheet calls for a clean strap wrench on the arm. Kohler’s 113280-2-AB sheet says to “Carefully tighten with a clean strap wrench.” Hansgrohe’s Clubmaster sheet describes a two-step finish: “Screw the showerhead to the showerarm by hand,” and then “Finish tightening with a 19 mm wrench” on the short cast arm it lists.
Delta’s and Hansgrohe’s sheets describe hand-tightening first, while the Kallista and Kohler sheets call for a strap wrench. Kohler’s 1993 sheet says “Do not overtighten.” in its aerator step for three-way models. Delta’s wing-nut step ends with “DO NOT over-tighten.” None of the opened sheets gives a torque value.
Check 2: leaks and the connection
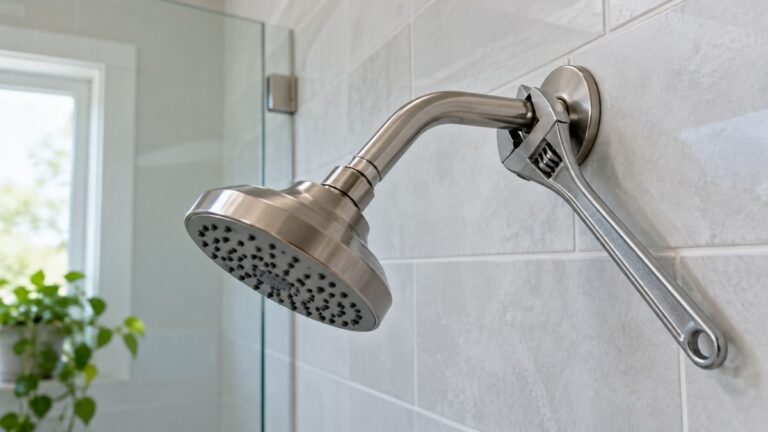
A loose or leaking connection is the second check. The New Jersey guidance says to turn the water on and check for leaks. For a leak, it says to “re-wrap the threads with thread sealant tape and carefully tighten again with an adjustable wrench.” It also says to wrap the arm threads “in a clockwise direction two or three times.”
The Kallista sheet says to run water through the head and “check for leaks at the nipple.” If there is leakage, it says to remove the head, “apply more sealant tape to the pipe nipple,” reinstall, and repeat until no leakage occurs. The Department of Energy job aid for a low-flow head gives a similar check. It says to “Use thread tape at all connections” and to “Ensure that connections will not leak.” Its final checklist says “There is no water leakage upon completion.”
The sheets do not agree on tape. Kallista says tape keeps the spray outlets open: “To avoid plugging the showerhead spray outlets, use thread sealant tape on the shower arm threads.” It adds: “Do not use thread sealant compound (pipe dope).” Hansgrohe’s Clubmaster sheet says it includes a self-sealing filter gasket, and that “The filter gasket makes Teflon tape unnecessary in most installations.” Moen’s handheld sheet says “Thread seal tape is not recommended for this project,” but that sheet covers a handheld bracket, not a fixed head. For your head, follow the sheet that came with it.
None of the opened sources says a leak changes the spray direction.
Check 3: the ball joint and the angle lock
On a ball-joint head, Kallista’s sheet is specific about the joint. It says to “Apply sealant tape to ball joint threads” when installing the joint, and then to “Ensure ball joint is tight using a clean wrench.” It also says to “wrap the jaws with tape or use a rag to protect the finish.”
Kohler’s 1993 sheet gives a first check for performance problems: “For any flow/performance problem, the first item to check is the inlet screen and flow control located in the ball joint.” That sentence is about flow, not angle. It still points to the ball joint as the first place to look when a head performs poorly.
For an adjustable arm, Delta’s sheet gives its own angle step: “To set the shower angle, loosen the wing nuts and adjust the arm to desired position.” It then says: “desired angle is reached, tighten the wing nuts. DO NOT over-tighten.” If your head sits on a slide bar, shower slide bar replacement parts is the next place to look.
None of the sheets gives a lock-nut torque or a set-screw size, so the amount of force is left to the installer.
Check 4: deposits, debris and the line
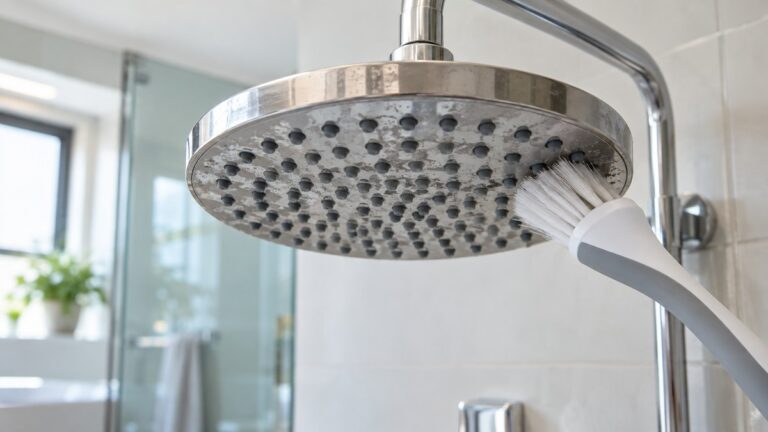
The New Jersey guidance describes the blockage directly: “naturally occurring minerals can build up and block the nozzles (holes) through which water passes.” A North Dakota State University Extension page describes the visible sign: “A whitish buildup on the ends of faucets and shower heads is probably the most obvious result of hard water.” It does not say that buildup alone changes the spray direction, so treat a crust as a reason to check the face, not as proof of the cause.
Hansgrohe’s Clubmaster sheet describes two relevant points. The first: “If you notice a gradual decrease in flow over time,” the sheet says to remove the head and “clean the filter gasket of any debris that may have accumulated.” The second: its “QuicleanTM pins automatically dislodge scale deposits from the shower channels when” the spray mode is changed. The sheet says the pins work as the mode changes, and it does not give a cleaning schedule.
The sheets also deal with debris in the line. Kohler’s 1993 sheet says “Flush out installation to remove debris before installing showerhead.” Kallista’s sheet says to “Run water through the system to flush out dirt and debris.” Kohler’s 113280-2-AB sheet says “With the showerhead off, flush out the system.” The New Jersey guidance says to flush the plumbing “without the flow being restricted by the showerhead.”
Cleaning steps are not repeated here. The New Jersey guidance and the 1993 Kohler sheet cover them, so read those before you take the head apart.
How we chose
This post was built from the opened sources only. We looked for manufacturer installation and service sheets for shower heads, arms, and joints, plus a federal energy job aid, a New Jersey sheet on removing and cleaning a shower head, and a university extension page. Each quoted sentence was checked against the saved text of its page. Retailer listings were left out because they give specifications rather than installation steps. Pages were opened with curl on 2026-10-22.
Thirteen pages returned usable text, and nine are cited. Four were opened and not cited because they cover valves, handheld brackets, or faucet topics rather than a fixed head’s angle. Seven returned a bot-challenge screen, an HTTP 403 error, or no text, and were not counted. The sources are of different ages. The Kohler MasterShower sheet is dated 1993, and the Hansgrohe sheet was revised in 2008.
What we could not verify: what the sources do not say
- Bent arms. None of the opened sources describes a bent shower arm, how to spot one, or how to replace it.
- Cross-threading. No opened source describes a cross-threaded connection or how to back one out.
- Thread size of your arm. The Hansgrohe sheet says to install a 1/2 inch NPT male nipple at the wall. The sources do not state the thread on your arm, so check the arm or its manual.
- Torque. None of the sheets gives a torque figure for the head, the ball joint, or the wing nuts.
- A missing washer. Delta says to make sure the washer is installed. No source says what happens without it.
- Leaks and angle. No opened source links a leak to a change in spray direction.
- Flow and direction. The Department of Energy checklist gives a limit for rated flow, not for spray direction. No source connects the two.
- Cleaning schedule. Hansgrohe says to clean when flow decreases and gives no interval.
- Finish care. Limits for brass or matte black finishes are not in the opened sources. Moen’s sheet gives cleaning limits for its Spot Resist stainless and brushed nickel finishes only.
- Current models. The Kohler sheet is from 1993 and the Hansgrohe sheet from 2008. Newer models may have different parts and instructions.
- Pages not reached. Delta’s help pages, Hansgrohe’s care page, and a Kohler how-to article did not open, so their content is not in this post.
Frequently asked questions
Why does my shower head spray to one side?
The opened sources name four causes: an arm not set straight, a joint that is not tight, a leak at the connection, and deposits or debris in the nozzles. They do not rank the causes for any model. This guide checks them in that order as a reading order, not as a ranking taken from the sources.
How tight should the head be?
Delta’s and Hansgrohe’s sheets describe hand-tightening first. Hansgrohe’s sheet says to “Screw the showerhead to the showerarm by hand” and then to “Finish tightening with a 19 mm wrench.” Kohler’s 1993 sheet warns against overtightening in its three-way aerator step. None of the sheets gives a torque value, so the amount of force is left to the installer.
Does thread tape change the spray?
None of the opened sources says tape changes the angle. The Kallista sheet ties tape to the spray outlets: tape on the arm threads helps avoid plugging them, and pipe dope should not be used. The Moen handheld sheet says thread seal tape is not recommended for its bracket project. Use the tape instruction from the sheet that came with your own head.
Can I fix a bent arm myself?
None of the opened sources covers a bent arm, so this guide gives no steps for one. Delta’s sheet says to hold the shower arm secure while you remove the head. For installation and repair of its faucets, Delta recommends a professional plumber.
How do I tell a deposit problem from a joint problem?
Look at the face first. The North Dakota State University Extension page describes a whitish buildup on shower heads as “probably the most obvious result of hard water.” If the face has that crust, the nozzle holes are the place to look, and the New Jersey guidance describes how minerals block them. If the face is clean and the arm or joint is loose, the arm and joint checks above apply. The sources do not give a test that separates the two causes on every head.
Does a low-flow head cause uneven spray?
The Department of Energy checklist says “Rated flows of new fixtures will be no more than” and then lists “Showerheads–2.5 gallons per minute.” The sources do not connect that limit to spray direction, so they do not answer whether a low-flow head sprays unevenly. If weak flow is the problem rather than the angle, water-saving high-pressure shower heads is one place to compare heads by flow.
Bottom line
Set the arm straight and confirm that the joint or wing nuts are tight before you touch the nozzles. If the spray still leans with a clean face and no leak, the opened sources do not describe a further fix, so stop there and have a professional plumber check the installation, as Delta recommends for installation and repair.
Sources
- Delta Faucet Company, Delta Shower System Installation Instructions, model 85187 Rev. C: https://media.deltafaucet.com/MandI/85187%20Rev%20C.pdf (opened 2026-10-22)
- Kallista, Multi-function Showerhead with Arm, installation instructions 1205966-2-B: https://resources.kohler.com/interiors/kallista/pdf/1205966_2.pdf (opened 2026-10-22)
- Kohler Co., Installation Guide, Showerhead, 113280-2-AB: https://resources.kohler.com/onlinecatalog/pdf/113280_2.pdf (opened 2026-10-22)
- Kohler Co., MasterShower Line Showerheads/Arms, installation and service sheet 112766-2-AA (1993): https://techcomm.kohler.com/techcomm/pdf/112766-2.pdf (opened 2026-10-22)
- Hansgrohe, Inc., Clubmaster Showerhead installation instructions, part 90899501-02 (revised 06/2008): https://assets.hansgrohe.com/mam/celum/celum_assets/16__hruh0002_pdf.pdf (opened 2026-10-22)
- New Jersey Department of Health, Guidance for Removing and Cleaning a Shower Head: https://nj.gov/health/cd/documents/topics/legion/ShowerHead_Cleaning_Guidance.pdf (opened 2026-10-22)
- U.S. Department of Energy, Weatherization Installer Job Aid 24-1, Install a Low-Flow Showerhead (2024): https://www.energy.gov/sites/default/files/2024-07/24-1_install-low-flow-showerhead.pdf (opened 2026-10-22)
- Moen, Handheld Shower Installation Guide INS10819: https://assets.moen.com/shared/docs/instruction-sheets/ins10819.pdf (opened 2026-10-22)
- North Dakota State University Extension, Water Softening (Ion Exchange): https://www.ndsu.edu/agriculture/extension/publications/water-softening-ion-exchange (opened 2026-10-22)