Plan an Over-Door Shower Caddy Installation for Inside-Door Storage
As an Amazon Associate we earn from qualifying purchases.
Over-door shower caddy installation planning for inside-door storage begins with the door’s movement, not the number of bottles you want to store. The caddy must fit the exact top edge, hang on the wet side without striking hardware, and remain stable through the door’s full travel. Measure the door and the proposed storage zone while the enclosure is empty. If the glass is chipped, cracked, loose or out of alignment, do not hang anything from it; have the door assessed first.
Quick answer
- Confirm that both the door maker and caddy maker allow an over-door accessory on that panel.
- Measure top-edge thickness, available drop, shelf depth and every moving clearance before assembly.
- Use every supplied pad, stabilizer and retainer exactly as the caddy manual shows, then test the empty door before loading it.
Identify the panel that will carry the caddy
“Inside-door storage” can mean a pivot door, hinged door, bypass slider or a fixed glass panel beside an opening. Those are not equivalent supports. A caddy that fits over stationary framed glass may collide with an adjacent bypass panel. A unit on a swinging door may add depth exactly where the door approaches a wall, handle or shower control. Begin by finding the enclosure model and reading its care instructions for accessory restrictions.
Do not assume tempered glass is an invitation to clamp or hang hardware from any edge. Edge condition matters, and a caddy hook must not bear on a chip or on exposed hardware. If the enclosure maker does not address accessories, ask it whether the proposed model and mounting position are acceptable. Our comparisons of over-door shower caddies and over-door bath storage can help distinguish layouts, but the door documentation controls the final fit.
Measure a moving envelope, not just the door
Record the door thickness at the bare top edge, excluding a removable sweep or decorative cap unless the caddy is expressly designed to sit over it. Then measure from that edge to the shower floor or tub rim. Compare this with the caddy’s full hanging height. A product page for Better Living’s VENUS model, for example, lists an overall size of 11 inches wide, 4.5 inches deep and 24 inches high. Those numbers describe that model only, but they show the three dimensions every installation needs.
Next, open and close the door slowly while holding a cardboard rectangle where the caddy would hang. Make the template the caddy’s listed width, depth and height. Check the top rail, adjacent panel, wall, towel bar, handle, faucet trim and the user’s standing space. Repeat from both sides of a swinging door. The test should include the shelves’ projected depth, not merely the flat hanging frame.
Calculate the space bottles will actually use
A shelf can clear the wall while a pump bottle does not. Use this planning equation:
Required inside depth = caddy depth + tallest bottle overhang + movement margin.
Suppose a caddy projects 4.5 inches and a pump spout extends 1 inch beyond its shelf. Before adding any movement margin, the occupied depth is 5.5 inches: 4.5 + 1 = 5.5. Measure that distance at every door position. The movement margin is not a universal number; it must be enough that no bottle, hook or hand can be pinched between moving surfaces.
Also compare the tallest bottle with the clear vertical space between tiers. Do not plan to wedge a bottle under an upper shelf. A tight fit encourages users to pull sideways on the caddy, transferring unnecessary force to the door edge.
Match the hanger to the top edge
Manufacturer designs differ. The Costco-hosted instruction manual for one adjustable caddy tells the installer to lift a clip, move the end of the fastening device to suit the shower-door thickness, insert that device into the caddy groove, hang the support and tighten its fixation screw sufficiently to keep it in place. That sequence is useful only for the model covered by that manual. A self-tightening hanger, fixed hook or padded bracket must follow its own instructions.
Verify that the hook reaches over the edge without forcing, spreading or rocking. A hook that is too narrow can concentrate force at its corners; one that is too wide can let the caddy swing. Never improvise by grinding the door, drilling glass or stacking hard shims. If the manufacturer supplies multiple pads, spacers or adjustment positions, use the combination it specifies.
Plan the contact and stabilization points
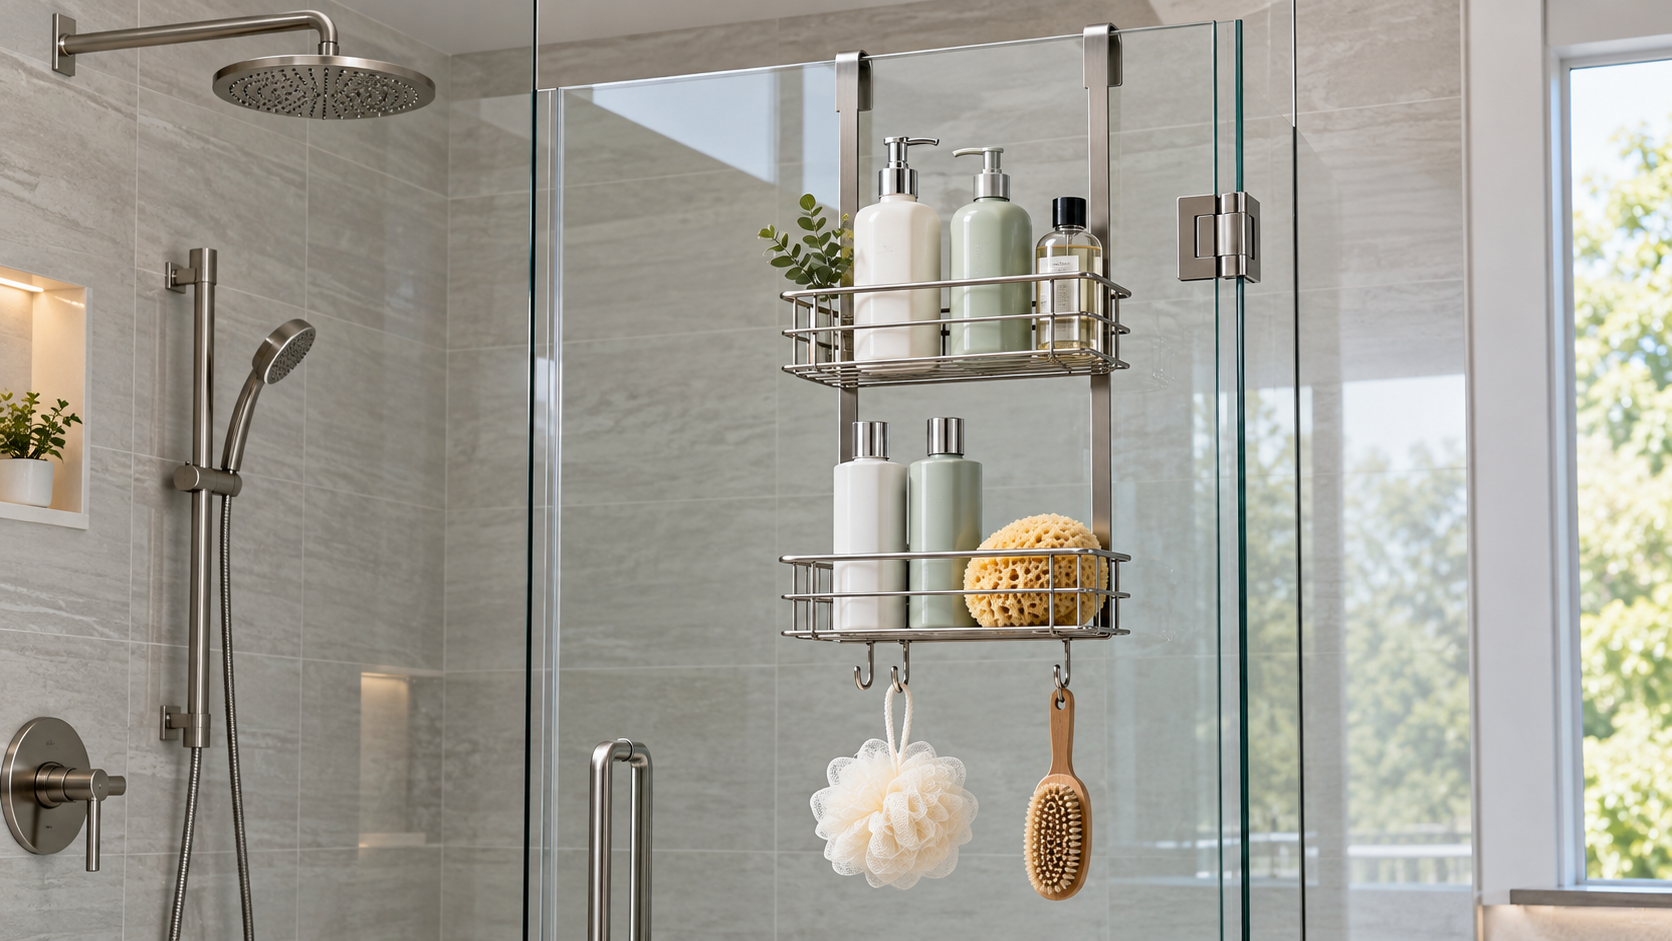
A hanging caddy has an upper support and usually one or more lower contact points. Better Living states that its VENUS caddy includes silicone padding to protect glass and limit rattling, plus suction cups for extra stability. Treat those pieces as part of the installation rather than optional packing material. Clean the contact areas using a method approved by the door and caddy makers, and let them dry before attaching a suction stabilizer.
Place lower pads on flat glass, not across trim, decals, joints or textured bands. A suction cup is a movement control, not a substitute for a properly fitting top hook. If it repeatedly releases, reassess the surface and product compatibility instead of loading the shelves and hoping weight will hold the frame still.
Tools and preparation
Gather the product manual, tape measure, cardboard, pencil, soft cloth, approved glass cleaner, and only the driver or hex key named in the instructions. Keep a folded towel on the shower floor while assembling small parts. Remove bottles, bath mats and loose objects so the door can travel through its complete range without anyone tripping.
Assemble shelves on a stable surface when the manual permits it. Keep protective pads clean; a trapped metal shaving or hard grain can become a point contact against glass. Do not place tools on top of the enclosure or lean a ladder against the door.
Ordered installation plan
- Inspect the enclosure. Look along the glass edges and around hinges or rollers for chips, cracks, loose fasteners, rubbing or misalignment. Stop for any defect.
- Confirm the documented fit. Match the caddy’s hanger range and intended door type to the actual panel and obtain door-maker approval where required.
- Dry-run the envelope. Move the cardboard template through the entire opening cycle and check reach from inside the shower.
- Assemble the caddy. Follow the model-specific order without substituting screws, pads or brackets.
- Adjust the hanger empty. Set it to the measured thickness and place every protective pad before it touches the door.
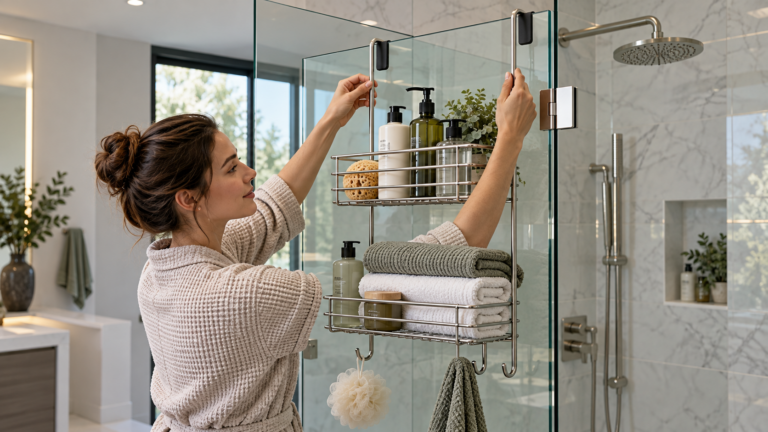
- Hang without impact. Support the caddy’s weight with both hands and lower it onto the approved top-edge location. Do not let it strike the glass.
- Secure the retainer. Tighten only as the manual directs. Attach lower stabilizers to their intended flat surfaces.
- Cycle the empty door. Open and close it slowly several times while watching the hook, lower contacts and adjacent panel.
Load in stages and inspect again
Use the model’s stated capacity if one is provided; the opened sources do not establish a universal capacity. Add the lightest items first and distribute them rather than placing every large bottle on one side. Close the door gently after each loading step. The frame should not creep, twist, clatter against glass or interfere with seals.
After the first shower, unload the caddy and inspect the pads, hook and glass. Look for abrasion, trapped moisture, displaced seals or a suction cup pulling sideways. Continue periodic checks because bottle sizes and loading patterns change. Never use the caddy as a handle or support.
When to choose another location or call a professional
Choose wall-approved, tension or freestanding storage when the only moving panel lacks clearance, the hook does not match the top edge, or the door maker prohibits hanging accessories. An over-door shower hook guide can clarify lighter hanging options, but it cannot override enclosure limits.
Call a qualified shower-door professional if the glass is chipped or cracked, the door sags, rollers bind, hinges move, panels contact each other, or the top edge has hardware that would carry the hanger unevenly. Correct the door first; storage should never be used to conceal or stabilize an enclosure problem.
How we chose
We used a manufacturer product page to identify real protective and stabilizing components and a model-specific instruction manual to establish an adjustable-hanger sequence. We kept those details tied to their products and built the general planning method around measurements the reader can verify on the actual door.
What we could not verify
The opened sources do not provide a universal safe door thickness, load capacity or clearance for all over-door caddies. They cannot confirm whether a particular enclosure maker permits accessories on its moving panel. That approval, the caddy’s capacity and the condition of the glass must be established for the exact installation.
FAQ
Can an over-door caddy go on frameless glass?
Frameless-door fit varies by model, so no single caddy suits every frameless panel. Check the hook range, protective pads and the door maker’s restrictions.
Should the caddy face inside the shower?
For inside-door storage, the shelves face the wet side, but only when they clear the user, controls and door travel. Confirm that nothing can be pinched as the panel moves.
Are suction cups enough to support the caddy?
Not for a design whose weight is carried by a top hanger. On the cited product, suction cups provide extra stability; the over-door support remains the primary mount.
How tightly should I turn an adjustment screw?
Use the product manual’s direction. The cited adjustable manual says to tighten enough to retain the fastening device, not to clamp the glass with improvised force.
What should go on the lowest shelf?
Place heavier items low when the product layout and capacity allow, distribute weight evenly, and make sure bottles cannot hit the floor or tub rim as the door moves.
Bottom line
Install an inside-door caddy only when the documented hanger fit, protected contact points and full moving envelope all work on an undamaged door; otherwise choose storage that does not load the enclosure.
Sources
- Better Living Products — VENUS 3 Tier Over the Door Shower Caddy (opened October 27, 2026)
- Manufacturer instruction manual — Shower door installation (opened October 27, 2026)