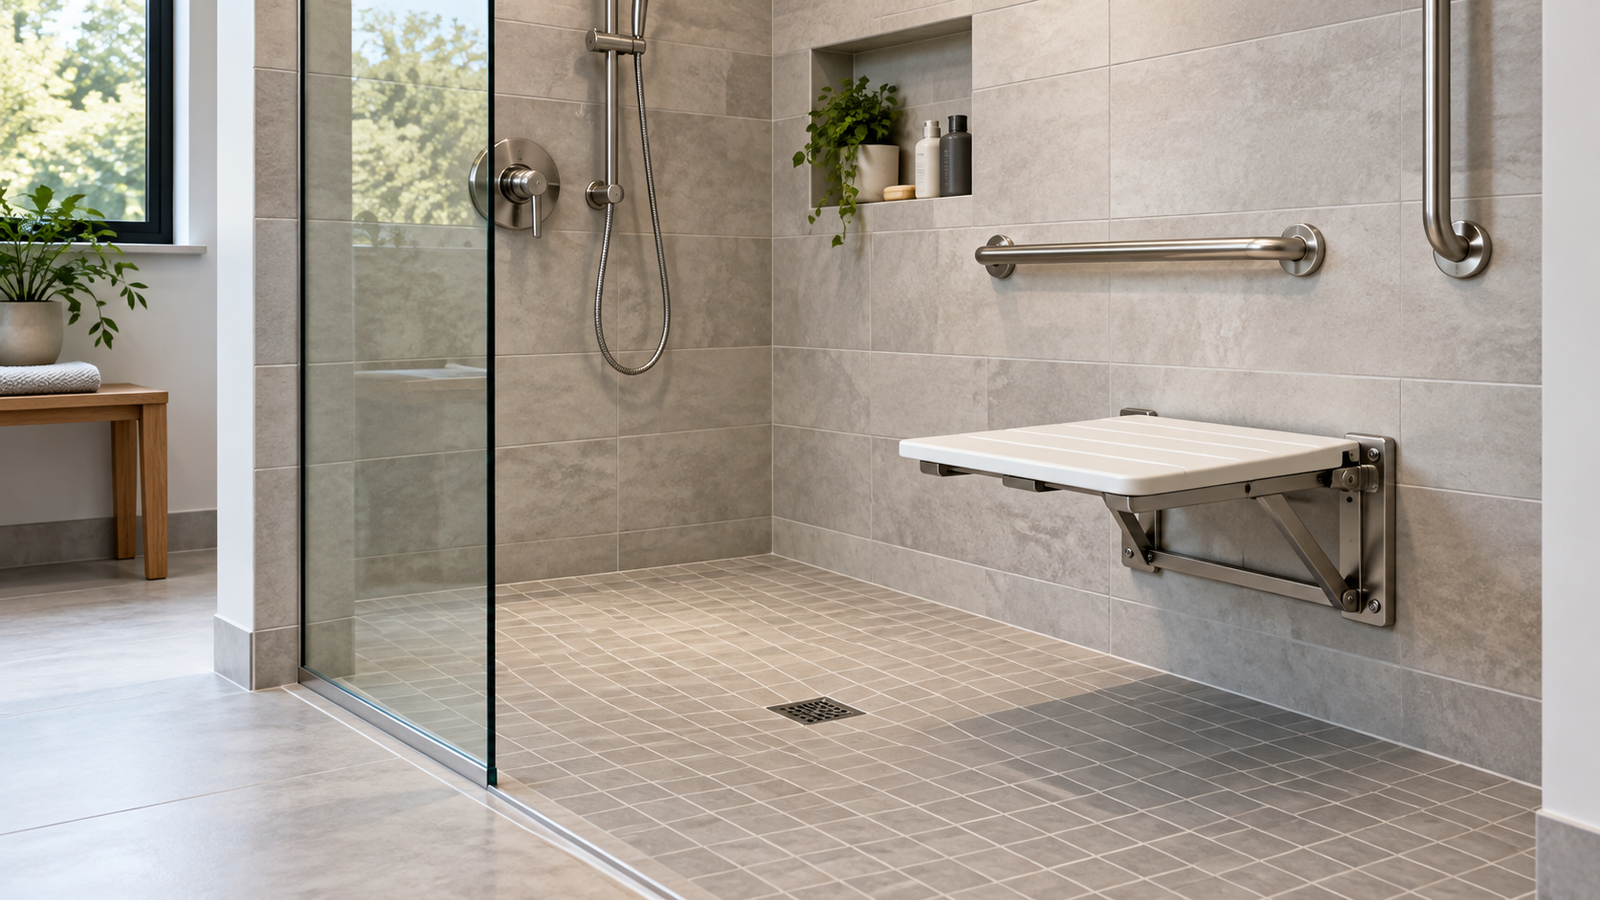
Plan a Shower Seat Installation for Drainage
As an Amazon Associate we earn from qualifying purchases.
Shower seat installation planning for drainage starts before any holes are drilled: confirm where water travels, keep the drain and waste access unobstructed, and choose a seat location that has structural support behind the finished wall. A seat cannot correct a shower floor that holds water, and its legs or folded profile should not create a new obstruction. For a wall-mounted model, follow that model’s mounting pattern and fastener instructions exactly. If the wall structure, waterproofing, or drain performance is uncertain, stop before drilling and use a qualified installer.
Quick answer
- Run the shower first and map the wet area, the water path, the drain opening, and any place where water pools.
- Keep the seat, legs, and mounting work away from the drain cover and the access needed to clean the waste.
- Confirm solid structural support and the manufacturer’s approved fasteners before drilling a finished shower wall.
- After installation, inspect stability and repeat the drainage check with the seat open and folded.
Decide whether the drainage problem comes before the seat
Begin with the empty shower. Remove loose mats and movable items, clean visible debris from the drain cover, and run the shower long enough to see how the receptor behaves. The question is not merely whether water eventually disappears. Look for a persistent puddle at the intended seat location, water crossing the shower entrance, or a drain that cannot keep up with the delivered flow.
The Kohler Mira tray guide requires a drainage test to confirm that the waste can handle the delivered flow. It also says the waste should remain accessible for maintenance and should be cleaned regularly. That manual applies to its named shower trays, but the planning principle is useful here: a seat should not hide the drain cover, prevent removal of a hair trap, or make routine cleaning impractical.
If water already stands where a portable seat’s feet would land, do not treat the seat as the remedy. Likewise, do not plan a wall-mounted seat over a drain that needs frequent access. A slow or leaking drain, a loose receptor, or an unexplained wet area outside the shower needs to be resolved before the mounting work begins.
Map the seat, drain, spray, and entry as one layout
Make a simple plan view of the shower. Mark the drain, the entrance, the control wall, the spray direction, and the full footprint of the seat when it is in use. For a folding seat, mark both the open projection and the closed profile. For a free-standing chair, include every leg and rubber foot. Then verify that the drain cover can still be lifted and that a hand can reach the waste area for cleaning.
Drainage and usability can conflict. Moving a seat away from a drain may place it outside easy reach of the controls or handheld spray. Moving it toward the entry may narrow a transfer path. The U.S. Access Board explains that a transfer-shower seat must extend to within 3 inches of the compartment entry and that controls and clearances must remain usable. Those are accessibility requirements for covered installations, not a universal layout rule for every private bathroom, but they show why the whole compartment must be planned together.
If the seated user needs a movable spray, settle that reach before mounting the seat. Our guide to installing a handheld shower head explains the head-and-hose connection separately. If the choice of spray format is still open, compare the reach implications in our fixed, handheld, and combo shower guide.
Use floor slope as a planning check, not a mounting shortcut
The Access Board guide says the floor of a standard roll-in shower can slope toward drains at no more than 1:48. Expressed over one foot, the calculation is:
12 inches ÷ 48 = 0.25 inch of vertical change over 12 inches of run.
| Planning item | Source value | What to verify on site |
|---|---|---|
| Accessible seat height | 17–19 inches above finished floor | Measure to the seat top and follow the selected model’s instructions |
| Standard roll-in floor slope | 1:48 maximum | Whether the existing floor directs water without creating an unstable seat position |
| Seat-to-entry extent | Within 3 inches in the covered configurations described by the Access Board | Transfer clearance and whether the rule applies to the project |
Do not use that calculation to redesign or grind a finished shower floor. It is a way to recognize that even a deliberately sloped floor changes the relationship between seat legs and the finished surface. A portable chair needs every foot planted as its manufacturer directs; shimming it with an improvised object can create movement. A wall-mounted seat needs to open without striking the floor and should not be used to bridge an uneven receptor.
Confirm the wall can carry the seat before drilling
A finished tile surface does not reveal what is behind it. Determine where the framing or planned reinforcement is located and compare it with the mounting-hole pattern in the exact seat manual. The Access Board notes that walls may be reinforced so a compliant seat can be installed later. That reinforces a critical distinction: the wall finish is not the supporting structure.
The Moen DN7110 document uses six mounting holes and six supplied wood screws. It instructs the installer to make 1/8-inch pilot holes through tile, enlarge the tile-only portion to 1/4 inch, start with the top two mounting positions, and test the finished seat for security. Those dimensions and fasteners belong to that Moen model. Do not transfer them to another seat, substitute anchors, or assume they fit masonry, fiberglass, thin wall panels, or an unknown cavity.
Drilling also crosses the shower’s water-control layer. The Moen document does not specify a waterproofing or sealant procedure. Because a guessed sealing method could damage the assembly, obtain instructions from the seat maker and the shower-system manufacturer. If the required blocking cannot be confirmed, if the hole pattern misses the support, or if pipes or wiring may occupy the drilling zone, this is the point to call a qualified installer.
Prepare a model-specific installation sequence
- Read the complete seat manual. Inventory every bracket, panel, fastener, washer, and tool it names. The Moen document says not to modify or substitute components and to contact the company if anything is missing or damaged.
- Test drainage before covering the work area. Confirm that water reaches the drain and does not escape at the entry. Protect the waste opening from drilling debris; the Kohler Mira tray guide, which covers named Mira trays rather than wall seats, says to cover the waste while work is underway.
- Mark the usable position. Check the open seat, folded seat, drain access, control reach, hose route, door or curtain movement, and entry clearance.
- Verify structure at every mounting point. Match the manual’s hole pattern to framing or reinforcement. Do not proceed on the strength of tile alone.
- Level and mark from the actual seat or template. Moen tells installers to make the DN7110 level before marking its six holes. Use the procedure for the selected model.
- Drill and seal only as approved. Use the bit progression, fasteners, and water-sealing details supplied for the wall system and seat. Stop if those instructions conflict or leave the waterproofing step unresolved.
- Fasten in the stated order. For the DN7110, Moen says to start with the top two holes, install and tighten all screws, and replace the back panels.
- Inspect before use. Confirm the seat opens, closes, and remains secure. Do not stand, jump on, or tilt a seat when its manual prohibits those actions.
Run two separate post-installation checks
Stability check
Follow the manufacturer’s inspection method. Moen says to test that its seat is secure after installation. Look for bracket movement, a seat that will not stay in its intended position, cracked finish around holes, missing hardware, or contact between the open seat and the floor. Stop using the seat if anything moves or appears damaged; the correct response is not another improvised fastener.
Drainage check
With the seat open, run the shower through the spray arrangement expected in normal use. Watch the path to the drain, the entrance, and the area below the seat. Fold the seat and repeat. Confirm that no leg, bracket, dropped part, or construction debris obstructs the drain and that the waste remains reachable. The Kohler Mira guide warns that excessive flow can cause overflow and leaking and calls for a drainage test; its stated 25-liter-per-minute limit applies only to its tray range, so use the limit for your own receptor and waste system.
When the project requires a professional
Stop and seek a qualified installer when structural backing cannot be located, the manufacturer’s fastener pattern does not align with support, waterproofing instructions are missing, or drilling may reach plumbing or wiring. Professional assessment is also warranted when the shower already drains slowly, leaks outside the enclosure, has a flexible or damaged floor, or needs the drain or floor slope altered.
If the installation must satisfy accessibility or building-code requirements, confirm the applicable rules with the authority having jurisdiction. The Access Board dimensions describe covered accessible facilities; they do not replace local code review or the selected manufacturer’s instructions.
How we chose
This plan uses three sources with separate jobs. The Moen document supplies a concrete wall-mounted seat sequence and model-specific drilling details. The Kohler Mira tray manual supplies drain-access and drainage-test guidance. The U.S. Access Board guide supplies accessible layout, height, clearance, load, and slope context. Product-selection claims were excluded because this article is about planning and installation, not choosing a winner. For seat types and listed fit details, see the site’s shower seat comparison.
What we could not verify
- A universal fastener, bit size, sealant, or waterproofing method for all shower walls.
- A universal minimum distance between a shower seat and a drain.
- The load capacity of any seat other than values stated by its own manufacturer.
- Whether a hidden wall has adequate reinforcement without construction records or inspection.
- Whether a private residential installation must follow a particular accessibility provision or local code.
- A universal maximum drain flow. The 25-liter-per-minute figure belongs to the named Kohler Mira tray range.
FAQ
Can a shower seat go over the drain?
Plan to keep the drain cover and waste access clear. The opened tray manual says the waste should remain accessible for maintenance and be cleaned regularly. A seat or its legs should not prevent either task. No opened source gives a universal clearance distance, so use the receptor and seat manufacturers’ instructions.
Should a wall-mounted shower seat be level?
The Moen DN7110 instructions specifically say to make the seat level before marking its mounting holes. Follow the exact manual for your model, because its bracket geometry may differ.
How high should a shower seat be?
The Access Board guide places accessible shower-seat tops 17 to 19 inches above the finished bathroom floor. That two-inch band is an accessibility dimension for covered configurations. Confirm whether it applies to the project and follow the seat manual and local requirements.
Can I mount a shower seat using tile anchors?
Do not assume tile anchors are sufficient. The supporting structure behind the wall matters, and the Moen manual calls for supplied wood screws for its model. Use only the mounting system approved for the exact seat and verified wall construction.
How do I know whether the drain can handle the shower?
Run a drainage test and observe whether water clears without persistent pooling or escape at the entry. The Kohler Mira guide tells installers to test that the waste is adequate for delivered flow. If drainage is slow or leaks appear, resolve that condition before installing the seat.
When should I stop a DIY shower-seat installation?
Stop if you cannot verify structural support, waterproofing, the approved fasteners, or a safe drilling zone. Also stop if drainage, leakage, floor movement, or code compliance needs correction. Those conditions exceed a straightforward seat installation.
Bottom line
Install only when three checks agree: the drain stays clear and serviceable, every mounting point reaches approved structural support, and the finished seat remains stable without interfering with entry, controls, or water flow. If any one of those checks fails, correct the underlying condition before drilling.
Sources
- Moen, Home Care Technical Specification: Fold Down Shower Seat DN7110: https://assets.moen.com/shared/docs/product-specifications/dn7110sp.pdf (opened 2026-10-27).
- Kohler Mira, Mira Flight Shower Trays Range Installation and User Guide: https://resources.kohler.com/plumbing/mira/pdf/1192074-w2-d-mira-flight-shower-trays-range-installation-and-user-guide.pdf (opened 2026-10-27).
- U.S. Access Board, Chapter 6: Bathing Rooms: https://www.access-board.gov/ada/guides/chapter-6-bathing-rooms/ (opened 2026-10-27).