Plan a Shower Curtain Liner Installation for Hookless Setup
As an Amazon Associate we earn from qualifying purchases.
Shower curtain liner installation planning for a hookless setup starts by identifying which “hookless” design you own. An integrated-ring curtain and a snap-in replacement liner are one system; a standalone liner with built-in rings is another. Their parts are not automatically interchangeable. Read the curtain label, count and measure the attachment points, measure the rod, and confirm where the liner must end inside the tub or shower base before ordering or hanging anything.
Quick answer
- Match the replacement liner to the curtain model, attachment style, dimensions and care label.
- Confirm that integrated rings fit the rod and that the finished liner hangs inside the water-control edge.
- Stop if the rod is loose, bowed or damaged; a liner installation should not be used to diagnose or repair its support.
Name the hookless system before measuring
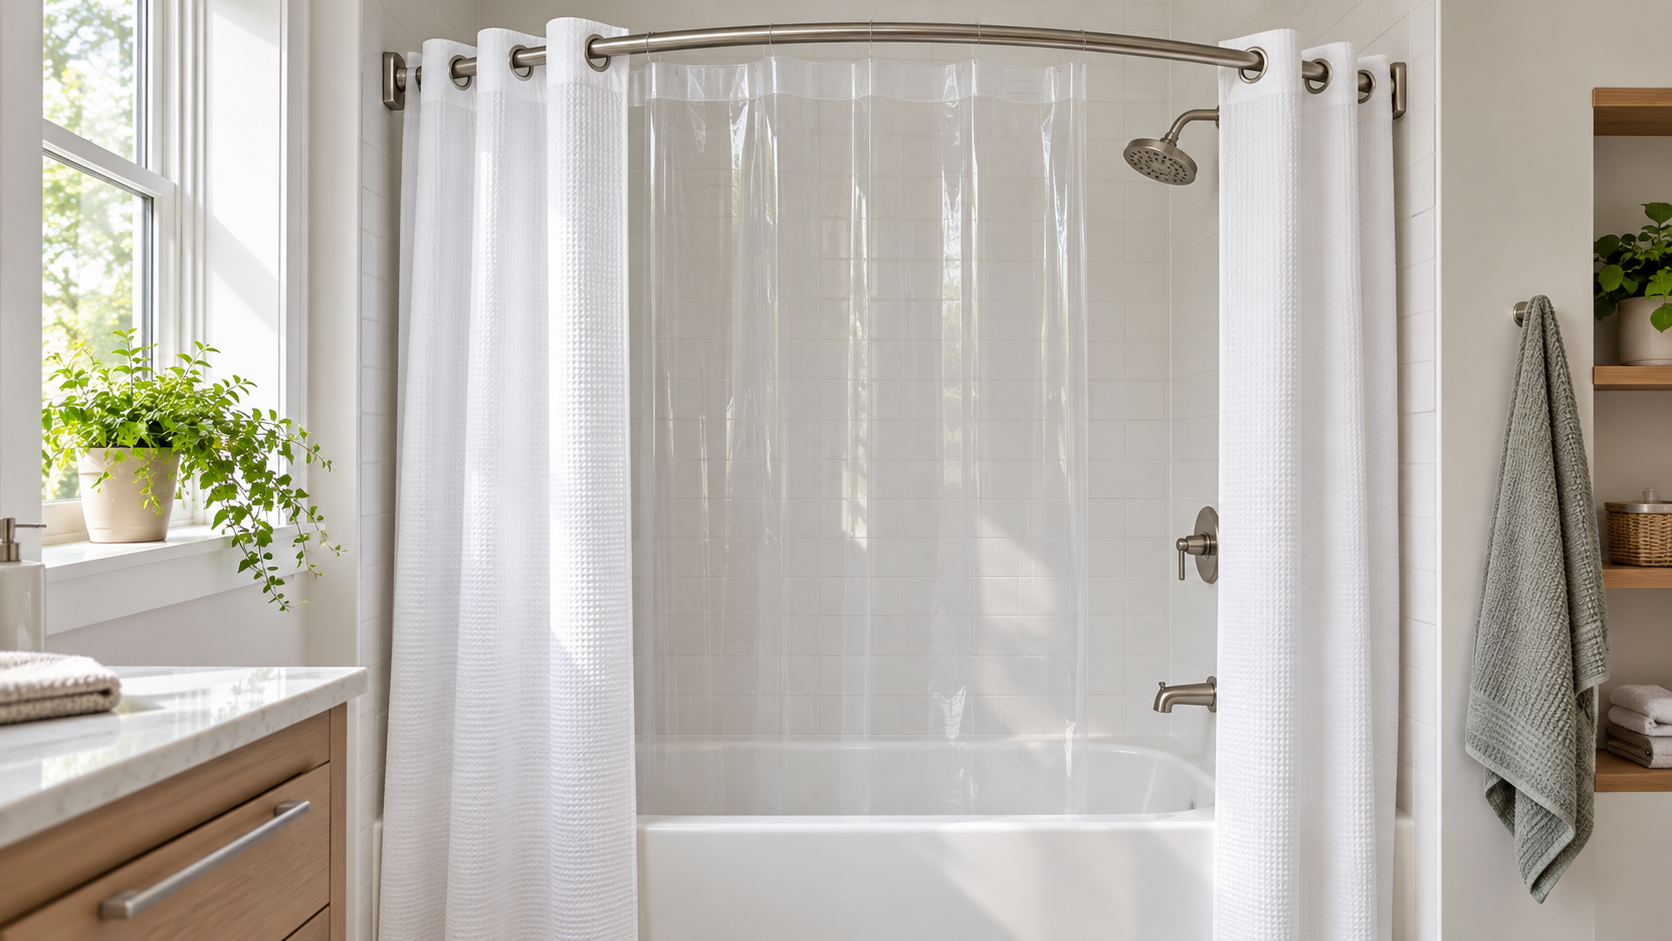
Hookless can describe at least two arrangements. In a complete integrated system, the outer curtain has split or flexible rings built into its top and a shorter inner liner snaps below a sheer window. In a standalone design, the liner itself may have oversized openings or built-in rings and does not attach to an outer curtain. A replacement for one arrangement will not necessarily work with the other.
Hookless describes its 3-in-1 system as an outer curtain, snap-in liner and built-in Flex-On rings. Its FAQ says the snap-in replacement liners fit Hookless curtains with a sheer top window and directs buyers to check the size tag. That is the first compatibility check: find the sewn label or model information before relying on a generic dimension in a store category.
Build a four-measurement fit sheet
Rod diameter
Measure the thickest part of the rod where the integrated rings will travel, including any sleeve or telescoping joint. Hookless says its Flex-On rings fit a standard fixed or tension rod up to about 1.25 inches in diameter. Treat that as a limit for that named ring system, not for every curtain sold as hookless.
Opening width
Measure the usable span that the curtain must cover, then compare it with the maker’s finished curtain width. The fabric needs enough width to close the opening without pulling its first and last rings sideways. Do not select solely from the tub’s nominal length.
Rod-to-water-control height
Measure vertically from the rod to the point where the liner should end inside the tub or shower base. Keep the tape vertical and measure at both ends because a rod can be out of level. The liner should direct water inward without lying in a heap on the floor.
Snap pattern
For a detachable liner, record the number, spacing and orientation of snaps on the outer curtain. Measure the distance from the first to last attachment and the drop from the snap row to the intended liner bottom. Matching width alone does not prove the snaps align.
Use the finished drop, not the package name
A snap-in liner is often shorter than the outer curtain because it begins below the top window. Calculate the required liner drop this way:
Required liner drop = snap-row height above the tub interior − desired bottom clearance.
If the snap row is 58 inches above the inside tub floor and you want the liner bottom 2 inches above that floor, the required drop is 56 inches: 58 − 2 = 56. This is a planning example, not a universal installation height. Compare your result with the exact replacement liner’s finished dimensions and the curtain maker’s instructions.
A liner that is too short can release spray over the tub edge. One that is too long may bunch, stay wet or interfere with footing. Include any weighted or magnetic lower edge in the length rather than folding it upward.
Check the rod before hanging the curtain
Slide a hand lightly along the rod and inspect its brackets, tension points and telescoping seam. It should not rotate, bow excessively or pull away from the wall under the empty curtain’s normal movement. Confirm that decorative end caps do not block the built-in ring openings.
Do not stand in a wet tub or balance on the rim to reach the rod. Use a stable, appropriate step platform on a dry floor if needed, or have another person handle the far end. If a fixed rod has loose anchors or damaged wall material, stop and arrange a proper repair. The liner adds little weight, but opening and closing it produces repeated sideways force.
Prepare the liner without damaging its attachments
Unfold the new liner on a clean, dry surface. Find its inside face, top edge and any labels that establish orientation. Inspect every snap or integrated ring for incomplete molding, tears or sharp edges. Compare attachment spacing directly with the outer curtain before lifting either piece to the rod.
Do not iron creases, apply heat or wash a new liner unless the care label permits it. Material and care directions vary. If magnets are present at the lower corners, test the tub or shower surface with an ordinary household magnet before expecting them to hold; fiberglass and acrylic surfaces generally should not be assumed to attract a magnet.
Installation path for a snap-in Hookless liner
- Leave the outer curtain supported. If its integrated rings are already seated correctly on the rod, spread the curtain fully so the snap row is visible.
- Confirm orientation. Place the liner’s water-facing side toward the shower and align its top edge below the outer curtain’s window as the model requires.
- Start at one end. Join the first snap without stretching the liner. Confirm the two halves are centered before pressing.
- Work sequentially. Support the liner’s weight with one hand while closing each next snap. Do not skip to the far end and pull the middle into place.
- Inspect the row. Every fastener should lie flat, with no doubled fabric or missed attachment.
- Place the lower edge inside. Let it fall naturally into the tub or shower base without folding the hem.
- Slide the complete curtain. Open and close it slowly, watching the rod joint, built-in rings and liner corners.
Installation path for an integrated-ring curtain and liner
If the liner and curtain form one complete assembly, follow the manufacturer’s ring-opening method. The Hookless installation sheet shows installation at the rod through the curtain’s integrated openings, avoiding separate hooks. Support the fabric so one ring is not carrying the entire assembly while you attach the next.
Begin near one end and continue in order. Keep the lower liner inside the tub throughout the process so it does not snag on a control, spout or door track. Once all rings are seated, spread them evenly across the usable rod. Check that the slit or closure in each ring has returned to its intended position and that none is caught at the telescoping seam.
Run a dry movement check and a controlled water check
First, move the dry curtain across the opening several times. Watch for a ring catching, a snap opening, or a lower corner dragging. Close the curtain fully and verify coverage at both ends. The liner must remain on the wet side of the tub ledge or shower threshold.
For the water check, point the shower away from the opening, start at low flow and observe the lower edge. Then use the normal spray position while remaining outside the enclosure. Look for water escaping at the ends, through a gap created by a twisted snap row, or beneath a liner that is too short. Correct placement or fit; do not tape the liner permanently to a wet enclosure.
Plan for removal and care at installation time
A detachable liner is useful only if it can be removed without pulling on the outer curtain. Practice releasing one end snap while supporting the fabric, then reconnect it. Never yank down the full liner from the center. Store the product’s care directions where they can be found later because polyester, PEVA and vinyl instructions can differ.
After each shower, spread the liner rather than leaving it bunched. For a deeper cleaning routine, see our guide to cleaning a shower curtain liner. Confirm that its bottom remains inside the tub during use and can hang freely afterward.
When the project is no longer a liner swap
Stop if the rod moves at its supports, a tension rod repeatedly slips, wall material is damaged, or the only way to achieve the correct liner drop is to relocate a fixed rod. Do not overload a weak rod with an additional outer curtain. A qualified installer should address failed anchors, uncertain wall backing or enclosure damage before the curtain is rehung.
The same boundary applies when plumbing seems to cause splash outside the enclosure. Do not modify a shower head or control as part of a liner installation. Use the site’s shower head installation guide only for an ordinary compatible head swap; concealed plumbing or mounting changes require the appropriate professional.
How we chose
We used the Hookless manufacturer FAQ to define the 3-in-1 parts, replacement-liner compatibility and stated rod diameter. We used a Hookless installation sheet to confirm that the integrated curtain attaches at the rod without separate hooks. Measurements and checks are limited to facts a reader can verify on the actual curtain, liner, rod and enclosure.
What we could not verify
The opened sources do not establish universal snap spacing, liner dimensions, rod capacity, magnetic performance or care instructions. They also cannot confirm the condition of an existing rod or wall anchors. The label and manual for the exact curtain and liner must supply those details.
FAQ
Will any snap-in liner fit a Hookless curtain?
No. Match the curtain model or stated compatibility, size tag, snap count, spacing and finished drop. Similar-looking snap rows can still differ.
Do I need to remove the shower rod?
The cited Hookless system is designed around integrated rings that attach at the rod without separate hooks, so the cited sheet does not require removing the rod. Follow your model’s directions.
Which side of the liner faces the shower?
Use the label or manufacturer instructions to identify the water-facing side. Do not infer orientation from color alone, especially when the liner has a coated face.
Why do the bottom magnets not hold?
Magnets work only against a compatible magnetic surface and are not the primary hanging support. Acrylic, fiberglass, stone and some coated surfaces may not attract them.
Can I add separate hooks where a snap is missing?
Do not puncture or improvise attachments. A missing or broken snap changes how the liner hangs and can tear the fabric; obtain the compatible replacement part or liner.
Bottom line
Choose and install a hookless liner only when its named system, attachment pattern, finished drop and rod fit all match; if the rod or supports move, repair them before hanging the liner.
Sources
- Hookless — Frequently Asked Questions (opened October 27, 2026)
- Hookless/FPG — Install a Hookless Shower Curtain (opened October 27, 2026)