Plan an Over-Door Shower Caddy Installation for Frameless Glass
As an Amazon Associate we earn from qualifying purchases.
Over-door shower caddy installation planning for frameless glass is a compatibility exercise before it is a storage project. The hanger must match the measured glass thickness, rest on protective contact surfaces, clear the door’s seals and top gap, and remain stable through the door’s full swing. Never force a generic hook over a tempered-glass edge, drill the glass, or assume a product shown on one enclosure fits another. Test the empty caddy first and reject it if metal touches glass or the door no longer moves freely.
Quick answer
- Measure glass thickness, top clearance, hinge position, and the open/closed path before selecting the caddy.
- Use only the pads, stabilizers, and loading method supplied for that model.
- Cycle the door empty, then add items gradually while watching every contact point.
- Stop if the hanger pinches a seal, creates metal-to-glass contact, chips an edge, or changes door alignment.
Identify the enclosure before choosing a hanger
“Frameless” describes an appearance, not one universal door construction. A pivot door, hinged door, sliding panel, and fixed panel present different loads and clearances. Find out which glass element actually moves and which edges are permitted to carry an accessory. A fixed return panel may look convenient but can be too close to a wall or unsupported at the intended point.
Inspect the top edge in bright light. Look for existing chips, roughness, hardware, clips, seals, and uneven gaps. Do not install over damaged glass. Note whether the door swings inward, outward, or both ways. Trace the full path, including the caddy’s projected depth on each side, rather than checking only the closed position.
Build a five-measurement fit record
- Glass thickness: measure where the hanger will sit without clamping a metal tape edge against the glass.
- Top gap: measure the smallest clearance above the moving panel through its full swing.
- Edge-to-hardware distance: leave the hinge, clamp, roller, and seal zones untouched.
- Inside drop: confirm the caddy clears the curb, bench, controls, and floor.
- Outside projection: confirm the back of the caddy or hook cannot strike a wall, towel bar, toilet, or person.
Compare those numbers with the caddy’s dimensional drawing and its permitted door range. If the manufacturer does not state a compatible glass or door thickness, do not invent one from how flexible the hanger feels.
Calculate swing clearance
remaining swing clearance = smallest existing door clearance − hanger thickness above the glass
If the door has a 3/8-inch minimum gap along its path and the protected hanger assembly adds 1/4 inch above the glass, the arithmetic remainder is 1/8 inch. That number is not an approval: flex, alignment tolerance, and seals may use the remainder. Confirm the real assembly without forcing the door.
Also compare the caddy’s lower stabilizer position with the uninterrupted flat glass area:
usable stabilizer span = clear glass height − top-hanger drop − hardware exclusion zones
This keeps a lower support pad from landing partly on a clamp, logo, handle fixing, or bevel.
| Observation | Decision | Why |
|---|---|---|
| Protected hanger matches stated door range | Continue to empty fit | The model has a documented compatibility basis |
| Metal can touch the glass edge or face | Stop | Unprotected hard contact can concentrate stress and scratch finishes |
| Hook overlaps hinge, seal, or clamp | Move or reject | The accessory must not interfere with enclosure hardware |
| Door binds at any point | Remove the caddy | Normal travel has changed |
| Lower support cannot sit flat | Reject the location | The loaded caddy may swing or twist |
Use the exact model’s support system
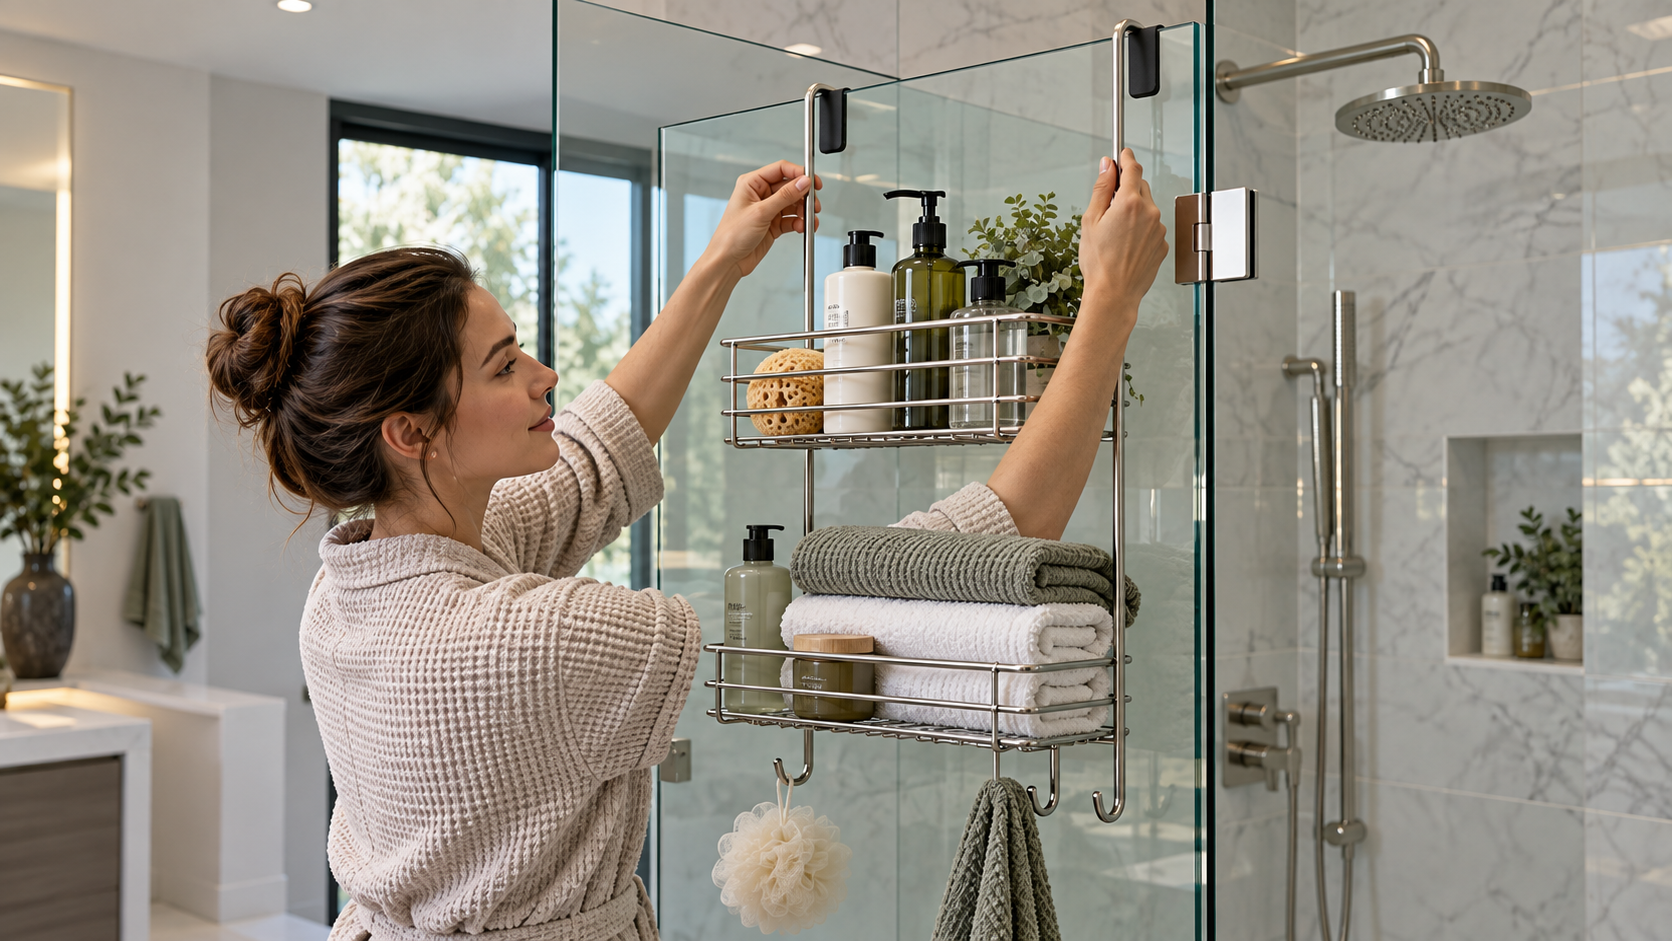
Simplehuman says its over-door model hooks over the shower door and uses an adjustable hanger that tightens for grip. The manufacturer also describes support from above and below to reduce wobble and swing. Those statements apply to that caddy, not to every over-door design. A generic rack with one loose hook may behave differently.
Lay out every supplied cap, sleeve, bumper, pad, fastener, and stabilizer. Protective parts are functional, not packing material. Do not replace a missing pad with folded paper, improvised foam, tape, or adhesive unless the manufacturer authorizes that substitute. Added thickness can also make the hook too tight for the glass.
Plan the load before hanging the rack
List the bottles and tools you intend to store, then place them on a bathroom scale together if the caddy manual gives a capacity. Stay within the model’s stated limit and respect any shelf-specific directions. Without a stated capacity, do not manufacture a safe number; begin with a light arrangement and ask the manufacturer.
Keep heavier items low and close to the glass so they create less turning force. A basic comparison is:
turning tendency = item weight × horizontal distance from the glass
A bottle placed twice as far from the glass creates twice the turning tendency at the same weight. This explains why a light tool on a projecting hook can matter even when the total rack load seems modest. It is a planning relationship, not a glass-load rating.
Prepare without modifying the enclosure
- The caddy, complete hardware, dimensional drawing, and model instructions
- A plastic caliper or a thickness measurement already documented by the enclosure maker
- Tape measure, painter’s tape, clean microfiber cloth, and approved glass cleaner
- A paper list of intended contents and their combined weight when relevant
Clean and dry only the intended contact zone with products approved for both glass and pads. Do not file the hook, grind a glass edge, drill tempered glass, loosen enclosure clamps, or remove door seals. If fit requires any of those changes, the caddy is incompatible.
Ordered empty-fit procedure
- Mark exclusion zones. Use painter’s tape near, not on, the intended contact area to show hinge, clamp, handle, and seal boundaries.
- Assemble the caddy off the door. Follow its sequence and set shelves before the rack becomes awkward to handle.
- Install every protector. Confirm pads cover all manufacturer-designated contact points.
- Support the rack with two hands. Lower the hanger over the approved edge without twisting it or striking the glass.
- Adjust only as directed. For the Simplehuman design, use its adjustable hanger; do not force another model to imitate it.
- Set the lower support. It should meet a flat, hardware-free area and prevent free swinging.
- Inspect all sides. Use a flashlight to look for exposed metal, folded pads, pinched seals, and point contact.
- Cycle the empty door. Open and close it slowly through every permitted direction while another adult watches clearances.
Load and inspect in stages
Add one group of items at a time. Start low and near the panel. After each group, wait for movement to stop, then check the top hanger, lower supports, door alignment, and glass contact. Do not slam the door to “prove” the installation. Normal operation should remain smooth and quiet.
Remove the caddy immediately if it slides toward hardware, twists, rattles against glass, or causes the door to self-open or self-close differently. Recheck after the first shower because wet bottles, moving water, and repeated door use change the practical load. For product-selection context, see the over-door caddy guide and the shower-door shelf fit guide.
When to involve a professional
Contact the enclosure manufacturer or a qualified glass installer if the glass thickness is unknown, the edge is chipped, the door is misaligned, hardware is loose, or the proposed contact zone is not documented. Do not ask a general handyman to drill or reshape tempered shower glass. If the door changes alignment after an empty fit, remove the accessory and have the enclosure checked before use.
How we chose
This plan starts with the actual frameless enclosure geometry and uses the manufacturer’s over-door installation concept only for its own caddy. It treats upper and lower supports as a system, separates empty door operation from loaded behavior, and uses measurable exclusion zones to avoid hardware and seals.
What we could not verify
The opened manufacturer pages do not provide a universal glass thickness, hanger capacity, pad material, door gap, or safe location for every enclosure. They do not authorize modifying tempered glass or another brand’s hanger. Compatibility must come from the exact caddy and enclosure documentation.
FAQ
Can any over-door caddy hang on frameless glass?
No. The hanger range, protective surfaces, lower supports, hardware location, and door path all have to match.
Can I add felt or tape if the hook is loose?
Only if the caddy manufacturer approves that material and method. An improvised layer can shift, retain moisture, or make the hook bind.
Should the caddy go on the moving door or a fixed panel?
Use only a location approved by the caddy and enclosure instructions. A fixed panel avoids door motion but is not automatically approved to carry the accessory.
How can I stop the caddy from swinging?
Install the supplied lower supports on clean, flat glass and distribute items as directed. If the model has no effective stabilization for your enclosure, choose another design.
Is a small chip at the top edge acceptable?
Do not cover or load a damaged edge. Remove the caddy from consideration and ask a qualified glass professional to assess the panel.
Can I close the door if it barely clears the hook?
No. “Barely” leaves no allowance for movement, seals, or alignment variation. The door must travel freely without contact throughout its range.
Bottom line
Use an over-door caddy on frameless glass only when the documented hanger range, protected contact points, lower support, and full door path all fit without force; one failed condition means choosing a different storage method.
Sources
- Simplehuman, Over Door Adjustable Shower Caddy (opened October 27, 2026): https://www.simplehuman.com/products/hanging-shower-caddy-over-door
- Simplehuman, Product Support index (opened October 27, 2026): https://www.simplehuman.com/collections/product-support