Plan an RV Shower Head Installation for Low-Flow Pump
As an Amazon Associate we earn from qualifying purchases.
RV shower head installation planning for low-flow pump should begin with the pump curve and existing faucet connection, not with a promise of “more pressure.” A shower head cannot create pressure the pump does not supply. Choose a handheld whose usable flow falls within the pump’s operating range, retain the correct hose washers, keep the hose path open, and change one component at a time. After assembly, prime with cold water and watch both the joints and pump behavior. Stop if the pump runs continuously without flow, rapidly cycles, leaks behind the wall, or exposes damaged 12-volt wiring.
Quick answer
- Identify the pump model, published curve, shutoff setting, and duty rating before selecting a shower head.
- Verify the RV faucet outlet, hose ends, washers, holder, and available wall space rather than assuming residential parts fit.
- Hand-tighten gasketed hose joints and run a cold-water test while listening for abnormal cycling.
- Use an RV technician or plumber for hidden leaks, pump wiring, pressure-switch adjustment, or fixed-plumbing changes.
Start with the low-flow pump’s real operating point
Pump pressure and shower flow are related, but they are not the same measurement. PSI describes pressure; GPM describes the water volume moving each minute. A demand pump’s pressure generally falls as flow rises. The Shurflo Lo-Flo 105 manual illustrates the point: its published curve descends from near 30 PSI at very low flow to about 10 PSI at 1.00 GPM. That curve is model-specific, but the planning lesson applies broadly—do not compare a shower head’s rated flow at high test pressure with a small RV pump as if the figures describe the same condition.
Find the exact pump label and manual. Record voltage, maximum or open flow, shutoff and restart pressure, duty cycle, port size, strainer requirement, and whether the maker permits adjustment. The cited 105 Series is a 12 VDC positive-displacement pump with 3/8-inch barb ports, a 30 PSI factory shutoff, a turn-on point of 25 ± 5 PSI, and intermittent duty. Those figures are not defaults for every RV.
Compatibility sheet to complete before buying parts
| Item | Record | Why it matters |
|---|---|---|
| Pump | Model, curve, duty cycle, restart/shutoff | Defines available flow and expected cycling |
| Faucet outlet | Thread or proprietary connection; condition | Determines whether the hose attaches directly |
| Hose | End sizes, washer seats, length, bend radius | Missing seals and tight bends cause leaks or restriction |
| Handheld | Flow rating and required compensating valve | Must make sense at the pump’s operating range |
| Holder | Mount style, wall material, wand fit, hose clearance | Prevents a loose wand and a crushed hose |
Measure the existing arrangement before disassembly and take a photo of the hose path. RV wet baths often have less space behind the wand than a house shower. A long residential hose can drag in the pan or fold sharply at the faucet. A large head can strike a cabinet, ceiling, or door when placed in the holder.
Use flow math to plan tank time, not spray force
If a pump delivers 1.00 GPM at the relevant condition and the usable fresh-water allocation is 20 gallons, the theoretical continuous shower time is:
20 gal ÷ 1.00 gal/min = 20 minutes.
This is a planning ceiling, not a promised shower duration. Other fixtures may draw water, the tank may not yield its full labeled capacity, and the pump may not hold exactly 1.00 GPM through the installed head and hose. Divide the usable gallons reserved for showers by the expected operating GPM, then subtract a margin for priming and other uses. A pause or trickle control can reduce water use while lathering, but follow its instructions; some controls intentionally do not shut off completely.
Do not remove a flow regulator to chase stronger spray. A less restrictive head may draw more water and move the pump to a lower-pressure point on its curve. The better question is whether the head is designed to form a useful spray at the flow the pump can actually maintain.
Prepare the RV and the installation parts
Turn off the pump, disconnect campground water, open the shower control briefly to relieve pressure, and protect the pan drain from dropped parts. Assemble the new handheld, hose, included washers, holder, and only the tape or tools specified by the manufacturer. Keep the old head and hose until the new setup passes all checks.
Inspect the faucet outlet for cracks, looseness, damaged threads, or movement at the wall. If the outlet turns with the hose nut, stop rather than twisting hidden plumbing. Examine both washer seats. A flat gasket makes the seal on many shower-hose connections; thread tape cannot replace a missing washer.
The Oxygenics PowerFlow RV instructions are a useful product-specific example. They call for removing the hose counterclockwise, clearing old tape, optionally applying two or three clockwise wraps at the faucet mount, and hand-tightening both the hose and handheld. They also state that washers must be installed in both hose ends. Apply those instructions only to that model; another maker may prohibit tape on gasketed joints.
Installation sequence that isolates problems
- Establish a baseline. With the old shower still fitted, note whether the pump primes, cycles with all fixtures closed, or delivers uneven flow. A pre-existing fault should not be blamed on the new head.
- Depressurize. Turn off every water source, open the shower valve, and wait until flow stops.
- Remove the old handheld and hose. Support the faucet outlet with one hand and turn only the hose nut. Do not torque the wall fitting.
- Clean and inspect. Remove loose tape only where tape was used. Wipe the gasket seats and check that threads start cleanly by hand.
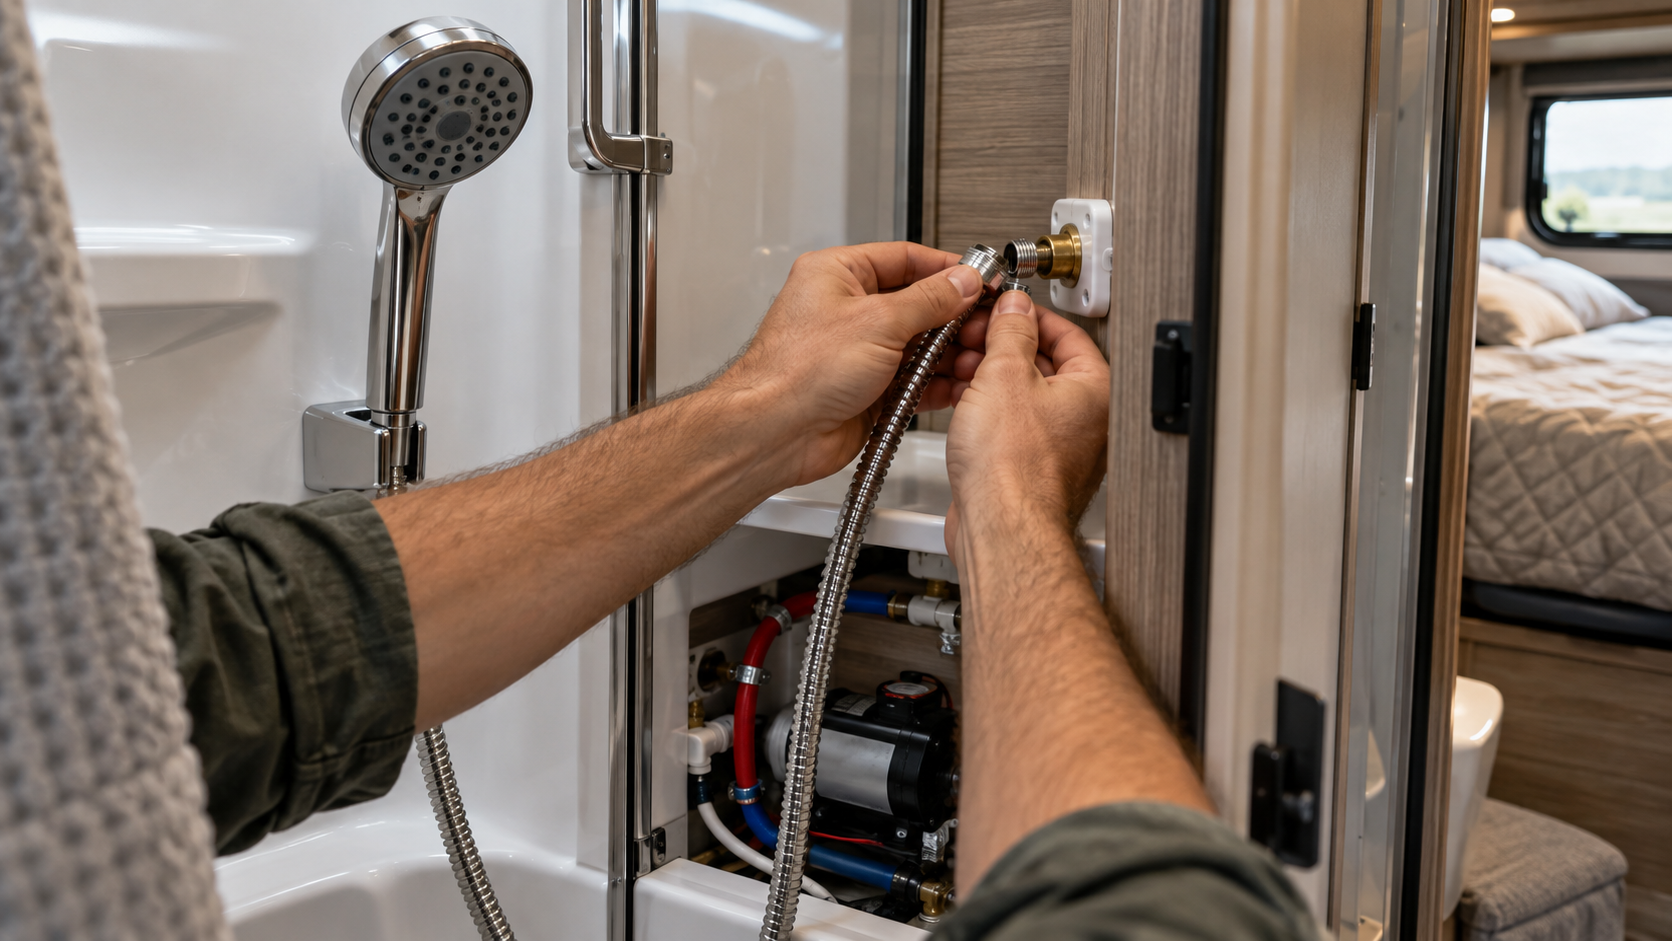
- Fit the hose to the faucet. Seat the correct washer. Use tape only if the product manual calls for it at that connection. Thread clockwise without cross-threading and hand-tighten.
- Attach the handheld. Confirm the second washer is flat, then hand-tighten the other hose end to the wand.
- Route before mounting. Move the wand through its full usable range. Keep the hose out of the door, drain, sharp trim, and a bend tight enough to flatten it.
- Fit the holder as instructed. Clean and dry an adhesive mounting surface, or reuse the existing holder only if the wand seats securely. Do not drill an RV wall without confirming structure and concealed services.
- Restore water at the lowest practical demand. With the shower valve closed, reconnect the water source or switch on the pump. Check whether the pump reaches shutoff normally.
- Prime and test cold. Open the shower slowly, purge air, select each spray mode, and inspect every accessible joint.
Read the pump during the final inspection
The installation is not finished merely because water exits the nozzle. Close the shower valve and confirm the pump reaches shutoff and stays off. A pump that restarts with all fixtures closed indicates a leak, trapped air, a check-valve problem, or another system fault that needs diagnosis. Do not mask that symptom with more tape.
Open the shower and listen. Rapid on-off cycling may mean the selected spray mode is too restrictive for the pump/system combination, but it can also reflect an accumulator, pressure switch, blocked strainer, air leak, low voltage, or other equipment issue. Return the shower to a known-open mode. If cycling continues, stop and follow the pump maker’s troubleshooting procedure.
Dry the faucet, both hose nuts, and the base of the wand, then run water long enough for a fresh bead to appear. If a gasketed joint leaks, turn off and depressurize before reseating the washer. Do not use a wrench to crush the gasket. Check the holder with the hose wet and filled because the added weight can reveal an insecure mount.
Protect the water system after installation
The CDC advises confirming that campground water is safe before connecting an RV. When dry camping, fill tanks from a safe drinking-water source. It also advises following the RV maker’s instructions for draining, disinfecting, and flushing the water system. A new shower head does not disinfect stored water, and a screen or nozzle is not a germ-removal device.
Before travel, drain the hose if the product permits, seat the wand in its holder, and secure any loose loop so it cannot strike the wall. Winterize the shower branch as part of the RV manufacturer’s procedure; a small amount of trapped water can damage a hose, wand, or faucet in freezing conditions.
When to stop and call an RV technician
Stop for a leaking or rotating wall outlet, water appearing behind the panel, a pump that will not stop, damaged 12-volt wiring, a hot connector, a blown fuse, or a pressure-switch adjustment. These are not shower-head-only tasks. A licensed RV technician or plumber should also handle fixed plumbing modifications and uncertain winterization. Contact the shower manufacturer when the supplied hose, washer, holder, or flow requirement does not match the manual.
How we chose
We built the sequence around checks that separate a head-and-hose installation from a pump or plumbing problem: baseline behavior, pump curve, connection type, washer placement, hose routing, closed-valve shutoff, open-flow cycling, and fresh leak inspection. The shower manufacturer manual supports the assembly details. The pump manufacturer manual supports the low-flow operating example. CDC guidance sets the safe-water and sanitation boundary.
What we could not verify
The sources do not establish the pump, faucet thread, tank capacity, hose length, wall construction, or electrical layout in a reader’s RV. They do not show that a shower head rated at one laboratory flow will deliver that rate on every low-flow pump. The 20-minute calculation is illustrative and excludes unusable tank volume, other fixtures, priming water, voltage drop, and pressure losses. Verify those values in the exact RV, pump, and shower manuals.
FAQ
Will a high-pressure RV shower head increase pump pressure?
No shower head can create supply pressure. It can change nozzle area and spray velocity, which may make the spray feel different. The pump curve and plumbing restrictions still determine the available operating point.
Do RV shower-hose connections need thread tape?
Follow the selected model’s manual. The cited Oxygenics instructions make tape optional at the faucet mount and rely on washers in both hose ends. Many gasketed hose joints seal at the washer rather than the thread.
Why does the pump cycle rapidly on one spray setting?
That setting may restrict flow enough to reach the pump’s shutoff threshold repeatedly, but the same symptom can have system causes. Return to a more open setting and use the pump manual’s troubleshooting sequence if cycling remains.
How can I compare RV shower-head options?
Our RV shower head comparison focuses on head choices, while the Oxygenics Fury RV handheld guide provides a model-focused reference. Confirm every candidate against the installed pump and faucet.
Can I drill a new holder into the RV shower wall?
Do not drill until the wall construction, fastener method, and concealed wiring or plumbing are known. Use the RV maker’s mounting guidance or an RV technician. An adhesive holder must also be approved for the surface and installed exactly as directed.
Bottom line
Approve the installation only when the head works within the pump’s documented range, both washer-sealed joints stay dry, the hose moves without kinking, and the pump shuts off normally when the shower valve closes.
Sources
- Oxygenics PowerFlow RV installation instructions — opened October 27, 2026
- Pentair Shurflo Lo-Flo 105 Series RV Pumps manual — opened October 27, 2026
- CDC: Safe RV Water from Tank to Tap — opened October 27, 2026