Plan a Shower Slide Bar for Adjustable Height
As an Amazon Associate we earn from qualifying purchases.
Shower slide bar installation planning for adjustable height should begin with the people who will use the hand shower, not with the bar’s appearance. Mark the lowest and highest useful holder positions, confirm the hose reaches both without pulling or dragging, then verify that the wall and supplied mounting method can support the exact model. Drill only after checking for concealed plumbing and wiring. Mount the brackets plumb, seal penetrations as directed, and confirm the holder locks securely throughout its travel.
Quick answer
- Map a usable height range with the actual handheld and hose before marking holes.
- Treat the model’s instruction sheet as controlling for spacing, anchors, drill size, sealant, and bracket orientation.
- Do not assume a slide bar is a grab bar; load-bearing support requires a specifically rated product and mounting system.
- Stop before drilling if you cannot identify the wall construction, backing, or concealed pipe and cable paths.
Start with a movement map, not a centerline
A slide bar succeeds when the holder can place the spray where each user needs it. One centered mark does not describe that job. Use painter’s tape to mark a vertical test strip on the finished wall. Have each user hold the disconnected hand shower at a comfortable hands-free position, then mark that height. Also mark a reachable low position for seated use, rinsing the enclosure, or washing a child if those are intended uses.
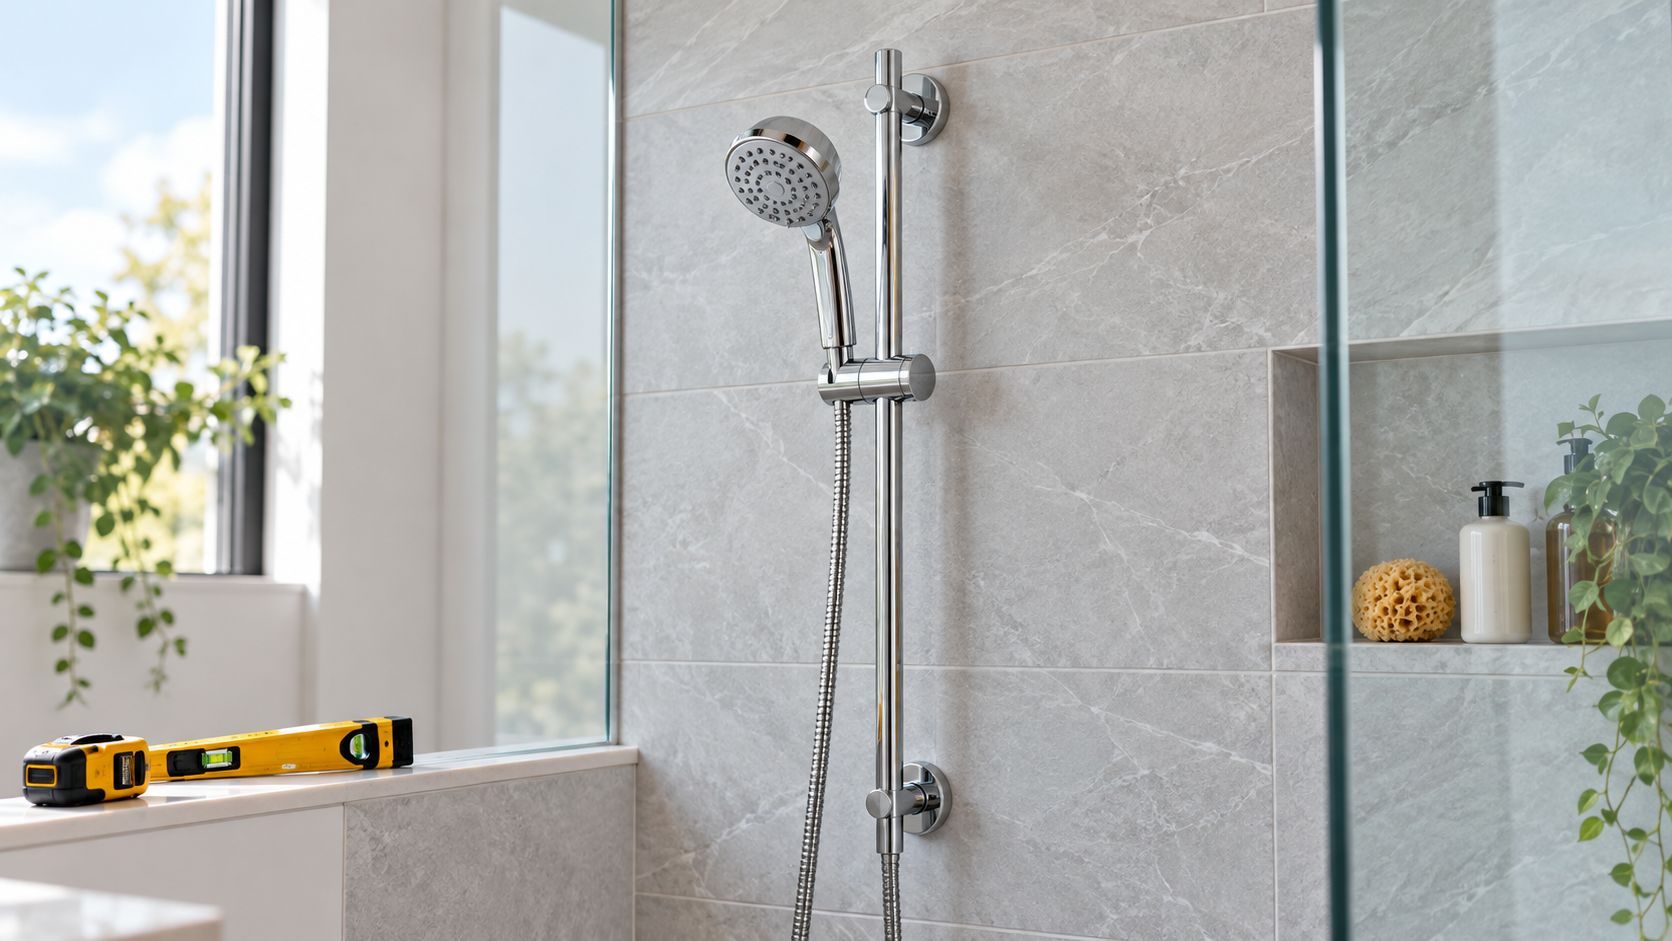
Now hold the bar against the wall without drilling. Check whether the holder’s actual travel covers the marks; decorative posts and end stops usually mean the holder cannot use the bar’s entire visible length. Put the handheld in its cradle and turn it through the available angles. The spray should point into the enclosure, not toward the door opening, controls, or an unprotected wall.
Run the intended hose from the supply to the handheld at the top, middle, and bottom positions. A hose that fits at mid-height may pull the supply fitting sideways at the top or pile onto the shower floor at the bottom. The planned range is usable only if the hose follows it without tension, a sharp fold, or a trip loop.
Calculate the usable range before choosing holes
Record four values from a dry layout: the lowest desired spray position, the highest desired spray position, the distance from the handheld’s spray face to the center of its holder, and the holder travel stated or measured from the product itself. Do not substitute the advertised bar length for holder travel.
| Planning value | How to obtain it | What it controls |
|---|---|---|
| Lowest user mark | Mark the lowest comfortable spray-face position | Bottom of the required range |
| Highest user mark | Mark the highest comfortable spray-face position | Top of the required range |
| Holder offset | Measure spray face to holder center on the actual handheld | Converts spray height to holder height |
| Usable holder travel | Use the model drawing or a dry measurement | Shows whether one bar covers the requested range |
Use this planning formula: required vertical range = highest user mark − lowest user mark. Then compare that result with the usable holder travel. If required range is greater, changing the mounting height cannot solve the problem; choose a bar with more usable travel or revise the requested positions. For a particular mark, holder-center height = desired spray-face height − measured holder offset. These are layout calculations based on your users and hardware, not universal installation dimensions.
Identify which type of slide bar you actually have
A bar-only accessory, a bar with an integrated water supply, and a slide-bar/grab-bar system are different installations. The opened KALLISTA instructions separate the P21654 bar from the P21664 version with an integrated supply. Delta’s instructions also include a supply elbow and specify gaskets and hose-end orientation. Read the model number on the box and match every part to the exploded diagram before laying out the wall.
An ordinary hand-shower rail is a positioning device. It is not safe to treat it as body support merely because it feels rigid after installation. The opened Moen/CFG document is specifically for a slide bar/grab shower system and calls for its SecureMount screws to enter a wood stud unless the named optional anchoring system is used. That requirement cannot be transferred to an unrelated rail, and an unrelated rail cannot inherit the grab system’s intended use.
Verify the wall before making a permanent mark
Determine whether the finish is tile, a solid surround, a thin panel, stone, or another material, then determine what is behind it. Locate studs or documented backing and identify likely routes for the valve, riser, shower arm, supply elbow, outlets, and wiring on the opposite side. A stud sensor alone cannot prove a wall is free of pipes. Plans, access from the opposite wall, fixture locations, and a professional inspection may be needed.
Compare that information with the manual’s required mounting method. One model may specify supplied hollow-wall anchors; another may require framing; a third may offer several approved options. The KALLISTA P21654 instructions, for example, show model-specific 1/4-inch holes and supplied anchors. The Moen/CFG grab system instead emphasizes stud attachment or its specified optional anchor. Neither procedure is a universal recipe.
If a hole would land on a grout joint, tile edge, existing penetration, unsupported panel, waterproofing transition, or suspected pipe route, do not shift one bracket casually. Changing spacing can prevent the bar from fitting its posts. Rework the entire layout within the adjustment allowed by the manufacturer, or choose a compatible mounting solution.
Prepare a model-specific installation sheet
Copy only the applicable facts from the exact manual onto a working sheet: bracket center spacing, hole diameter, approved fastener or anchor, required drill type, post orientation, setscrew size, sealant location, supply details, and cure time if stated. Keep the manual visible while working. This avoids mixing directions from visually similar bars.
- Slide bar, holder, posts, brackets, covers, screws, anchors, and setscrews
- Hand shower, hose, and all specified gaskets if included
- Level, tape measure, pencil, and painter’s tape
- Stud-location and concealed-service checks appropriate to the wall
- Drill, bit, eye protection, and dust control specified for the finish
- Manufacturer-approved sealant and the correct hex keys or screwdrivers
Do not improvise a longer screw where the manual does not allow one. A longer fastener can enter a hidden line or damage concealed valve hardware. Do not use a masonry bit, percussion setting, or tile-drilling method until the wall-finish maker and slide-bar instructions support it.
Transfer the dry layout to the wall
- Shut off water when the assembly includes a supply connection. KALLISTA’s instructions explicitly call for shutting off the water supply. A bar-only installation may not open plumbing, but the exact manual still controls.
- Mark a vertical reference. Extend a light plumb line through the planned holder range. Check nearby trim visually, but trust the level rather than assuming a tile edge is vertical.
- Mark the first bracket center. Base it on the holder-center calculation and required clearances, not the end of the decorative cover.
- Transfer the second center. Use the model’s center-to-center dimension or its template. Recheck the distance independently.
- Dry-check the assembled bar. Hold both posts over the marks. Confirm holder orientation, travel, hose reach, door clearance, control access, and spray direction.
- Perform the concealed-service check again. The final marks, not the preliminary area, are the points that matter.
Drill, anchor, and seal in the manual’s order
Protect the enclosure floor and wear eye protection. Use the bit and method approved for the finish. Keep the drill aligned so the fastener does not force a bracket sideways. Stop if the bit enters an unexpected void, metal plate, pipe-like material, wet cavity, or wiring route. Do not probe an uncertain hole.
Install the specified anchor or fastener without crushing the wall finish. Mount the brackets loosely enough for the manual’s allowed alignment, present the bar, and verify it is plumb before final tightening. KALLISTA’s procedure uses oversized bracket holes and an adjustable top post for limited correction; that does not authorize enlarging holes or changing spacing beyond the manual.
Fit the bar and tighten its setscrews in the stated sequence. Apply sealant exactly where directed. The KALLISTA instructions call for silicone around the perimeter of the posts after mounting. Other products may place sealant behind a bracket or use a gasket, so copying that detail to every bar would be unsafe. Remove excess sealant and respect any cure time before soaking the area.
Connect the hand shower and set the working height
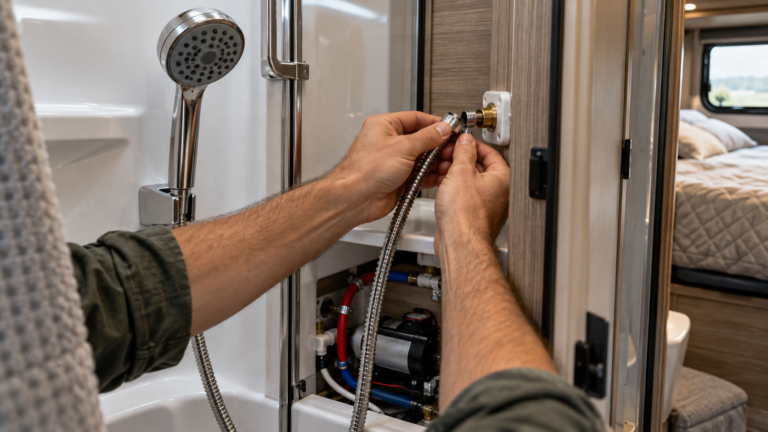
Check that both hose gaskets are present. In the opened Delta instructions, the hexagonal hose end connects to the supply elbow and the tapered end connects to the hand shower. The connections are hand-tightened, with no wrench or pliers. Other kits may label their ends differently, so follow the drawing supplied with yours.
Orient the holder before the final bar assembly. Delta marks an upward direction on its holder. Once assembled, move the holder through its full range without water. It should unlock deliberately, slide without scraping the finish, and lock without drifting. Set the angle, place the handheld in the cradle, and confirm that its weight does not rotate the holder.
Restore water if the installation opened a supply connection. Run the hand shower, move it through the range, and inspect the supply elbow and both hose ends. A gasketed hose connection that drips should be depressurized and re-seated by hand. Do not compensate with pliers. Do not remove or alter a flow restrictor; Delta’s manual warns that tampering can cause failure and void warranty coverage.
Stability and reach inspection
Inspect the completed installation in three positions: highest, everyday, and lowest. At each position, release the holder and wait to see whether it creeps. Turn the spray angle through normal use and make sure the bar does not rotate on its posts. Move the hose gently from side to side and confirm it does not load the supply elbow, snag a control, or rub a sharp edge.
Use a paper towel around any water connection to find a slow seep. Look for displaced sealant, cracked grout, a lifting cover, or a bracket that rocks. Correct a mechanical problem before using the shower. A bar that shifts under the handheld’s normal weight is not ready, even if the fasteners feel tight.
When the installer should stop
Bring in a qualified installer when the wall structure or backing cannot be identified, the marks conflict with likely pipes or wiring, the waterproofing method is unknown, the finish is brittle or valuable stone, the supply elbow or concealed fitting moves, or the product is intended to serve as a grab bar. Also stop when the proposed layout requires altering supplied brackets, mixing anchor systems, or relocating in-wall plumbing.
A professional condition is not limited to visible damage. Uncertainty about what lies behind the exact drilling points is enough reason to pause. Repairing a pierced water line or failed waterproofing is far more invasive than changing a slide-bar location before drilling.
How we chose
This plan separates user-height layout from model-specific attachment. Height and hose reach can be evaluated with a reversible dry layout; holes, anchors, sealant, and supply work must come from the exact manufacturer’s document. Three opened manuals were used to show why apparently similar products require different procedures.
For selection context, compare slide bars by their listed fit and features or review the site’s adjustable slide-bar holder guide. If the project also replaces the flexible line, use the separate instructions for changing a shower hose.
What we could not verify
The sources do not provide a universal mounting height, bracket spacing, drill size, anchor, sealant, or wall-preparation method. They also do not establish that every slide bar is load-bearing. Those decisions depend on the exact model, wall assembly, local requirements, and the intended use. The calculations above organize user measurements; they do not replace the product’s rough-in drawing.
FAQ
How high should a shower slide bar be?
There is no single height that serves every user and every bar. Mark the lowest and highest useful spray-face positions, convert them to holder-center heights using the actual handheld, and verify that the holder’s usable travel covers the range. Then place the brackets according to the model drawing.
Can I mount the bar in grout lines?
Only if the wall-finish requirements, support behind the wall, and product instructions allow that exact placement. A grout joint is not automatically a safe drilling path, and moving a mark to a joint can change required bracket spacing. Check the complete mounting system first.
Can a shower slide bar be used as a grab bar?
Not unless the product is specifically designed, rated, and installed for that load-bearing purpose. The Moen/CFG document opened for this article covers a named grab/slide system and specifies its structural attachment. An ordinary rail that only holds a hand shower is not a substitute.
Why does the holder slide down after installation?
Confirm that the holder is oriented correctly, fully locked, compatible with the bar, and carrying the intended handheld. Clean residue from the rail using the care instructions. If it still drifts, use the manufacturer’s adjustment or replacement procedure rather than adding tape, clamps, or excessive force.
Do hose connections need a wrench?
The opened Delta manual requires gaskets in both hose ends and says to hand-tighten without a wrench or pliers. Follow the manual for the exact hose. If a hand-tight connection leaks, shut off and relieve pressure, then inspect the gasket and alignment before applying more force.
What is the clearest sign that I need a professional?
Stop when you cannot verify what is behind a drilling point. The same applies when the job opens or relocates concealed plumbing, penetrates an uncertain waterproofing system, or installs a bar intended to support a person’s weight.
Bottom line
Choose the height range with a dry user-and-hose layout, but choose every hole, anchor, fastener, and seal from the exact product manual and known wall construction. If either the concealed-wall check or the support method is uncertain, do not drill.
Sources
- KALLISTA/Kohler Slidebar Installation Instructions, P21654/P21664 — opened October 27, 2026.
- Delta Slide Bar and Slide Bar With Hand Shower, 103583 Rev. E — opened October 27, 2026.
- Moen/CFG Slide Bar/Grab Shower System Model 40124, INS10176 — opened October 27, 2026.