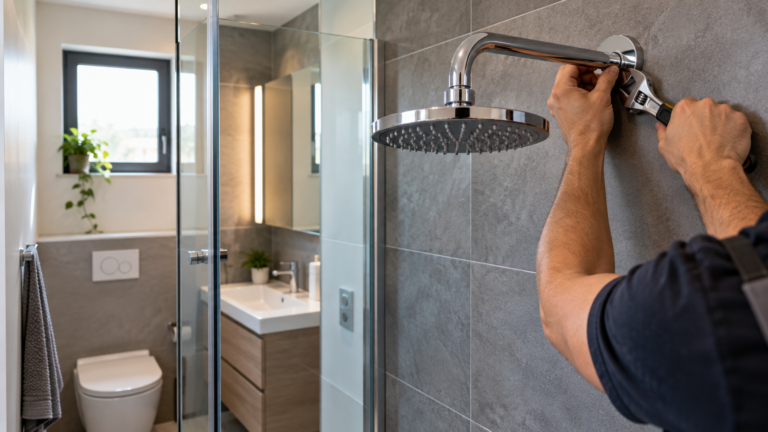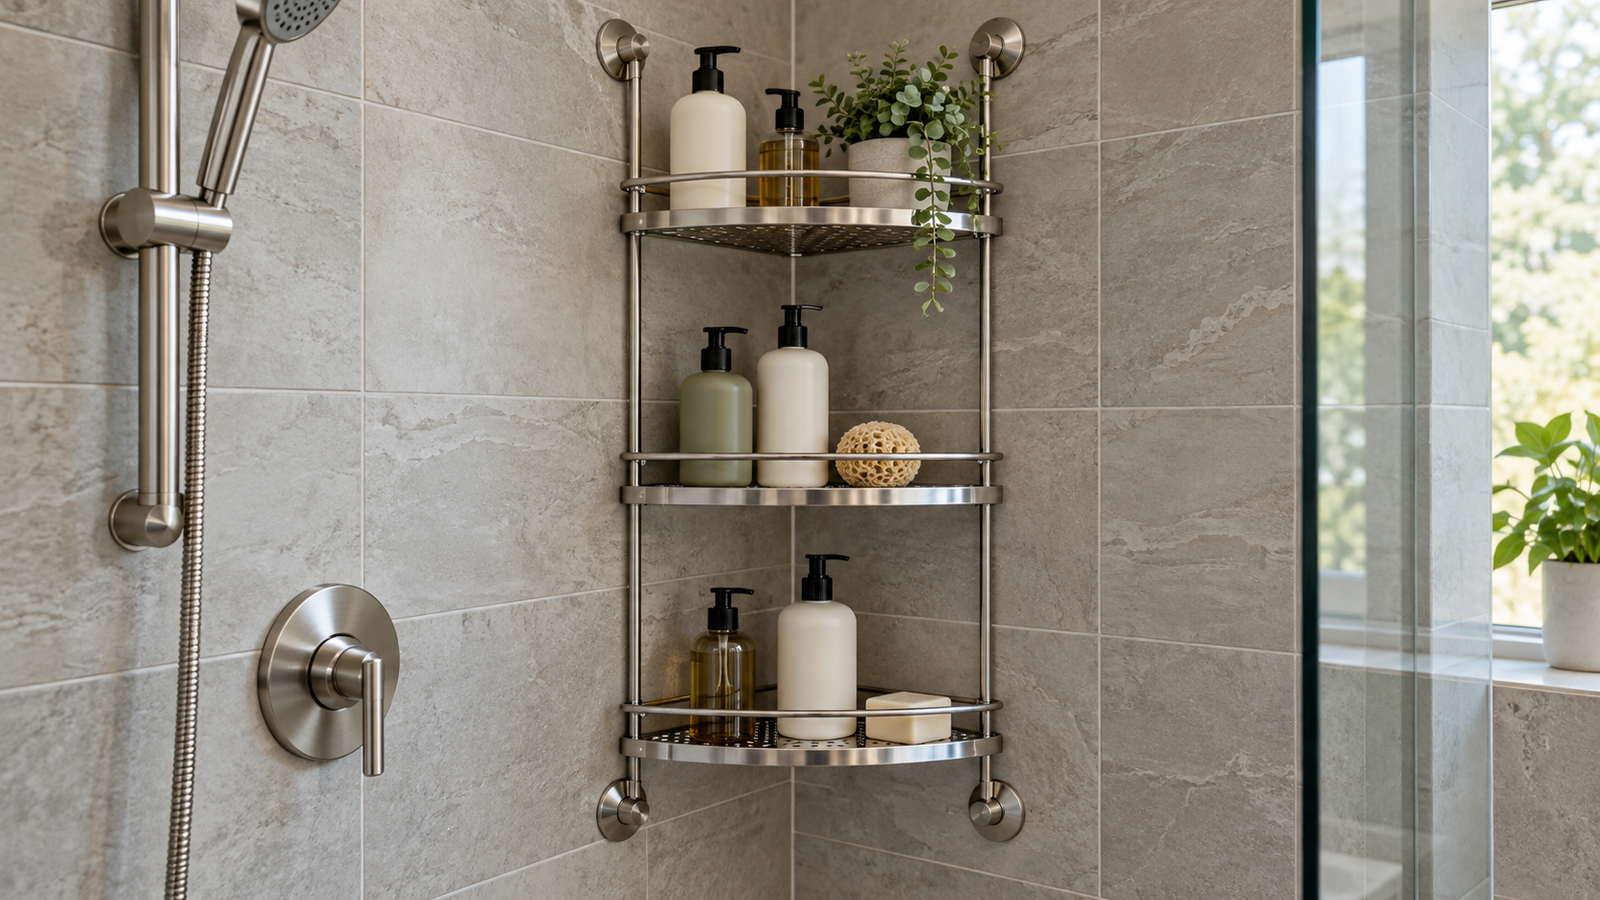
Plan a Corner Shower Shelf Installation for Multi-Tier Storage
As an Amazon Associate we earn from qualifying purchases.
Corner shower shelf installation planning for multi-tier storage starts with choosing one mounting system, mapping what belongs on each tier, and checking whether the corner can support that system without an improvised penetration through the wet-area assembly. Do not begin by drilling holes or assigning arbitrary shelf heights. First identify whether the shelves install in tile joints, attach to structural backing, use a tension pole, or stand on the floor. Then follow the selected manufacturer’s instructions for layout, fastening, sealing, and cure time.
Quick answer
- Inventory the containers first, then give each tier a purpose and confirm that bottles can be removed without hitting the shelf above.
- Match the shelf system to the wall and project stage: an in-joint shelf, a supported wall-mounted shelf, a tension caddy, and a freestanding caddy are not interchangeable installations.
- Do not guess at anchors, drill-bit size, load capacity, joint width, or sealant cure time. Use the manual for the exact model.
- Stop and call a qualified professional when backing or hidden utilities cannot be confirmed, or when the proposed work could compromise waterproofing.
Start with the storage plan, not the hardware
A multi-tier layout works best when every level has a defined job. Make a simple inventory of tall bottles, short jars, soap, razors, washcloths, and any pump containers. Measure the tallest item while its pump is open, not only the bottle body. Also allow enough hand space to lift or press the item without striking the tier above it.
Place frequently handled items between roughly waist and shoulder level for the intended users, but treat that as a planning principle rather than a fixed installation height. The actual layout must account for the shower valve, door swing, spray path, bench, grab bars, and each user’s reach. Keep a shelf out of the path where an elbow or shoulder is likely to hit its edge. A storage shelf is not a grab bar, seat, or foot support.
Assign the lowest practical tier to heavier, stable containers and reserve upper tiers for lighter items. This does not establish a load rating; the manufacturer’s stated capacity, when provided, remains the limit. The exercise simply helps prevent a top-heavy arrangement and shows whether the planned number of tiers is genuinely useful.
Choose the mounting family before setting tier locations
| Mounting family | What must be confirmed | Main planning consequence |
|---|---|---|
| Tile-joint corner shelf | Compatible joint and tile condition; model instructions for new tile or retrofit work | Tier positions are constrained by suitable horizontal joints and the manufacturer’s tab arrangement. |
| Supported wall-mounted shelf | Required backing, fasteners, hole locations, and approved sealing detail | The wall structure and waterproofing detail control the layout, not appearance alone. |
| Tension-pole caddy | Model-specific height range, assembly sequence, and suitable bearing surfaces | The pole location must provide stable top and bottom contact without obstructing fixtures. |
| Freestanding corner caddy | Footprint, level floor contact, drainage, and clearance | No wall penetration is needed, but the unit must not rock or block the drain or entry. |
The distinction matters. Schluter’s SHELF-E information describes corner shelves with 2 mm tabs that can be placed during tile installation or retrofitted into tile joints. Its instructions for installation with tile call for joints at least 2 mm wide and require specified joint areas to remain clear during grouting. Those details support planning for that shelf family only; they do not create a universal joint-width rule for other products.
A separate shelf manual hosted by Lowe’s describes a supported system that requires at least 2 inches of solid wood in-wall backing and calls for a qualified or trained installer. That requirement cannot be transferred to an adhesive shelf, a tension pole, or another drilled shelf with different instructions. Conversely, a tension-caddy manufacturer supplies its own assembly sheet, reinforcing the need to keep the exact model manual beside the parts.
Make a full-size corner layout
Use removable painter’s tape to mark the outline of every proposed tier. Put the actual containers against those marks and simulate removing them. Check the layout from inside the shower and from the entrance. The upper shelf should not turn a tall bottle into a two-handed maneuver, while the lower shelf should not force users into the spray or against the controls.
For a tiled-in or retrofit joint shelf, line up the mockup with the joints that the product can actually use. For a supported shelf, the marks must also agree with the required backing and fastener pattern. Do not move a hole merely to avoid a joint unless the manual permits that placement. The Lowe’s-hosted instructions for its supported system advise drilling tile rather than grout where possible, but that is a product-specific direction, not permission to apply the same detail to every wall.
Photograph the taped layout and label the tiers from bottom to top. Record the intended contents beside each label. This creates a useful check before permanent work begins and makes it easier to spot two shelves competing for the same bottle clearance.
Prepare tools and protect the wet area
Gather only the tools and materials listed for the chosen model. Common layout items may include a level, tape measure, pencil or removable marker, and painter’s tape. Drilled systems may require additional tools, fasteners, and sealant, but the correct drill bit and anchor depend on the tile, substrate, backing, and manufacturer’s directions. A generic shopping list is not a safe substitute.
Before drilling, determine what may be behind the proposed holes. Plumbing and electrical services are concealed in many bathroom walls. The supported-shelf instructions specifically warn about hidden utilities. If their location cannot be ruled out, stop rather than probing the wall.
Waterproofing is equally important. A screw hole through tile is also a penetration into the wet-area assembly. The product manual must provide an installation and sealing method suitable for that assembly. For the supported system described in the Lowe’s-hosted manual, silicone is placed in the holes to form a watertight seal. For Schluter’s in-joint shelf procedure, silicone is applied on all sides and allowed to cure for the stated time. Follow the detail for the selected shelf; do not combine steps from unrelated systems.
Use this installation sequence
- Unpack and identify the exact model. Compare every bracket, tab, fastener, foot, pole section, and sealant requirement with its manual. Pause if parts are missing or substituted.
- Inspect the corner. Look for loose tile, cracked grout, failed sealant, movement, or a corner that is too far out of square for the product. Address the underlying defect before adding storage.
- Confirm the mounting conditions. Verify suitable tile joints for an in-joint shelf, specified backing for a supported system, sound bearing surfaces for a tension pole, or level floor contact for a freestanding unit.
- Transfer the approved layout. Recheck reach, bottle clearance, valve access, door movement, and spacing between tiers. Use a level where the manufacturer calls for one.
- Install from the manual. Keep the supplied sequence. Do not improvise fasteners, widen joints, mix mounting methods, or exceed a stated load limit.
- Seal only as directed. Apply the specified sealant at the specified locations. Respect the manufacturer’s cure time before exposing the work to water or loading the shelves.
- Load in stages. After the allowed cure or settling period, add the planned contents gradually, starting with the lower tier. Watch each connection rather than filling every shelf at once.
Inspect stability, drainage, and sealing
Place the intended containers on one tier at a time. The shelf should remain level and should not rotate, rock, pull away, or make the wall finish move. Check that water can leave the shelf rather than collecting around bottle bases. For a tension or freestanding system, confirm that all bearing points remain seated and that the unit does not shift when an item is removed.
For a sealed wall connection, inspect the entire sealant line under good light. Look for gaps, missed edges, or separation. Do not use running water as a shortcut around the stated cure period. After the first normal shower, inspect again for movement, open joints, or moisture emerging from a fastener location. Remove the load and stop using the tier if anything changes.
Recheck the arrangement after the household has used it. A stable shelf can still be poorly planned if a razor falls through an opening, a pump needs excessive force, or a bottle repeatedly gets knocked into the shower. Change the stored items rather than using an unstated attachment or overloading a tier.
When the job belongs to a professional
Use a qualified professional when the selected manual requires trained installation, when solid backing cannot be confirmed, or when the necessary fastener location could contain plumbing or wiring. Professional help is also appropriate if the installation would penetrate waterproofing without an approved detail, if tile or grout is already damaged, or if the corner is outside the product’s stated fit allowance.
These are not cosmetic uncertainties. A shelf that appears level can still be attached to an unsuitable substrate or leave an unsealed path into the wall. If the plan depends on guessing what is behind the tile, choose a compatible non-penetrating system or have the wall conditions assessed.
How we chose
This planning method separates four mounting families because their support and sealing requirements are materially different. The installation checkpoints come from opened manufacturer information for tile-joint shelves and tension caddies, plus a product-specific supported-shelf manual. We prioritized wall compatibility, storage clearance, waterproofing, hidden-utility awareness, model instructions, and a staged stability check.
For related buying choices, compare a three-tier corner shower caddy with no-drill corner caddy options. If the wall is tiled, the guide to shower shelves for tile can help narrow the shelf type before layout begins.
What we could not verify
The sources do not establish one safe shelf spacing, universal anchor, drill-bit size, load rating, sealant, or cure time for all corner shelves. They also do not establish that every tile assembly can accept retrofit holes or that every tension system suits every ceiling and tub edge. Those details must come from the exact shelf manual and the known wall or bearing-surface construction.
FAQ
Should all tiers be evenly spaced?
No. Space tiers around the containers and users rather than dividing the corner into equal intervals. The mounting system may further constrain placement through tile joints, bracket locations, or pole hardware. Keep enough clearance to remove the tallest item safely.
Can I install several individual shelves in existing grout joints?
Only when the exact shelf is approved for retrofit joint installation and the joints meet its instructions. Schluter describes that option for specified SHELF-E corner models, but its tab and joint requirements do not automatically apply to other shelves.
Is a tension caddy always the safest no-drill choice?
No mounting family is automatically suitable. A tension caddy needs compatible dimensions, firm bearing surfaces, correct model-specific assembly, and a position that does not obstruct the shower. A freestanding option may be more appropriate where reliable top contact is unavailable.
Can silicone compensate for missing backing?
No. Sealant and structural support perform different jobs. If a supported shelf manual requires solid wood backing, silicone does not replace that backing. It must also be applied only where and how the manual specifies.
How soon can I load the shelves?
Follow the sealant cure or settling time in the exact instructions. The opened sources do not provide one universal waiting period. Loading early can disturb a connection before it has reached the condition expected by the manufacturer.
Bottom line
Choose the mounting family first, prove that the corner supports it, and let the exact manual control fastening and sealing. If the plan requires guessing about backing, utilities, waterproofing, or fit, do not drill—change systems or bring in a qualified professional.
Sources
- Schluter Systems, SHELF-E product page and installation information, opened October 27, 2026: https://www.schluter.com/schluter-us/en_US/Shower-System/Accessories/Shelves/Schluter-SHELF-E/p/SES2D7TSSG
- Schluter Systems, SHELF product overview, opened October 27, 2026: https://assets.schluter.com/asset/570120892212/document_0ngi1pm9sd65bd8pulhk75f53p/commercial-product-overview.pdf?content-disposition=inline
- Shower shelf installation instructions hosted by Lowe’s, opened October 27, 2026: https://pdf.lowes.com/productdocuments/f247f087-33a2-465c-b1c6-ecfff6c10b3c/67593983.pdf
- Simplehuman, tension shower caddy product support, opened October 27, 2026: https://www.simplehuman.com/collections/tension-shower-caddy-product-support
- Simplehuman, shower caddy overview, opened October 27, 2026: https://www.simplehuman.com/pages/shower-caddy