Plan a Corner Shower Shelf Installation for Heavy Bottles
As an Amazon Associate we earn from qualifying purchases.
Corner shower shelf installation planning for heavy bottles starts with one unglamorous job: weigh the exact bottles while they are full. Do not treat “heavy duty” as a capacity number. Match that measured load to a shelf whose manufacturer approves the wall type, mounting method, and weight. On a tiled corner, the safest plan also protects the waterproofing behind the tile, preserves the required joint space, uses the specified wet-area sealant, and keeps every bottle off the shelf until the sealant has fully cured.
Quick answer
- Choose the shelf system and read its instructions before marking or cutting tile.
- Add the weights of every full bottle; if the manufacturer does not publish a capacity above that total, ask for written confirmation or choose another system.
- For a grout-joint shelf, verify joint width, tab position, cutting depth, sealant, and cure time exactly as the manufacturer directs.
- Stop if tile is loose or cracked, waterproofing may be reached, or the proposed mount is not authorized for the wall.
Define the load before choosing the mount
A shelf for one pump bottle has a different job from a shelf holding family-size shampoo, conditioner, body wash, and refillable dispensers. Plan with the bottles full, because that is when the mounting system sees its greatest normal load. Include any soap dish, razor holder, or accessory that will remain on the shelf.
Use a kitchen or luggage scale and record each item separately. The useful calculation is:
planned bottle load = bottle 1 full weight + bottle 2 full weight + every other item
For example, if four filled containers weigh 2.1, 1.8, 1.6, and 0.9 pounds, the planned bottle load is 6.4 pounds. That arithmetic describes your belongings; it does not establish that a shelf can carry 6.4 pounds. Capacity must come from the shelf maker for the exact model and approved installation method. A personal planning margin can help account for a future larger bottle, but it cannot replace the manufacturer’s rating.
| Item to record | Why it changes the plan | Acceptable evidence |
|---|---|---|
| Total weight of full bottles | Defines the load the shelf must support | Your scale readings and sum |
| Wall finish and substrate | Determines whether the listed mounting method applies | Visible construction details, renovation records, or a professional inspection |
| Manufacturer load limit | Sets the ceiling for the proposed use | Current manual, technical sheet, or written manufacturer response |
| Joint or anchor dimensions | Controls whether tabs or fasteners fit without unsafe alteration | Manual plus direct measurement |
| Sealant and cure time | Affects both water sealing and mounting strength | Shelf instructions and sealant label |
Select a mounting method that belongs in the wall you have
Start with the wall, not the shelf’s appearance. A tiled wall may conceal cement board, foam board, drywall, masonry, a waterproof sheet, or a liquid-applied membrane. You cannot safely infer the hidden assembly from the tile alone. An adhesive basket, a suction caddy, a shelf supported in grout joints, and a mechanically fastened shelf transfer loads in different ways.
The Tile Council of North America cautions that grout joints are not waterproof; in a shower, the installation method and substrate must protect the surrounding construction from water. That is why a shallow-looking grout cut still needs a depth plan. The visible joint is only the surface of a larger shower assembly.
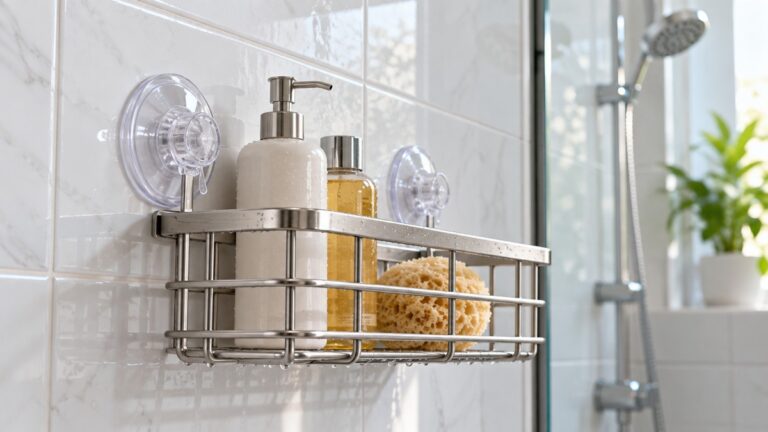
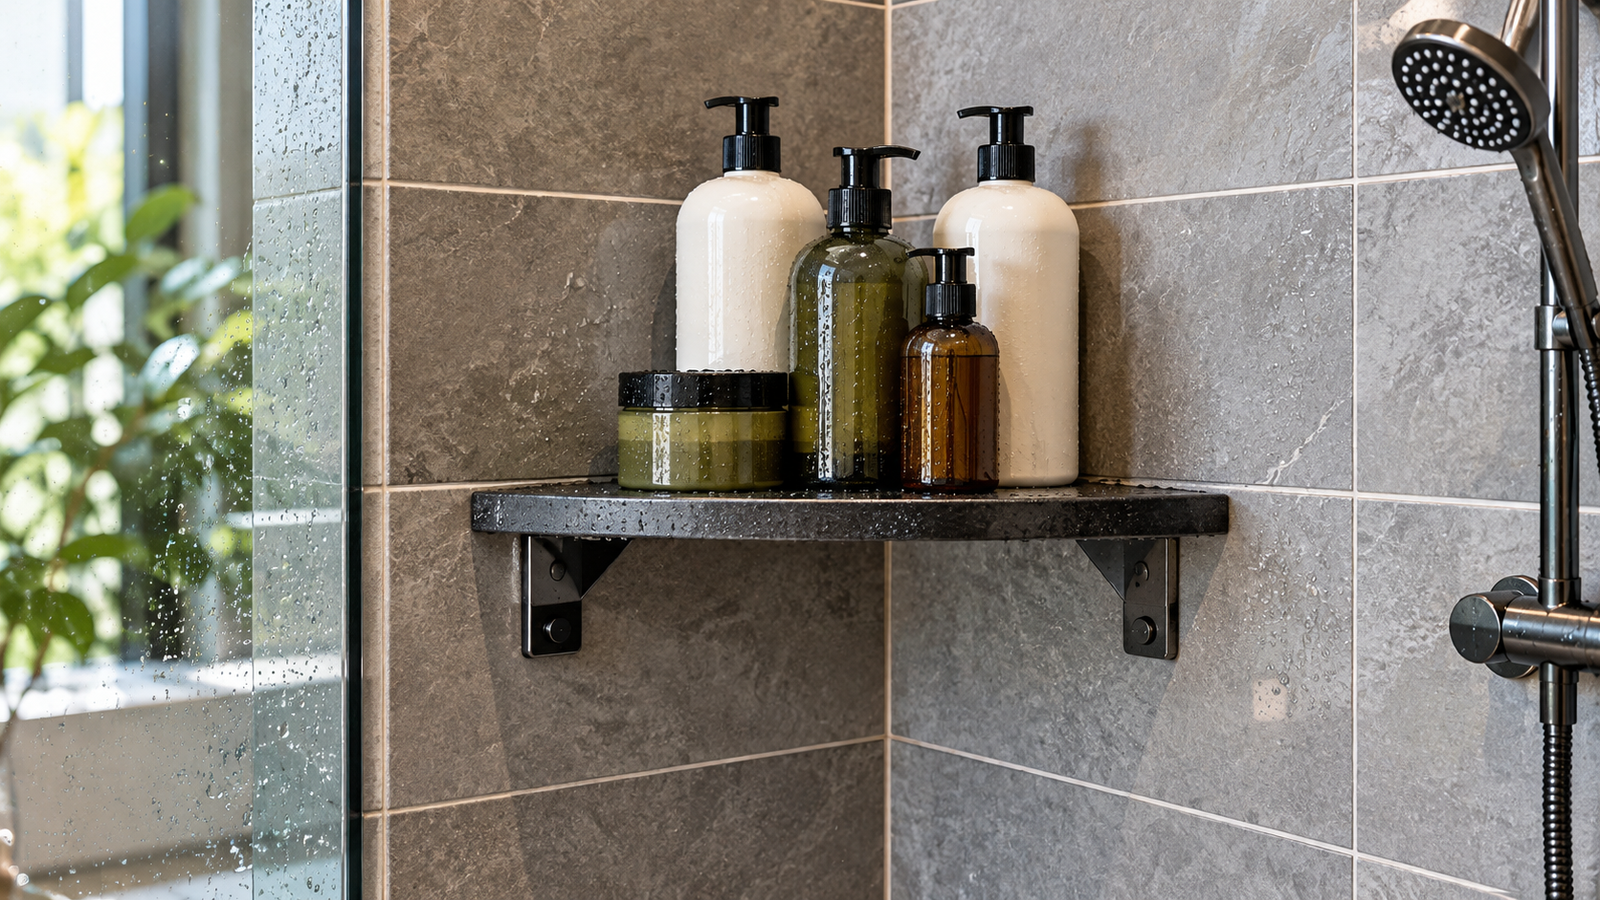
The Schluter SHELF-E is one documented example of a shelf made for tiled corners. Its 2 mm tabs enter the joint pattern, and the maker provides both during-tiling and retrofit procedures. That does not make the same steps valid for another shelf. If you are still deciding between nonpenetrating storage types, compare the mounting limits in this guide to no-drill corner shower caddies.
Reject vague capacity language
Words such as sturdy, strong, or heavy duty do not answer the load question. Look for a numeric capacity tied to the exact model, wall type, and mounting configuration. If the published instructions omit a number, send the manufacturer the proposed full-bottle weight and describe the surface. Keep the reply with the manual. No answer means the capacity remains unverified.
Also separate storage use from body support. A corner shelf intended for toiletries is not automatically a footrest, grab point, or seat. Never plan for a person to lean on it unless the manufacturer expressly rates the product and installation for that purpose.
Make a pre-installation map
Empty the shower and mark the proposed shelf elevation with removable tape. Place the full bottles on a cardboard template cut to the shelf dimensions. Confirm that pumps can be pressed without hitting the wall, tall containers clear any upper shelf, and the shelf will not interfere with the shower stream, controls, door, curtain, or a user’s shoulder.
Check the corner with a square, but expect some variation. Schluter notes that inside corners are rarely perfectly square and that its tabs permit limited positioning. That flexibility is specific to its system. A poor corner fit on another shelf can reduce contact, create an uneven sealant gap, or make bottles unstable.
For a grout-joint retrofit, identify precisely where each tab enters. The SHELF-E instructions require removing grout only at those positions and specifically warn against damaging the waterproofing behind the tile. Before using a powered tool, determine whether its depth can be limited to the joint. If membrane location or safe cutting depth is unknown, that is the point to call a qualified tile or shower professional.
Tools and materials for a controlled installation
Use the exact list in the shelf manual. For the documented grout-joint example, planning may include the shelf, removable tape, pencil or nonstaining marker, a measuring tool, a square, eye protection, a grout-removal hand tool or depth-controlled tool authorized by the instructions, a vacuum, wet-area sealant, a caulk gun, and temporary support. Add the protective equipment specified by the tool maker.
Do not substitute grout for sealant at the shelf-to-wall transition when the manual calls for sealant. Schluter explains that sealant both blocks surface water at the joint and adds strength against typical loads; it also warns that grout can crack and pop out with limited movement. Its sealant guidance calls for a product the sealant manufacturer designates for wet areas and says 100% silicone is typically the best option in showers and tub surrounds.
Order the work so the waterproofing stays protected
- Confirm the exact model. Match the package, instructions, dimensions, material, and mounting parts. Do not combine steps from visually similar shelves.
- Verify the load decision. Compare the measured full-bottle total with a numeric manufacturer limit or written approval for the proposed installation.
- Dry-position the shelf. Check height, corner fit, bottle clearance, drainage openings, and tab alignment before removing grout or opening sealant.
- Mark only the authorized areas. For SHELF-E retrofit installation, the manufacturer says to mark the locations where its tabs will enter the grout joint.
- Remove material cautiously. Follow the model’s instructions and prevent the tool from reaching the waterproofing layer. Stop when depth cannot be controlled.
- Clean without widening the repair. Remove dust and loose fragments so the specified sealant can contact the intended surfaces. Do not enlarge the joint merely to force a poor fit.
- Apply sealant and insert the shelf. For the SHELF-E example, gaps receive suitable sealant, the shelf is inserted, and temporary support is provided as required.
- Seal the transitions. The same instructions call for sealing the shelf-to-tile joint on both top and bottom surfaces.
- Wait for full cure. Follow the actual sealant label and shelf instructions. “Dry to the touch” is not a substitute for the stated cure time.
Inspect before loading, then stage the bottles
After curing, use bright light to inspect the complete transition. Look for skipped sections, pinholes, pulled-away edges, a shelf that is visibly out of level, movement at either wall, cracked adjacent grout, or a gap that changed during curing. Address a sealant defect according to the product instructions before exposing the area to routine shower water.
Do not start by dropping the whole bottle set onto the shelf. Place items gently, one at a time, while observing the wall joints and shelf position. Arrange taller or heavier bottles close to the supported corner rather than at the outer edge, unless the shelf maker directs otherwise. Pump bottles deserve extra attention because pressing a pump creates a brief additional downward force. If the shelf flexes, shifts, separates from a transition, or makes cracking sounds, unload it immediately.
Reinspect after the first showers and periodically afterward. A stable shelf should not develop a growing gap, loose tile, cracked grout nearby, corrosion inconsistent with the care instructions, or trapped standing water. Movement is a condition to unload and investigate, not a reason to add another bead over a failing connection.
When a professional should take over
Bring in a qualified tile or shower professional when the installation requires drilling through tile or a waterproof assembly without a manufacturer-approved detail; when the membrane location is unknown and grout must be cut; when tile sounds loose, has cracks, or moves; when the corner needs reconstruction; or when water damage is visible. Professional help is also the sensible choice when the desired bottle load exceeds the documented rating or no one can verify a safe rating for the proposed mount.
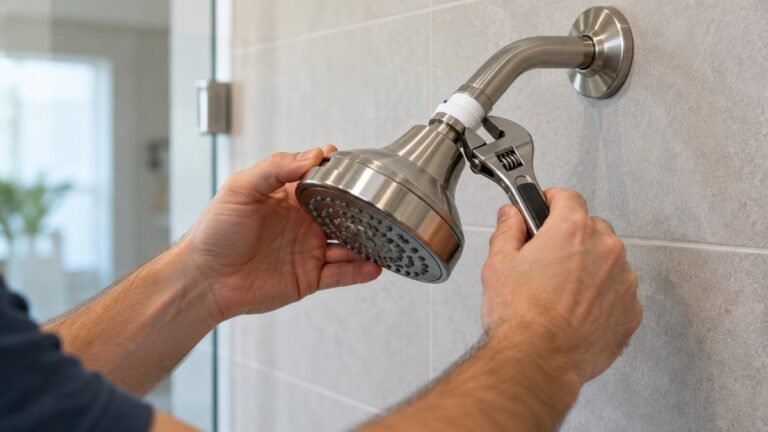
If the work expands into moving plumbing, keep it outside this shelf project. For the separate, limited task of swapping a head at an existing arm, use the site’s step-by-step shower head installation guide.
How we chose
This plan prioritizes information that can be verified before the wall is altered: the measured weight of the actual full bottles, a manufacturer-approved surface and mounting method, a numeric capacity or written approval, controlled cutting depth, specified sealant, and complete cure. The installation sequence is based on Schluter’s published SHELF-E instructions as a concrete tiled-corner example. Those steps should be used only for that system; another shelf’s current manual controls its installation.
What we could not verify
The accessible Schluter product page and data sheet do not publish a numeric maximum load for SHELF-E. They refer to intended storage use, correct corner installation, sealant, and load transfer, but that is not a pound rating. We also cannot verify a reader’s concealed wall assembly, waterproofing depth, tile bond, bottle weight, selected sealant cure time, or a different shelf’s capacity. Those items must be measured, documented, or inspected for the specific shower.
FAQ
How much weight should I plan for?
Weigh every container full and add the readings. Include accessories that will remain on the shelf. Compare that total with a capacity stated for the exact shelf, mounting method, and wall. If no numeric rating is available, ask the manufacturer in writing rather than inventing a safe load.
Can I use grout instead of silicone around a corner shelf?
Not when the shelf instructions require sealant. Schluter says sealant at its shelf transitions serves both water-management and strength functions, while grout may crack and release with movement. Use the sealant type and joint preparation required by the shelf and sealant manufacturers.
Can I retrofit a grout-joint shelf without removing tile?
Some systems are designed for that approach. SHELF-E, for example, has a retrofit procedure in which limited grout areas are removed for tabs. The manufacturer warns not to damage waterproofing behind the tile. That procedure cannot be transferred automatically to other models.
Where should heavy pump bottles sit?
Unless the maker specifies another arrangement, keep the heavier containers nearer the supported corner and avoid concentrating them on the outside edge. Pressing a pump also adds a momentary load, so watch for movement during actual use. Placement does not make an unrated shelf safe.
What is the clearest sign to stop a DIY retrofit?
Stop when you cannot control cutting depth well enough to protect the waterproofing. Also stop for loose or cracked tile, unknown capacity, incompatible joint dimensions, or instructions that do not authorize the proposed wall and mounting method.
Bottom line
Install for heavy bottles only when the full bottle set has been weighed and the exact shelf manufacturer confirms that the approved mounting method on your wall supports that load; otherwise, choose a documented alternative or call a qualified professional.
Sources
- Schluter SHELF-E product and installation page — opened October 27, 2026.
- Schluter SHELF product data sheet 17.1 — opened October 27, 2026.
- Schluter FAQ: sealant at shelf-to-wall transitions — opened October 27, 2026.
- Schluter FAQ: wet-area sealant — opened October 27, 2026.
- Tile Council of North America: Ceramic Tile FAQ — opened October 27, 2026.