Plan a Shower Head Holder Installation for Children’s Reach
As an Amazon Associate we earn from qualifying purchases.
Shower head holder installation planning for children’s reach should produce a reachable secondary docking point without sacrificing hose slack, waterproofing, or adult supervision. Do not begin with a generic height chart. Use the actual child, supervised and standing in the normal bathing position, to identify a reach zone; then verify that the compatible hand shower can dock vertically, the hose hangs without tension, and the proposed mount can be installed exactly as its manual directs.
Quick answer
- Plan a lower secondary dock rather than moving the only adult-height holder unless every user can still operate the shower comfortably.
- Use a supervised reach check; there is no source-backed universal mounting height for children.
- Confirm model compatibility, hose slack, wall construction, and waterproofing before choosing adhesive or drilled mounting.
- A reachable hand shower does not make unsupervised bathing safe.
Define what “within reach” means in this bathroom
Children of the same age can differ in height, balance, coordination, and bathing position. The tub wall, shower curb, seat, and floor slope also change the reach geometry. That makes a fixed age-to-height table unreliable. Instead, identify a zone the child can touch without standing on tiptoe, leaning across the tub, climbing, or pulling on the hose.
The adult should remain in the normal assisting position during this check. CPSC guidance says to give constant supervision and stay within reach when a baby is bathing. A lower holder is a convenience feature; it is not a substitute for that supervision and must not be described to a child as a support handle.
Use painter’s tape before hardware
Place a short vertical strip of painter’s tape where a secondary dock might go. With the water off and the shower floor dry, let the child indicate a comfortable location while an adult holds the hand shower and hose. Check the same point from the adult’s position. Move the tape until the child can grasp and return the hand shower without stretching and the adult can intervene immediately.
Keep the trial dock away from controls, door edges, grab bars, shelves, and the path used to enter the shower. The hose should not create a loop across the entry or wrap behind a leg. If the only reachable point causes those conflicts, the plan is not ready.
Three dimensions decide the location
| Dimension | How to check it | Failure signal |
|---|---|---|
| Reach | Child can grasp and return the hand shower without leaning or climbing | Tiptoe stance, side reach, or pulling on hose |
| Hose slack | Hose hangs below the dock and reaches the intended rinse area | Tension at either connector or a tight bend |
| Clearance | Hand shower can enter and leave the dock without hitting controls or glass | Collision, pinched fingers, or blocked door travel |
For the Moen dock covered by INS10668A, the hose must be able to extend at least 8 inches below the hand shower. That is a model-specific installation condition, not a rule for every holder.
A useful planning calculation is:
available hose travel = hose length − fixed path from supply connection to dock − required hanging slack
Measure along the real hose path instead of using straight-line distance. If a 60-inch hose must travel 34 inches from its connection to the proposed dock and the relevant manual requires 8 inches below the hand shower, the remaining theoretical travel is 18 inches: 60 − 34 − 8 = 18. Connector bends and the shower body’s length can reduce practical reach, so confirm with the actual assembled hose before mounting.
Choose the holder before choosing the mounting method
Confirm that the dock or cradle is approved for the exact hand shower. Diameter, taper, magnetic interface, and weight are not interchangeable. A magnetic Moen remote dock is designed for specified Magnetix models; its instructions cannot validate an unrelated handset.
Also distinguish a remote holder from a water connection. A simple wall dock supports the hand shower but does not carry pressurized water. A wall outlet, drop ell, or combined bracket is plumbing hardware and may require a backflow device under local code. Do not drill or connect plumbing based on a holder-only guide.
Read the wall before touching it
Identify tile, grout, acrylic or fiberglass surround, glass, stone, or painted wall. Then identify the waterproofing system if possible. A ceramic tile face does not reveal the pipe, wire, membrane, backing, or hollow space behind it. Existing construction documents and manufacturer instructions are better evidence than tapping the wall.
Schluter’s shower-system handbook states that penetrations through the membrane must be sealed with an appropriate system or sealant. The exact detail depends on the wall assembly. A generic dab of sealant is not a universal substitute for the waterproofing manufacturer’s method.
Adhesive is not automatically the gentle option
An adhesive dock avoids a drilled hole, but it still requires an approved, sound, clean surface. The holder manual determines permitted materials, surface preparation, cure time, cleaner restrictions, and whether grout lines are allowed. Moen’s INS10668B warns against foaming cleaners near its adhesive wall retainer and gives special direction when mounting over grout. Do not mix adhesive pads, primers, or cure times from different brands.
Drilling is not a blind DIY step
The Moen guide lists a 1/4-inch ceramic tile bit for its drilled option, but that does not prove the same bit or anchor suits another wall. Stop before drilling when the wall assembly is unknown, the target is near plumbing controls, the tile is cracked, or the waterproofing detail cannot be restored. Never drill into shower glass for an accessory holder unless the enclosure manufacturer supplied a purpose-made system and instructions.
Preparation checklist
- Compatible holder, all supplied parts, and the exact installation manual
- Hand shower and hose fully assembled with their specified washers
- Tape measure, pencil, level, and painter’s tape
- Surface cleaner allowed by the holder and wall manufacturers
- For a manual-approved drilled installation: specified bit, drill, anchors, screws, screwdriver, eye protection, and the approved penetration-sealing method
Turn the shower off. Dry the work area. Test door travel and confirm that the proposed point does not invite the holder to be used as a grab bar. If the project also involves connecting the hand shower, follow the separate handheld shower installation guide. For holder styles and fit factors, see the adjustable holder bracket guide.
Ordered installation plan
- Assemble without mounting. Connect the approved hose and hand shower so the reach test reflects the actual parts.
- Mark a candidate zone. Use painter’s tape, not a permanent mark, for the supervised child-and-adult reach check.
- Test full movement. Move the hand shower from its primary position to the candidate dock and through the intended rinse area.
- Check the hanging path. Preserve the manual’s required slack and keep the hose away from the entry path and controls.
- Identify wall compatibility. Match the mounting option to both the holder manual and wall-system instructions.
- Prepare the surface. Clean and dry it exactly as directed. Do not add household adhesive, putty, or an unlisted primer.
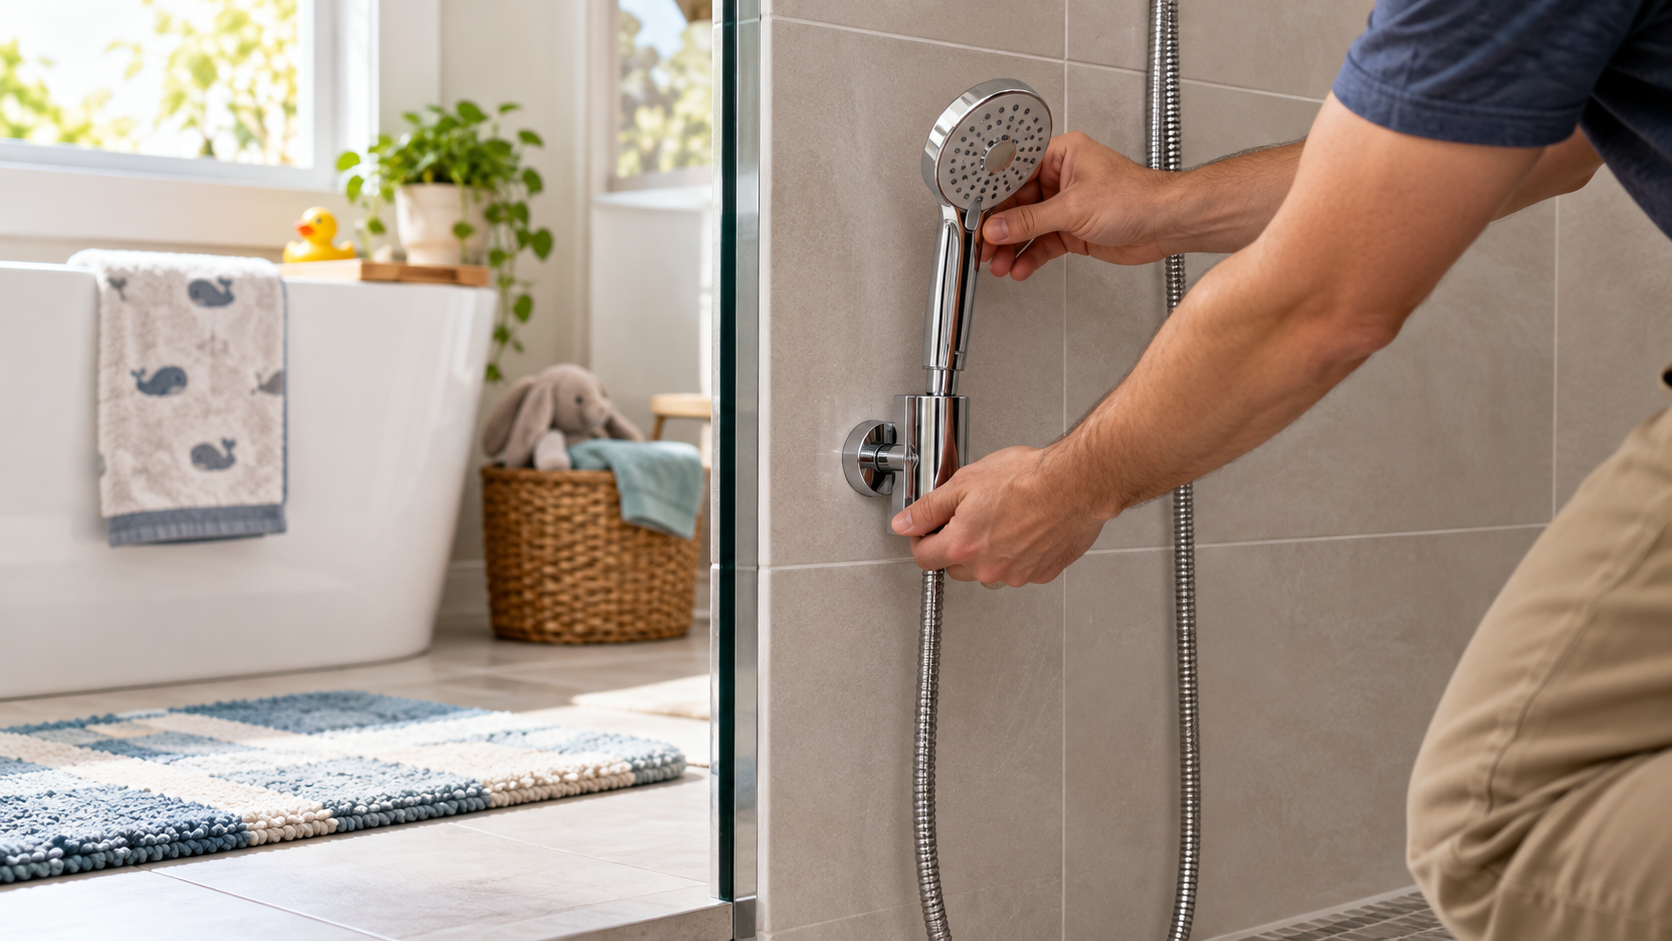
- Mount vertically. For INS10668A, vertical orientation is part of the location check. Follow the product’s adhesive or drill sequence without combining the two.
- Observe cure time. Do not load an adhesive mount early. Use only the time stated for that holder.
- Dock and release repeatedly. An adult should confirm that the handset enters, holds, and releases without rotating the base.
Run two separate inspections
Holder stability
With the water off, seat the hand shower and apply a gentle movement in the directions created by normal removal and replacement. Watch the bracket base, adhesive perimeter, screws, and wall surface. Any rocking, peeling, cracked grout, loose fastener, or rotation is a failed check. Do not ask the child to test a questionable mount.
Water and hose behavior
Turn on the shower at a low setting while an adult controls the handset. Inspect the hose washers and threaded connections for droplets. Move the handset through the intended range without twisting the connectors. Then return it to the dock and confirm the spray cannot point outside the enclosure or directly at controls when water resumes.
A holder-only mount should not create a pressurized wall joint. If water appears at a drilled penetration, behind a wall plate, or outside the enclosure, stop using it and investigate the waterproofing rather than tightening random hardware.
When to hand the job to a professional
Use a qualified installer or plumber when the project includes a new wall outlet, concealed supply work, backflow-prevention questions, or uncertainty about local plumbing code. Use a tile or shower-system professional when drilling could penetrate a membrane and its approved sealing method is unknown. Contact the enclosure manufacturer for any proposed glass mounting. Stop immediately if the wall is soft, tile is loose, moisture is present, or the planned location may hide a pipe or cable.
How we chose
This plan separates child reach from installation compatibility. Moen’s manuals supply the dock orientation, model-fit, tool, hose-slack, adhesive, and drill details. Schluter supplies the waterproofing principle for shower-wall penetrations. CPSC supplies the supervision boundary. No source was stretched into a universal child-height recommendation.
What we could not verify
The sources do not provide a mounting height by age, a universal anchor, a universal holder load limit, or one sealant for every wall. They also do not show that a lower holder prevents scalding, falls, hose entanglement, or drowning. Product compatibility, wall construction, adhesive cure time, and local backflow requirements remain installation-specific.
FAQ
What height should a child’s shower holder be?
There is no universal height in the opened sources. Mark a supervised reach zone for the actual child, then reject any point that requires tiptoeing, leaning, climbing, or pulling on the hose.
Is an adhesive holder safer than drilling tile?
It avoids a drilled penetration but is not universally safer. It must be approved for the surface, prepared correctly, allowed to cure, and kept away from cleaners the manual prohibits. A failed adhesive dock can drop the handset.
Can I mount the holder on a grout line?
Only if the holder instructions allow it. Moen’s INS10668B says not to install its dock over grout unless silicone caulking is applied around the mounting bracket. That instruction belongs to that product and does not validate another holder.
Should the child be able to remove the hand shower alone?
The reach check should confirm comfortable handling, but bathing still requires adult supervision appropriate to the child. The adult must be able to control water, temperature, hose position, and return of the handset.
How much hose should hang below the dock?
Use the holder manual. INS10668A specifies at least 8 inches below the hand shower for its dock. Do not apply that number to a different system without its documentation.
Can the holder double as a grab point?
No. Treat a shower-head holder as a handset dock, not as a grab bar. If support is needed, use a properly specified and structurally anchored grab-bar system installed for that purpose.
Bottom line
Choose the lowest-risk point that the child can reach without strain, but mount there only when the exact holder, hose, wall, and waterproofing instructions all agree; otherwise keep the existing setup and bring in the appropriate professional.
Sources
- Moen, INS10668B Magnetix remote mounted dock installation guide (opened October 27, 2026): https://assets.moen.com/shared/docs/instruction-sheets/ins10668b.pdf
- Moen, INS10668A hand shower dock guide (opened October 27, 2026): https://assets.moen.com/shared/docs/instruction-sheets/ins10668a.pdf
- Schluter, Shower System Installation Handbook (opened October 27, 2026): https://assets.schluter.com/asset/570120892212/document_i2tt9fh4sp2n562jmirhppbv4o/shower-system-installation-handbook.pdf%3Fcontent-disposition%3Dinline
- U.S. Consumer Product Safety Commission, Childproofing Your Home (opened October 27, 2026): https://www.cpsc.gov/safety-education/safety-guides/kids-and-babies/Childproofing-Your-Home?language=en