Plan a Bath Mat Installation for Drainage Holes
As an Amazon Associate we earn from qualifying purchases.
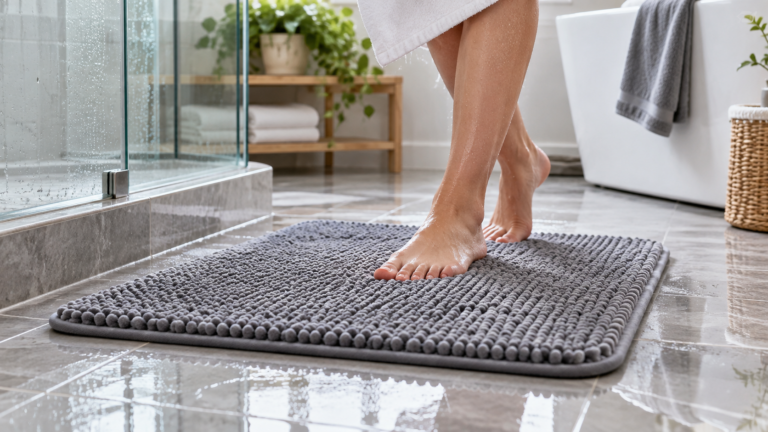
Bath mat installation planning for drainage holes starts with two separate checks: the suction cups must suit the tub or shower surface, and the mat must leave the actual drain unobstructed. A field of small holes can let water pass through a mat, but it does not make the mat safe to lay over a drain opening. Choose the position before pressing any cups down, confirm that the surface is smooth enough for the mat, and reject the setup if the mat rocks, shifts, curls, or slows drainage.
Quick answer
- Use a suction-cup mat only on a surface allowed by its own instructions; textured and non-skid floors can defeat suction.
- Keep the drain opening clear. Treat the small holes in the mat as flow paths, not as a substitute for drain clearance.
- Press every suction area down, then test the edges and center by hand before putting body weight on the mat.
- Stop and address the plumbing if water backs up with the mat removed.
Start with the drain, not the mat
Remove the loose mat and run the shower or tub faucet long enough to see how water approaches the drain. This baseline matters because it separates a placement problem from an existing drainage problem. If water already pools, rises around the drain, or leaves debris behind, moving a mat will not repair the cause.
Next, identify the drain type and the usable flat area around it. A tub drain is often on a sloped end wall or floor transition. A shower drain may sit near the center, near a wall, or in a linear channel. Do not assume a rectangular mat can be centered in every enclosure. The useful footprint is the portion that remains flat without crossing the drain cover, curb, wall radius, caulk bead, or molded texture.
Distinguish three kinds of openings
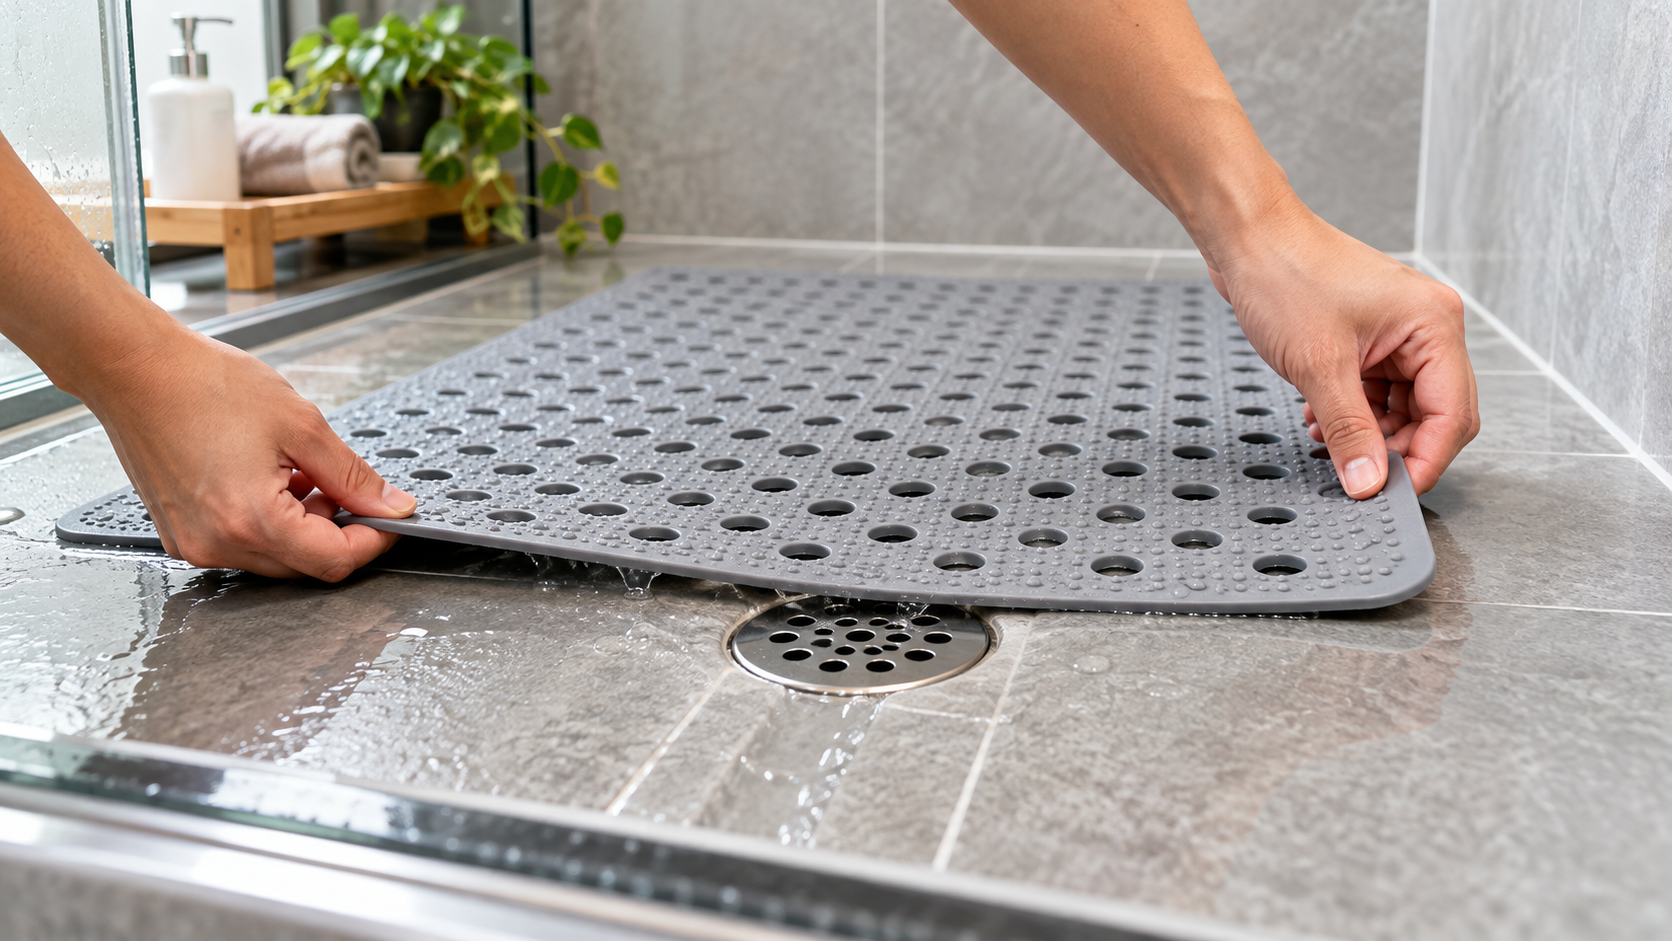
The large plumbing opening or grate is the drain. Small perforations distributed through a mat are drainage holes. A larger cutout shaped around a tub drain is a drain contour. Those features do different jobs. Distributed holes help water reach the surface below; a contour can keep a particular drain exposed; neither feature guarantees that the underside will stay free of soap film or standing water.
Compatibility gate: surface, cups, and footprint
IKEA’s DOPPA instructions say to place that mat with the suction cups downward on a wet surface and warn against textured surfaces. The CPSC has also documented, in the context of bath seats, why surface condition matters to suction: clean, level, smooth surfaces are the viable case, while non-skid finishes, decals, soap residue, dirt, and debris can interfere. A bath mat is not a bath seat, but the physical limitation of a suction cup is relevant to the planning check.
Do not try to rescue an incompatible surface by pressing harder, adding an unapproved adhesive, or placing the mat across a raised tread pattern. Choose a mat whose manufacturer explicitly permits the surface. If the manual is missing, do not infer compatibility from a product photo.
| Observation | Planning decision | Reason |
|---|---|---|
| Smooth floor, drain outside the proposed footprint | Continue to a dry fit | The layout can preserve drain access and may suit suction cups |
| Textured or factory non-skid floor | Stop unless the mat manual expressly approves it | Suction may not hold consistently |
| Mat overlaps the drain grate | Choose another size or shape | Small mat holes do not replace an open drain |
| Edges climb a wall radius or caulk joint | Reduce the footprint | A lifted edge prevents full contact and can catch a foot |
| Drain is slow with no mat present | Resolve the drain condition first | The mat cannot correct a plumbing restriction |
Measure the usable footprint
Use a tape measure, painter’s tape, and a washable marker or paper sketch. Measure the flat length and width available after excluding the drain and every raised boundary. Then compare those numbers with the mat’s actual dimensions, not a vague size label.
A simple fit calculation keeps the decision honest:
usable clearance = flat floor dimension − mat dimension
For example, if the flat section measures 38 inches long and a mat is 33 inches long, the total length clearance is 5 inches. How that clearance is divided depends on the drain and wall geometry. This example is a method, not a recommended universal gap. There is no source-backed minimum clearance that applies to every drain.
Lay the mat down without engaging the cups. Confirm that every edge lies flat and the drain cover can still be seen, removed, and cleaned. Check that water has a continuous route from the farthest wet area to the drain. If the enclosure has a center drain, a mat designed with a matching opening is generally more workable than improvising a cut. Do not cut a mat unless its own manufacturer says it can be cut.
Tools and preparation
- The mat and its care or installation instructions
- Tape measure
- Painter’s tape or a paper plan for marking the proposed footprint
- A nonabrasive cleaner approved for the tub or shower finish
- Clean rinse water and a lint-free cloth
Remove loose hair and debris from both the floor and the suction cups. Wash away soap film with a finish-compatible cleaner, rinse thoroughly, and inspect for chips, peeling decals, or raised deposits. The objective is not merely an attractive surface; it is uninterrupted contact between each cup and the floor.
Installation sequence that preserves drainage
- Confirm the bare drain. Run water with no mat in place. Stop if the drain backs up.
- Dry-fit the footprint. Place the mat without pressing it down. Keep the plumbing drain or grate uncovered.
- Check the approach path. Make sure the mat will not curl at the entry point, curb, wall, or tub slope.
- Prepare the contact surfaces. Clean the floor and cups, then follow the manual’s wet-or-dry placement direction. For DOPPA, the instruction is a wet surface.
- Set the orientation. Put the suction cups downward and align any manufacturer-made drain contour with the drain location.
- Engage the cups. Work from the center toward the edges, pressing each area so trapped air can escape.
- Inspect before stepping. Push the center sideways with a hand, lift-test the corners gently, and run a hand around the perimeter. Any sliding or easy lifting means the setup is not ready.
- Run a drainage check. Wet the full mat and observe the far edge, the underside flow, and the drain. Water should not build into a deepening pool.
Read the water pattern after installation
Drainage holes can clog with hair and soap residue, and the space below the mat can retain water even when the top looks clear. Watch the mat during the first full shower. A thin moving film is different from water that rises, remains trapped, or pushes the mat upward. If the mat shifts as water moves below it, release the cups, clean both surfaces, and reassess the fit rather than stepping back onto it.
The CPSC’s older bathtub-injury analysis notes that a worn or dirty mat, water beneath it, and surrounding soap can reduce effectiveness. That supports an inspection routine rather than a one-time installation assumption.
Stability and leak inspection
A bath mat installation does not create a pressurized plumbing joint, so there should be no new pipe leak to test. The relevant water inspection is whether the drain behaves normally and whether water escapes the enclosure because an edge or liner has been displaced. Look outside the tub or shower after the test for wet caulk lines, water over the curb, or a damp floor.
For stability, check the center, corners, and the edge nearest the entry. Repeat the check before each use, especially after cleaning or repositioning. If the floor under the mat is stained or textured, clean it first with our guide to bathroom grout and tile. Replace the mat if cups are torn, hardened, missing, or permanently deformed. For cleaning the mat itself, see our guide to washing bath mats. A mat should not be treated as a grab bar or as a guarantee against a fall.
When the job belongs to a professional
Call a plumber when the uncovered drain is slow, backs up, gurgles with other fixtures, leaks into an adjacent room, or cannot be removed for service without disturbing the shower assembly. Those conditions are outside mat installation. Contact the tub or shower manufacturer when the floor finish is unclear or damaged. If a user needs fall-prevention modifications, ask a qualified accessibility professional about the whole space rather than relying on a loose mat alone.
How we chose
This plan uses a manufacturer instruction for the actual orientation, surface restriction, rinsing, and drying of a suction-cup mat. It uses CPSC material only for the broader evidence about suction-cup compatibility and wet-surface slip conditions. The order of work follows the risk: confirm drainage first, reject an incompatible surface, dry-fit the footprint, attach the mat, and then inspect water movement and stability.
What we could not verify
The opened sources do not set a universal drain-clearance distance, hole diameter, hole count, or flow capacity for bath mats. They also do not establish that any mat prevents every slip or fall. We could not verify that a mat may be trimmed unless its own instructions explicitly allow it. The plan therefore avoids numerical promises and does not recommend modifying an unapproved mat.
FAQ
Can a bath mat cover the shower drain if it has holes?
No. Keep the plumbing drain or grate open. The distributed holes help water pass through the mat, but they can collect debris and do not provide the access or open area of the drain itself.
Should the floor be wet before pressing down the mat?
Follow the specific manual. IKEA’s DOPPA instruction says to place its cups on a wet bath or shower surface. Another mat may give different preparation directions, so do not convert that product-specific step into a universal rule.
Why will the suction cups not hold on my shower floor?
Texture, molded non-skid features, decals, soap residue, debris, damaged cups, and an edge crossing a slope can all interrupt suction. If cleaning does not produce firm attachment, the surface and mat are not a compatible pair.
How do I know whether drainage holes are working?
Wet the entire mat and watch the water travel. Stop using the setup if water rises, remains trapped in a deepening pool, lifts the mat, or reaches the bathroom floor.
Can I cut a drain opening into a bath mat?
Only if the mat manufacturer expressly permits cutting and explains where it is allowed. Cutting can remove cups, create curling edges, or damage reinforced areas. A correctly shaped mat is the safer planning choice when instructions are silent.
How should the mat be removed?
Release the suction gradually rather than yanking the mat. Rinse it and hang it to dry after use, following its care directions, so the underside and cups can dry and remain inspectable.
Bottom line
Install the mat only when every cup sits on an approved smooth area and the actual drain remains fully open; if either condition fails, choose a different mat instead of forcing the fit.
Sources
- IKEA, DOPPA advice and instructions (opened October 27, 2026): https://www.ikea.com/ca/en/manuals/doppa-bathtub-mat-beige__AA-2128056-2-100.pdf
- U.S. Consumer Product Safety Commission, bath-seat suction-cup statement (opened October 27, 2026): https://www.cpsc.gov/Newsroom/News-Releases/2004/CPSC-Votes-To-Propose-Mandatory-Standard-for-Baby-Bath-Seats
- U.S. Consumer Product Safety Commission, Bathtub and shower injuries, Part 7 (opened October 27, 2026): https://www.cpsc.gov/s3fs-public/os1g.pdf