Plan an RV Shower Head for Easy Winter Storage
As an Amazon Associate we earn from qualifying purchases.
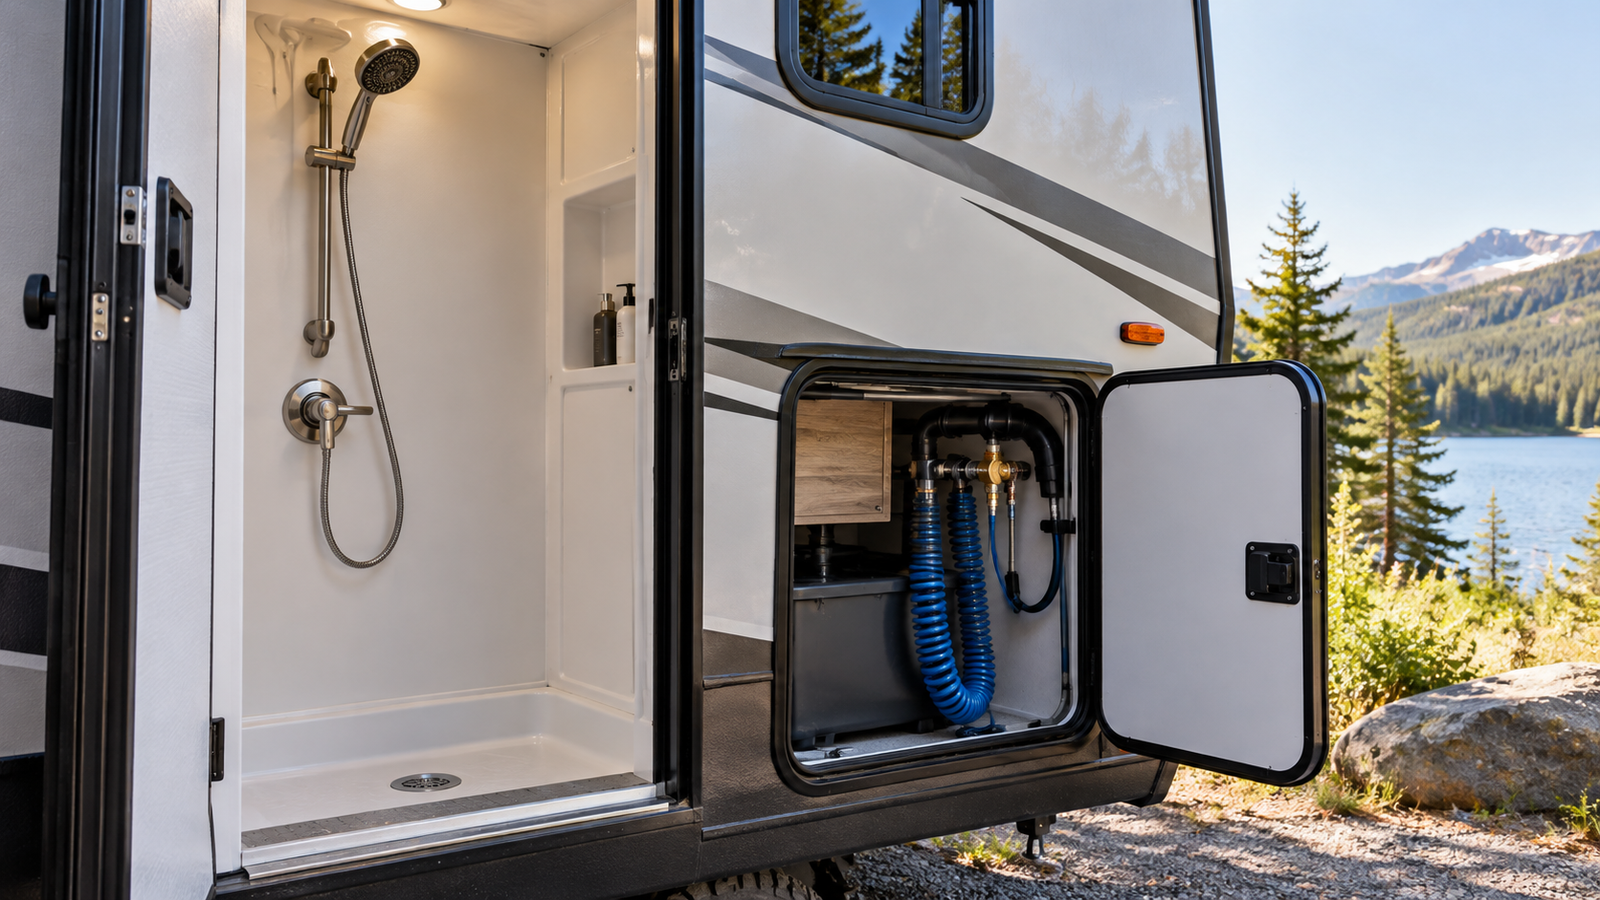
RV shower head installation planning for easy winter storage starts with a removable handheld, reachable hose connections, and a holder that does not trap or sharply kink the hose. Install the exact kit according to its manual, hand-tighten the plastic fittings, test for leaks, and leave enough access to disconnect and drain the hose later. That layout makes seasonal work easier, but it does not replace winterizing the RV’s complete fresh-water system according to the coach owner’s manual.
Quick answer
- Choose a mounting position that lets the hose hang in a smooth curve and lets you reach both threaded ends.
- Confirm the kit’s gasket and thread-tape instructions before assembly; those details are not identical across every connection.
- After installation, pressurize the water system, inspect both hose ends, and correct drips without overtightening plastic parts.
- Before freezing-weather storage, follow the RV manual for the whole water system, including the shower, pump, heater, drains, and any exterior shower.
Design the installation around the storage-day sequence
A conventional installation question asks only whether the new handheld fits today. An RV installation should also ask whether the same parts will be accessible on the day the coach is winterized. The shower hose is part of a larger fresh-water system. Water can remain in the hose, sprayer, faucet body, low points, water heater, pump, and other fixtures. A convenient shower layout helps you drain and inspect one branch; it cannot protect the rest of the system by itself.
Stand in the shower and trace the future storage sequence before making a mount permanent. Can you reach the faucet-side hose nut without removing trim? Can the handheld be lowered below its connection so water can leave the hose? Can you remove it without twisting the wall fitting? Is there a dry place to keep the detached head, hose, gasket, and small hardware together? If the answer to any of these is no, move the holder or revise the storage plan while the installation is still reversible.
Make a compatibility card before opening the fittings
Write the RV make, model, year, shower faucet model if visible, shower kit model, and the location of the relevant plumbing instructions on one card. RV plumbing varies by floor plan and production year, and a generic shower-head instruction sheet cannot tell you where a coach’s pump switch, low-point drains, bypass valves, or water-heater drain are located.
Compare the old and new assemblies on a towel. Look for a sealing washer inside each swivel hose nut, inspect the mating faces for damage, and identify which joint the manufacturer says should receive plumber’s tape. Do not assume every joint needs tape. A swivel hose nut commonly seals against a washer, while a tapered threaded connection may be treated differently. The Oxygenics Voyage RV instructions themselves show different tape directions and turn counts for two illustrated installation arrangements. That is a good reason to use the sheet packaged with the exact kit rather than a universal tape recipe.
If you are replacing only the head and hose, keep the original faucet and wall fitting in view. If the new parts do not mate without an improvised stack of adapters, stop. An unsupported adapter chain adds leverage and more possible leak points. Verify the connection with the kit maker or an RV service department instead of forcing mismatched threads.
Tools and parts to stage
- The complete shower kit and its installation sheet
- New washers supplied for the hose connections
- Plumber’s tape only if the exact manual calls for it
- A soft cloth, a shallow catch pan, and a dry paper towel for leak checks
- A plastic bag or labeled container for the old parts and later winter storage
- A non-marring strap wrench only if removal cannot be completed by hand and the fitting maker permits it
Do not begin by reaching for pliers. Many RV shower fittings are plastic, and the Forest River manual cautions that plastic fittings rarely need wrench tightening. A tool can hide poor alignment until the threads or fitting body are damaged.
Install the handheld without sacrificing drain access
- Depressurize the fixture. Disconnect city water, turn the water pump off, and open the shower control briefly to relieve pressure. Close the control before working.
- Support the fixed fitting. Hold the faucet or wall connection so removing the old hose does not rotate a concealed fitting. The Oxygenics manual removes the hose by turning its end counterclockwise.
- Clean and inspect. Remove old tape from a taped male thread, wipe the sealing face, and reject a cracked nut, flattened washer, damaged thread, or loose wall fitting. Dirt on the seal can cause a drip that extra torque will not cure.
- Follow the kit’s sealing instruction. Install the supplied washer where shown. Apply plumber’s tape only at the connection and in the direction specified by the product manual.
- Start every nut by hand. Back the nut slightly until the threads settle, then turn it clockwise. If it resists immediately or sits at an angle, remove it and restart. Hand-tighten the hose at the faucet and the handheld, as the Oxygenics instructions direct.
- Route the hose. Hang it in a broad loop with no pinch between the wall and fixture. The low part of the loop should be easy to lift or lower when draining.
- Position the holder. Place it where the handheld is secure during travel and reachable in use, while leaving the hose nuts accessible. For an adhesive holder, the Oxygenics sheet calls for a clean, dry wall and firm pressure. Follow the kit’s surface-preparation and cure-time directions.
A storage-readiness inspection table
| Point to inspect | Ready condition | Reason it matters later |
|---|---|---|
| Faucet-side hose nut | Reachable by hand | The hose can be detached without dismantling trim. |
| Handheld-side hose nut | Visible and not cross-threaded | The head can be separated for draining and dry storage. |
| Hose route | Broad curve without a trapped low pocket | The hose is easier to lower and empty. |
| Holder | Firm, correctly oriented, and accessible | The head stays secure in travel and can be removed without side-loading the hose. |
| Seal storage | Labeled dry container available | Small washers are less likely to disappear between seasons. |
| Owner’s manual | Winterization pages identified | The shower is handled as one part of the whole RV water system. |
This six-point table is an inspection count, not a plumbing specification. A simple completion formula is: ready points ÷ 6 × 100. A result below 100 percent means the installation still has an access, routing, storage, or documentation gap to fix before cold-weather preparation.
Pressure-test gently and diagnose the exact joint
Restore the water supply using the normal procedure for the RV. Run the shower at a modest setting while supporting the handheld, then close the control and inspect both hose ends with a dry paper towel. A wet towel identifies a slow seep more reliably than looking at a glossy fitting.
If a hose nut drips, turn the supply and pump off, relieve pressure, and inspect the washer and sealing face. Re-seat the connection by hand. The Forest River manual says not to overtighten and advises disconnecting, cleaning, and reinstalling a plastic fitting that still leaks after hand tightening. A crack, distorted nut, damaged thread, or leak behind the finished wall is a replacement or professional-service issue, not a reason to apply more force.
Also check stability. Lift and replace the handheld several times, move the hose through its normal range, and verify that the holder does not peel, rotate, or flex its mounting surface. This is a mounting inspection, not proof that an adhesive installation will hold indefinitely. Observe the holder again after its specified cure period and after the first trip.
Prepare the shower branch for winter storage
Use the coach manual, not this article, as the controlling winterization procedure. The Forest River manual describes both an RV-antifreeze method and a compressed-air method, with coach-specific steps involving tanks, the water heater, pump, faucets, drains, and other components. It also says never to use automotive antifreeze in the fresh-water system. Winnebago’s towable manual places the shower inside the fresh-water system and instructs owners to open faucets so air can enter and help draining.
For the shower hardware, the planned layout makes a simple sequence possible: turn off the pump as required, open the control when the owner manual directs, lower the handheld and hose, let them drain, and detach removable parts if the product and RV manuals allow. Keep washers with their fittings. Dry the exterior, inspect for cracks or mineral debris, and store the components where they will not be crushed. Do not run an empty water pump merely to chase water from the hose; Winnebago warns that running the pump dry can damage it.
Do not copy a compressed-air pressure from another RV. Forest River specifies no more than 30 psi for the procedure in the opened manual, while another coach can have different components and instructions. Likewise, detaching the shower hardware does not drain hidden lines or protect a water heater. Complete every winterization step for the exact RV.
How we chose this plan
The plan combines a shower-head manufacturer’s actual connection sequence with two RV manufacturers’ plumbing and storage instructions. Installation decisions were included only when they help with fit, hand assembly, leak detection, hose drainage, or later access. Whole-coach winterization remains separate because the shower head manual does not describe the RV’s tanks, pump, heater, valves, or drain layout.
For related detail, see how to change a shower hose without damaging its connections and whether a connection calls for thread tape on a handheld shower hose. If the old fixture is still being selected, the site’s RV shower head and hose comparison explains the listed features to verify.
What we could not verify
The opened sources do not establish one universal RV shower thread size, one washer type, one safe compressed-air setting, or one winterization sequence for every coach. They also do not show that removing a handheld prevents freeze damage elsewhere. Those details must come from the exact shower kit manual and the owner manual for the RV’s make, model, year, and installed plumbing equipment.
FAQ
Should the RV shower head stay attached during winterization?
Follow the RV and shower-kit manuals. A removable head and accessible hose make draining and inspection easier, but some procedures may direct water, air, or RV antifreeze through the shower fixture. Removing it too early could skip that branch. Detach it only at the point allowed by the specified procedure.
Can I use automotive antifreeze in the shower line?
No. The Forest River manual explicitly warns against automotive antifreeze in the fresh-water system and identifies it as toxic and unsuitable for potable-water plumbing. Use only the RV product and method specified by the coach manufacturer.
Why does the hose nut leak even though it is tight?
The washer may be missing, displaced, dirty, flattened, or paired with the wrong sealing face. The nut may also be cross-threaded. Turn the supply off, relieve pressure, disconnect the joint, inspect and clean it, and restart it by hand. Do not use extra force to compensate for a damaged seal.
Should I put plumber’s tape on both hose ends?
Not automatically. Use tape only where the exact installation sheet specifies it. Hose swivel nuts often depend on internal washers, and tape on the wrong joint can interfere with proper seating. The Oxygenics instructions distinguish between installation arrangements, so read the diagram that matches the kit.
Can I blow out only the shower hose?
That does not winterize the coach. The shower is one part of the fresh-water system. Tanks, low-point drains, the water heater, pump, faucets, toilet, exterior shower, and optional equipment may all require attention under the RV manual.
When should an RV technician or plumber take over?
Stop when a fitting behind the wall moves, threads are cracked, a leak continues after a clean washer is correctly seated, the winterization valves cannot be identified, or the system differs from its documentation. Forest River advises using a dealer or qualified plumber familiar with RV water systems when the problem cannot be located or repaired confidently.
Bottom line
Install for access, not just appearance: both hose ends should be reachable, the hose should drain without a trapped bend, and the holder should release the handheld without stressing the plumbing. Then treat that removable assembly as one checkpoint inside the RV manufacturer’s complete winterization procedure.
Sources
- Oxygenics Voyage RV installation instructions — opened October 27, 2026.
- Forest River travel trailer and fifth-wheel owner’s manual, Plumbing section — opened October 27, 2026.
- Winnebago Towables owner’s manual — opened October 27, 2026.