how-to-clean-a-shower-head-without-removing-it
As an Amazon Associate we earn from qualifying purchases.
How to clean a shower head without removing it comes down to a vinegar bag: you fill a plastic bag with white vinegar, tie it over the head so the nozzles are covered, and let it soak. Then you run water through the head and brush the nozzles. This works for mineral buildup that is still on the outside and the front face. This guide covers the in-place method first, then the cases where it is not enough.
Quick answer
- Check the owner’s manual or the maker’s website for the finish first. Family Handyman says to confirm that vinegar will not damage the finish.
- Put about one cup of white vinegar in a gallon-size bag. Bob Vila suggests filling the bag about half full, so use the amount that covers the nozzles.
- Seal the bag around the arm with rubber bands, or tie it at the top of the head, so the nozzles stay submerged.
- Soak times differ by source. Bob Vila gives 4 to 8 hours or overnight for a deep clean, and This Old House says at least 8 hours or overnight. This Old House also warns that vinegar can damage nickel or brass finishes and says to limit the soak to 30 minutes for those.
- After the soak, run hot water through the head, then brush the nozzles gently. If holes stay blocked, the sources say the head may need to come off.
How we chose
The method in this guide comes from sources that describe cleaning a shower head while it is still on the arm. The sources checked on 2026-10-27 were This Old House, Bob Vila, Family Handyman, and the Water Pik instruction manual. Each one had to give a specific step for the in-place method, not only a general note that cleaning helps. Three of the four describe a vinegar bag. The Water Pik manual describes a light rub for mineral deposits and a removal step for heavier deposits, so it sets the limit of the in-place method.
Consumer home publications are not university or government sources. This guide uses them for the step-by-step detail they give, and it marks every point where they disagree. Where only one source gives a step, the guide says so.
What you need
This Old House lists a gallon-size storage bag and white vinegar for the soak, and it uses a soft-bristled toothbrush after the soak. Bob Vila uses a Ziploc-style bag, a measuring cup for the vinegar, and a large rubber band, zip tie, or tape to secure the bag. Family Handyman uses a plastic bag large enough to fit over the head, vinegar, and a tie.
Use white vinegar. The Water Pik manual says to use white vinegar only when soaking its head, and that is the safest default for other heads unless the maker says otherwise. Keep harsh cleaners and abrasive pads out of the process. The Water Pik manual says not to clean or rinse any part with harsh chemicals, heavy duty cleaners, or abrasives, because they may damage parts or the finish.
Step-by-step: clean the shower head while it stays on
Step 1: Check the finish and the manual
Before you add vinegar, find out what the head is made of and how it is finished. Family Handyman says to check the owner’s manual or the manufacturer’s website to make sure vinegar will not damage the finish. If you cannot find the manual, This Old House warns that vinegar can damage or remove finishes such as nickel or brass. The two sources do not agree on how strict the limit should be, so the safe approach is to read the manual first and follow it.
If the manual forbids vinegar, do not use this method. The guide cannot tell you what a specific finish will tolerate, and none of the sources opened for it name every finish.
Step 2: Turn off the water and prepare the bag
Turn off the water to the shower before you start. Pour the vinegar into the bag first, then check the amount. This Old House says to use about one cup of white vinegar for a gallon-size storage bag. Bob Vila says to fill the bag about half full, and the bag must be deep enough to submerge the whole head.
The bag has to be large enough to fit over the head, as Family Handyman describes.
Step 3: Bag the head and seal it
If you can remove the head, This Old House says to remove it and place it in the bag. Since this guide covers the method without removing the head, you use the in-place version. This Old House says that if you cannot remove the head, carefully place the bag over it, make sure it is fully submerged in the vinegar, and secure the bag with rubber bands around the shower arm.
Bob Vila describes the same goal with a different seal. It says to fold down the top edges of the bag and secure it around the head with a large rubber band, zip tie, or tape, so the head remains submerged. Family Handyman says to tie the top of the bag around the top of the head. It warns that a zip tie holds well overnight but must be cut off later with a utility knife, and that rubber bands are the gentler choice if you are concerned about the finish.
After sealing, check the bag. The nozzles should be under the liquid, as This Old House says for a full submersion.
Step 4: Choose the soak time
The sources give three different times, and each one fits a different job. Bob Vila gives a short soak for routine care. It says that if you are simply doing a monthly soak to prevent hard-water buildup, about 30 minutes is probably long enough. For a deep clean, it says to leave the bag of vinegar in place for 4 to 8 hours, or even overnight.
This Old House gives a similar deep-clean time. It says to let the head soak for at least 8 hours or overnight, and it lists a quarterly deep clean using the vinegar soak method. It also warns that vinegar can damage nickel or brass finishes, and for those it says to limit the soak time to 30 minutes. That is a clear conflict with its own 8-hour time, and this guide does not resolve it by choosing one number. A finish-sensitive head should follow the 30-minute limit or the manual, whichever is stricter.
Family Handyman suggests overnight. It says that soaking the head overnight in vinegar, either white or apple cider, fixes the problem of hard-water minerals clogging the spray holes. It is the simplest rule to follow for a plain finish, but it does not address finish risk, so Step 1 still applies.
Practical rule: for routine care on a finish that the manual allows, follow the 30-minute monthly soak. For heavier buildup on a finish the manual allows, use the 4 to 8 hour or overnight soak. For nickel or brass, keep the soak to the 30-minute limit that This Old House gives. If the manual warns against vinegar, do not use this method.
Step 5: Remove the bag and flush the head
When the soak is finished, remove the bag. This Old House says to remove the bag and run hot water through the shower head to flush out any loosened deposits. Bob Vila says to run the shower after removing the bag to clear out the vinegar and check the spray. The Water Pik manual says to run the head in each mode to flush out the vinegar, so run each spray setting the head has.
Step 6: Brush the nozzles gently
After the soak, This Old House says to gently scrub the nozzles with a soft-bristled toothbrush. Bob Vila says that the soak should have softened any remaining deposits, and that if you need to clean the entire head after the soak, you can rub it gently with a toothbrush. Bob Vila also says the deposits should come off easily by rubbing with a rag or with your thumb.
Do not use a metal brush or abrasive pad on the nozzles. The Water Pik manual warns against abrasives because they may damage parts or the finish.
Step 7: Use the light rub for surface spots
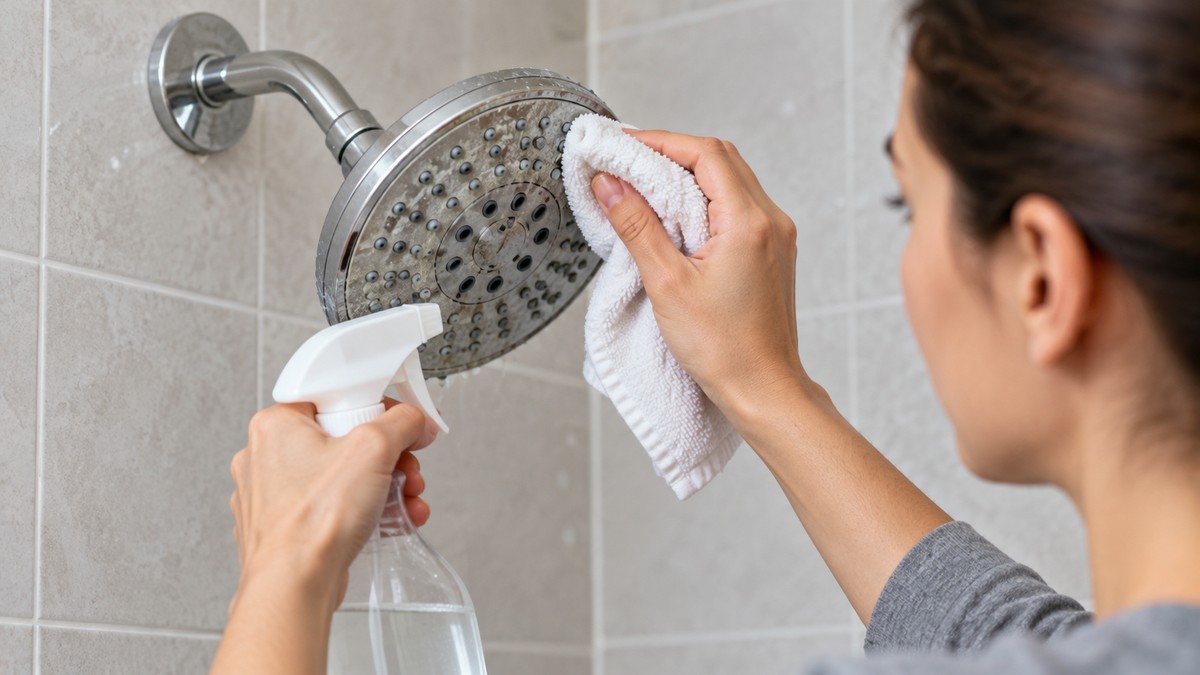
If the head only has light mineral deposits and you do not want to run a full soak, the Water Pik manual describes a rub method. It says that to clean mineral deposits, you should gently rub the rubber nozzles on the face of the shower head to dislodge them. This works only on the face and the rubber nozzles, so it does not clear holes deep in the head.
Bob Vila makes the same point from a different angle. It says that a newer or well-maintained shower head might need a light cleaning only. Use the light rub for those cases, and move to the soak if the spray is still patchy after the rub.
Step 8: Check the holes after cleaning
Turn the water on and look at the spray. Check that the spray is even across the face and that no nozzle is still blocked. The sources do not give a number for how many nozzles should remain clear, so use your own eye to judge the result.
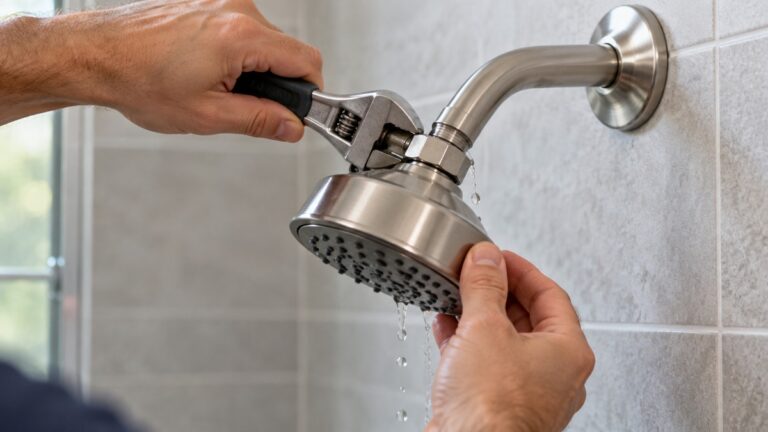
If the holes still look clogged after the soak and a light brush, the sources point to removal. Bob Vila says that if the outside of the head has heavy mineral deposits, similar deposits may be inside, and that removing the head might be the best way to clean a clogged shower head. It adds that removing the head lets you both soak and scrub it well, and check and clean its screen filter. The Water Pik manual says the same thing in its own words: remove the shower head and soak it face down for heavier deposits.
Use a clean needle or straightened paper clip on a removed head only. None of the in-place sources describe poking the nozzles with a needle while the head is on the arm, so this guide does not recommend it for in-place work.
Common mistakes to avoid
- Skipping the finish check. Family Handyman and This Old House both tell you to check the finish before using vinegar.
- Using a long soak on a finish that is not suited to it. This Old House says to limit the soak to 30 minutes for nickel and brass.
- Mixing vinegar with baking soda in equal amounts. Bob Vila warns that if you use equal amounts, the acid and base can cancel one another out. Its method uses vinegar on its own for the soak.
- Using harsh chemicals or abrasive pads. The Water Pik manual warns against them for its head, and that warning is a good default for any head.
- Leaving the bag on without checking it. The sources give a range of times, and checking the bag partway through the soak helps you catch a seal that has slipped.
What we could not verify: what the sources do not say
The four sources opened on 2026-10-27 do not give a single rule for every shower head. They give general times and general warnings. The sources do not agree on soak time. This Old House says 8 hours or overnight in one place and 30 minutes for nickel and brass in another. Bob Vila gives 4 to 8 hours for a deep clean and 30 minutes for monthly care. Family Handyman gives overnight. This guide reports the conflict and does not decide between them.
None of the sources opened for this guide give a finish list that is safe for vinegar. Bob Vila and This Old House both mention finish concerns, but none names every finish, so the manual remains the only reliable check. None of the sources give the exact amount of vinegar needed for a given head, only the bag size or a rough proportion. None of them describe a needle or pin method for a head still on the arm.
The sources also do not say how long a deposit-free spray will last after cleaning, because that depends on the water in your home. They do not state how often to clean a head in a hard-water area. The Water Pik manual gives no interval, only the instruction to clean when deposits appear on the spray orifices. This guide does not give an interval of its own.
FAQ
Can I clean a shower head without taking it off the arm?
Yes, for mineral buildup on the outside and face of the head. This Old House says that if you cannot remove the shower head, you can carefully place a bag over it, make sure it is fully submerged in vinegar, and secure the bag around the shower arm. Bob Vila and Family Handyman describe the same bag method. For blocked holes, the sources point to removing the head.
How long should I leave vinegar on the shower head?
The sources differ. Bob Vila says about 30 minutes is enough for a monthly soak to prevent hard-water buildup, and 4 to 8 hours or overnight for a deep clean. This Old House says at least 8 hours or overnight, but limit the soak to 30 minutes for nickel or brass finishes. Family Handyman says overnight. If the finish is sensitive, use the shorter time.
What kind of vinegar should I use?
The Water Pik manual says to use white vinegar only for its soak. Family Handyman says white or apple cider vinegar works for overnight soaks. This guide uses white vinegar because that is the one named in the manual and in the This Old House and Bob Vila steps.
Is it safe to brush the nozzles while the head is on the arm?
Yes, with a soft brush. This Old House says to gently scrub the nozzles with a soft-bristled toothbrush after the soak. Bob Vila says to rub the head gently with a toothbrush if you need to clean the whole head. The Water Pik manual says to gently rub the rubber nozzles on the face to dislodge deposits. Avoid metal brushes and abrasive pads, which the Water Pik manual warns against.
What if the holes are still blocked after the soak?
Bob Vila says removing the head might be the best way to clean a clogged shower head, because you can soak and scrub it well and check the screen filter. The Water Pik manual also says to remove the head for heavier deposits. The sources do not describe clearing blocked holes on a head that stays on the arm, so this guide does not give that method.
Does the vinegar bag affect the water pressure?
The sources in this guide do not say that cleaning changes water pressure. The EPA WaterSense page says standard showerheads use 2.5 gallons of water per minute, and that WaterSense labeled showerheads use no more than 2.0 gallons per minute. Those figures describe flow from the head, not the pressure in the line. If the spray is weak after cleaning, check the nozzles and the manual before you assume the supply has changed.
Bottom line
Check the finish first. Use a vinegar bag over the head for the soak time that fits your finish and the buildup, run water through the head afterward, and brush the nozzles softly. If the holes stay blocked, the sources say to remove the head and clean it properly rather than forcing the in-place method further.
Related guides
- How to clear clogged shower head nozzles covers the blocked-hole case in more detail.
- Why shower heads get mineral buildup explains what leaves the deposits behind.
- How to tell if your water is hard helps you judge how often you may need to clean.
- How to clean a rain shower head rubber nozzles covers the rubber-nozzle step for rain heads.
- Best shower head cleaner compares cleaning products for the same job.
Sources
- This Old House, How to Clean a Shower Head (vinegar soak method, finish warning). https://www.thisoldhouse.com/cleaning/a-shower-head (opened 2026-10-27)
- Bob Vila, How to Clean a Shower Head, including cleaning while attached to the wall. https://www.bobvila.com/articles/how-to-clean-a-shower-head/ (opened 2026-10-27)
- Family Handyman, How to Clean a Shower Head With Vinegar. https://www.familyhandyman.com/article/how-to-clean-a-shower-head/ (opened 2026-10-27)
- Water Pik, Shower head instruction manual (care and cleaning section). https://showers.waterpik.com/pdfs/waterpik-showercare-shower-head-instruction-manual.pdf (opened 2026-10-27)