Install, Remove or Replace a Shower Soap Dish or Dispenser
As an Amazon Associate we earn from qualifying purchases.
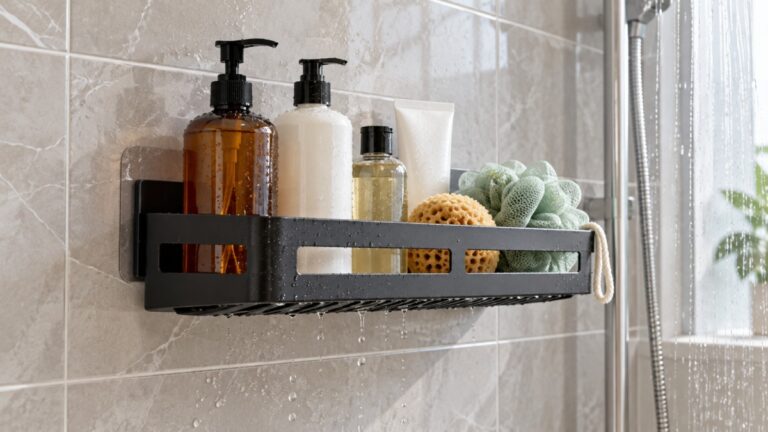
Here is how to install soap dispenser in shower walls, plus how to install a shower soap dish. The Kure Products sheet we opened describes screws into the wall with anchors, or adhesive caulk with tape, and recommends screws. The Kohler Mira sheet we opened fixes a soap dish with a wall bracket, two screws and wall plugs. Removal and replacement are covered less fully: the sources describe removing an adhesive dispenser bracket and give no steps for a screwed bracket or for replacing a dish. None of these jobs touches the valve or supply line.
Quick answer
- Dispenser, screw method (recommended by Kure): clean the wall with isopropyl alcohol, mark the holes, install anchors for #10 x 1-inch screws, and screw the bracket on.
- Dispenser, adhesive method: use adhesive caulk recommended for your wall material, press the bracket firmly, and wait 24 hours before the bracket is exposed to moisture.
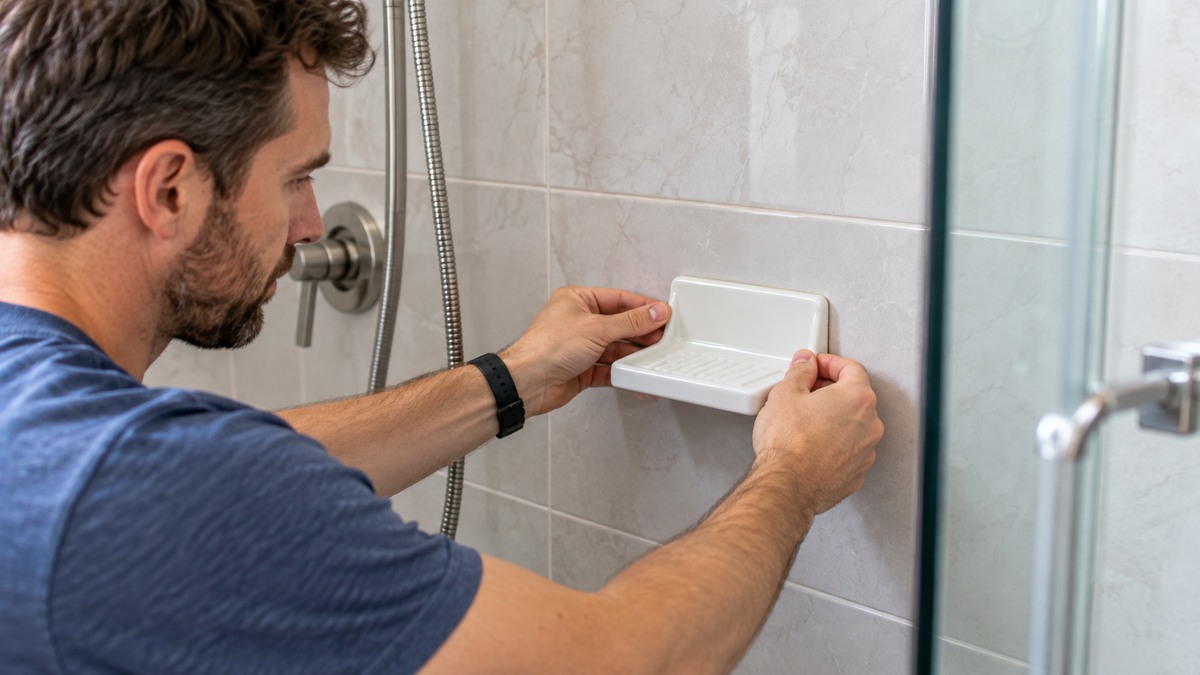
- Soap dish: mark the fixing holes on the bracket, check for buried pipes or cables, drill, insert the plugs, screw the bracket on, then slide the dish onto it.
- Removal and replacement: only the adhesive dispenser bracket removal is described in the sources we opened. For anything else, follow the manual that came with your product.
How to install a shower soap dispenser
The Kure Products installation sheet describes two methods. It labels the screw method as recommended. Both start with the same placement and wall-prep steps.
Step 1: Choose the height and position
The Kure sheet recommends hanging dispensers so that the bottom of the bracket is 48 inches from the bottom of the shower floor. The same sheet says that, if possible, you should not place a dispenser directly under the shower head. Choose a spot you can reach easily from where you stand in the shower. The sheet leaves a 2.5-inch space between brackets when you mount more than one dispenser.
Step 2: Clean and dry the wall
The Kure sheet says to “Make sure wall is clean and dry using isopropyl alcohol” and marks this step as important. The sheet does not give a drying time, so let the wall dry fully before you apply adhesive or drive a screw.
Step 3: Screw method
Tape the mounting template to the wall as a guide, or mark the spot with a level. Mark the screw holes, install anchors for #10 x 1-inch screws, peel the tape backing from the back of the bracket, and screw the dispenser to the wall. Slide the tube onto the bracket and push it all the way down. If the lid does not close flat on top of the tube, the tube is not fully seated.
Step 4: Adhesive method
The Kure sheet pairs adhesive with tape rather than screws. Follow steps 1 to 3 above, peel the tape backing, and apply a strip of adhesive caulk down the middle of the bracket between the two screw-hole positions. The sheet names Liquid Nails Fuze-It as an example and says to choose a caulk “recommended for your shower wall material.” Press the bracket firmly against the wall along its full length. The sheet recommends a J roller to apply adequate pressure. Then: “Allow the tape and caulk to cure for 24 hours before exposing to moisture.”
Step 5: Fill and prime the pump
Fill the dispenser to 1 inch below the top of the tube and pump until liquid flows, so the pump is primed. The sheet says to “DO NOT OVERFILL.” It also notes that thicker conditioners and lotions can take longer to prime the first time.
How to remove a shower soap dispenser
The Kure sheet covers removing the bracket from an adhesive installation. It does not give separate removal steps for a screw-mounted bracket, so for a screwed bracket, check the manual that came with the dispenser before you pull anything off the wall.
Adhesive bracket removal
- Take the dispenser off the bracket first.
- Pour hot water along the back side of the bracket to soften the adhesive. The sheet says to do this.
- Cut through the tape behind the bracket with razor wire or a fine cutting tool, as the sheet describes.
- Remove the residue with a razor blade scraper or a 3M Stripe Off Wheel, as the sheet lists.
The sheet’s wording covers the adhesive tape and residue only. It does not say how to protect the wall paint, tile or grout while you cut and scrape, so take care to avoid scratching the surface.
Screw-mounted bracket removal
The sources we opened do not describe how to take a screw-mounted bracket off a wall, or how to fill the holes afterward. Keep the screws you remove, and check whether the anchors can stay in place for a new bracket before you pull them out.
How to install a shower soap dish
The Kohler Mira “Soap Dish” accessory sheet we opened (part numbers 1540.279 and 1540.278) describes a wall bracket with a dovetail that slides into a groove in the dish. The sheet is dated September 2004 and is written for UK installers. Check the fixing sizes against your own product before you drill.
Step 1: Choose the position
The Mira sheet tells you to “Decide on a suitable position for the soap dish.” This Old House guide we opened gives more detail on placement: “The best location for a soap dish is typically high on the wall,” slightly to one side of the showerhead. It suggests about 16 to 20 inches below the showerhead, away from direct water streams, and within easy reach for everyone who uses the shower.
Step 2: Mark the holes and check the wall
Place the wall bracket on the wall and mark the fixing holes. Before drilling, the Mira sheet warns: “Ensure there are no buried pipes or cables in the wall before drilling.” Make the check before any hole is drilled.
Step 3: Drill and insert plugs
The Mira sheet calls for two 8 mm fixing holes at 35 mm centres, with the wall plugs supplied in the pack. Use the sizes stated in your own product sheet if they differ. Insert the plugs into the holes.
Step 4: Screw the bracket and clip the dish
Screw the wall bracket to the wall with the two fixing screws. Slide the dovetail on the bracket into the groove on the back of the soap dish, then press the two parts together until they clip into place.
Tiled walls
This Old House guide describes removing tile, applying tile adhesive, and grouting around a dish set into a tiled wall. Those steps involve chiselling and tile cutting, which this post does not cover in detail. If your wall is tiled and your dish uses a bracket like the Mira design, follow the manufacturer’s steps for the bracket and do not chisel out tile unless you are comfortable with that work.
How to replace a shower soap dish
None of the sources we opened gives replacement steps for a soap dish. The Mira sheet covers a new installation and says nothing about removing an old dish. This Old House guide covers a new dish set into tile.
Two points from those sources still apply when you swap a dish:
- Check for buried pipes or cables before you drill any new holes, as the Mira sheet says.
- Do not assume the new dish fits the old holes. The Mira sheet uses 35 mm hole spacing, and the sources we opened do not say whether other brands match it. Measure the new bracket against the old holes before you decide to reuse them.
Plugs and screws left in the wall from the old dish may need to be removed or filled. The sources we opened do not say how to do this, so follow your replacement product’s manual for hole repair.
Cleaning and care
The Kure sheet gives care steps for dispensers. It says to wipe dispensers down after each guest with non-abrasive cleansers that do not contain harsh chemicals, and to remove product from the lid and top. For a deep clean, take the dispenser off the bracket, fill it with warm water, and pump until all the water is out. The sheet says “Do not put in dishwasher.” It also warns that microbeads and exfoliants can clog the pump.
For wet surfaces, the EPA’s mold cleanup guidance says to “Dry all items completely.” It also says to “Scrub mold off hard surfaces with detergent and water, and dry completely.” It also says “Avoid exposing yourself or others to mold.” The EPA page does not address soap dispensers or dishes specifically.
How we chose
This post uses the instruction sheets and guides we could open and read in full on 2026-10-23. We looked for a manufacturer or installation source for each of the four questions: installing a dispenser, removing a dispenser, installing a dish, and replacing a dish. We did not use search snippets, retail listings or blog posts as evidence for a step, because a snippet can differ from the actual manual. Where a claim in a search result was not in an opened source, we left it out.
The sources were chosen for their fit to each question. The Kure sheet covers dispenser installation and removal of an adhesive bracket. The Mira sheet covers a soap dish bracket. This Old House guide covers dish placement and tile. The EPA page covers cleaning and drying of wet surfaces. We did not look for a second manufacturer for each question, so the steps here are not a comparison of brands.
What we could not verify: what the sources do not say
- How to remove a screw-mounted dispenser bracket, or how to fill the holes afterward.
- Replacement steps for a soap dish or dispenser.
- Whether a dish or bracket from one brand fits the holes made by another.
- The weight a dispenser or dish can hold, or the wall types the adhesive suits beyond the caulk note in the Kure sheet.
- Any health effect of mold on soap dishes. The EPA page is about mold cleanup and does not link mold on a dish to a particular illness.
If your product manual says something different from this post, follow the manual.
Mistakes to avoid
- Skipping the wall prep. The Kure sheet makes wall cleaning a required step for both methods.
- Using the wrong adhesive. The Kure sheet says the caulk must be recommended for your shower wall material.
- Exposing adhesive to water too soon. The sheet says to wait 24 hours before the adhesive is exposed to moisture.
- Overfilling. The sheet says “DO NOT OVERFILL.”
- Drilling without a check. Always check for buried pipes or cables first.
FAQ
Can I install a shower soap dispenser without drilling?
The Kure sheet describes an adhesive method that uses adhesive caulk and tape rather than screws. It says to allow the adhesive to cure for 24 hours before exposing it to moisture. The sheet does not give a load limit, and it recommends screws as its first option.
How high should a shower soap dispenser be?
The Kure sheet recommends hanging dispensers so that the bottom of the bracket is 48 inches from the bottom of the shower floor. The sheet does not say whether that height suits every user, so check reach for the people who use the shower.
Where should a shower soap dish go?
This Old House guide says the best location is typically high on the wall, slightly to the side of the showerhead, about 16 to 20 inches below the showerhead, and away from direct water streams. The guide’s figures are general guidance for tiled showers and do not come from a product manual.
Does the soap dish need to be removed before I drill?
The Mira sheet does not say to remove a dish before drilling. It says to check for buried pipes or cables before drilling. If the dish is already installed, follow the manual for your model.
Can mold grow on a soap dish?
The EPA page says “Dry all items completely.” It also says standing water and wet materials can support microorganisms, such as mold. It does not say what health effects a soap dish could cause, so this post does not make a health claim.
Bottom line
For a dispenser, use the screw method the Kure sheet recommends, or the adhesive method if the manual suits your wall, and allow 24 hours for the adhesive to cure. For a soap dish, use the bracket method in the manufacturer’s sheet and check for buried pipes or cables before every hole. Removing an adhesive bracket and replacing a dish are not fully covered by the sources we opened, so follow your product manual for those jobs.
For related reading, see our guides to shower dispensers, shower soap holders and soap shelves for showers.
Sources
- Kure Products, dispenser installation instructions (screw and adhesive methods, cleaning, bracket removal). https://pages.zogics.com/hubfs/Kure-Products_Dispenser-Installation-Instructions.pdf (opened 2026-10-23)
- Kohler Mira Limited, Soap Dish accessory pack instructions, part 1540.279 and 1540.278, dated September 2004. https://resources.kohler.com/plumbing/mira/pdf/p4652.pdf (opened 2026-10-23)
- This Old House, “How To Install a Soap Dish” (placement, tile adhesive and grout). https://www.thisoldhouse.com/bathrooms/how-to-install-a-soap-dish (opened 2026-10-23)
- U.S. EPA, “Mold Cleanup in Your Home” (drying and cleaning of wet surfaces). https://www.epa.gov/mold/mold-cleanup-your-home (opened 2026-10-23)