Plan a Fixed Shower Head Installation for Low Ceiling
As an Amazon Associate we earn from qualifying purchases.
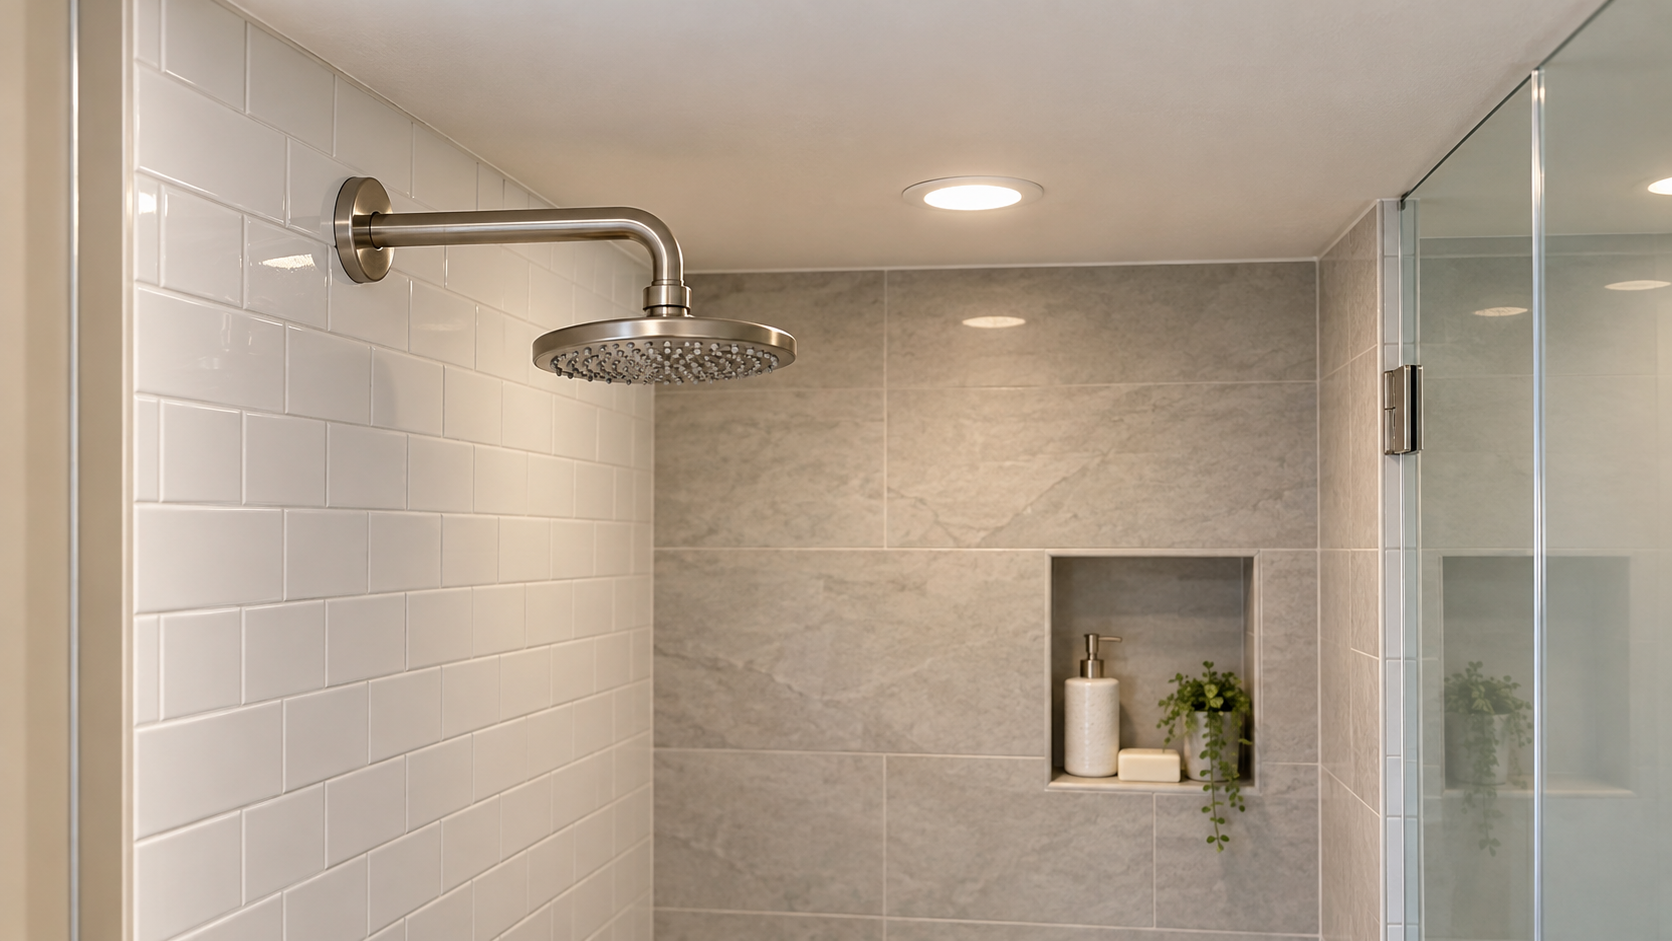
Fixed shower head installation planning for a low ceiling is a clearance problem before it is a plumbing task. Measure from the shower floor to the arm outlet, then subtract the head’s actual drop below that connection. The result is the lowest point users must clear. Favor a compact fixed head that threads directly onto the existing arm; an extension, overhead rain arm or bulky swivel can consume scarce headroom. Confirm the washer and thread-sealing instructions in the exact manual before removing anything.
Quick answer
- Measure the installed drop from the arm connection, not just the face diameter shown in a listing.
- Keep the existing arm if it is secure and places a compact head at a usable height.
- Hand-tighten when the manual says to; stop if the arm turns in the wall or a leak appears behind the escutcheon.
Start with the person, then measure the hardware
A low ceiling does not automatically make a fixed head unsuitable. The deciding dimensions are the height of the lowest spray surface, the height of the tallest user and the space needed to stand and move without contacting the fixture. Measure the shower floor where the user stands—not the bathroom floor outside the curb—to the centerline of the existing shower arm outlet.
Next, find a dimensional drawing for the exact head. You need its vertical drop from the female inlet to the lowest rigid point after the swivel is set to the intended angle. A face diameter alone does not reveal that drop. A five-inch head can project farther downward than a wider, flatter one if its neck and swivel are deep.
Our guide to shower head mounting height explains the height decision in more detail. For a low ceiling, treat published “standard” heights only as context; the measured opening and actual users govern.
Calculate installed headroom on paper
Use this simple check:
Lowest fixture height = arm outlet height − head drop.
If the arm outlet is 78 inches above the shower floor and the selected head extends 3.5 inches below the connection, the lowest rigid point will be approximately 74.5 inches high: 78 − 3.5 = 74.5. If the tallest user is 72 inches, the nominal clearance is 2.5 inches: 74.5 − 72 = 2.5. That small margin must also account for hair, normal movement, the head angle and any floor mat.
Repeat the calculation at the most downward swivel position you expect to use. If the maker provides only an overall depth, do not assume it equals vertical drop. Obtain the drawing or measure the assembled head before installation.
Choose a layout that does not spend headroom twice
The shortest path is usually the existing wall arm plus a compact fixed head. Avoid adding an adjustable extension merely to change angle; its elbows may lower the head and introduce extra threaded joints. A ceiling-mounted rain head can look space-efficient, but Delta’s manual for models 52158 and 52159 says those heads are designed for a ceiling-mounted or overhead arm and warns that fittings behind the wall or ceiling must be securely fastened. That is a different project from swapping a head on an existing arm.
Also check spray direction. A head that technically clears the tallest user may point water into the face because it cannot angle down far enough from a short wall arm. Cardboard taped at the proposed face plane can help visualize both clearance and spray direction without putting force on the plumbing.
If a compact fixed head still leaves too little room, compare the physical arrangement with fixed, handheld and combination shower heads. A handheld mounted to the side may solve reach and angle issues, but its bracket and hose require a separate fit check.
Compatibility checks at the connection
Washer or thread seal?
Read the exact manual. Delta’s cited raincan instructions require a washer inside the female nut and direct the user to hand-tighten the head. Other head or arm assemblies may call for plumber’s tape on tapered pipe threads. Do not automatically add tape to a washer-sealed swivel connection; excess material can prevent the gasket from seating correctly.
Arm condition
Grip the shower arm lightly near the wall and check for unexpected movement without turning it. The arm should not wobble at the wall. Look for corrosion, cracked threads and evidence of leakage around the escutcheon. A head swap is reasonable only when the exposed connection is sound.
Finish protection
Plan to remove the old head by hand first. Delta advises holding the shower arm steady while loosening a stubborn head and using a soft cloth around the nut if an adjustable wrench is necessary. Protect the shower floor and cover the drain so a dropped part cannot chip the base or disappear.
Tools for a controlled swap
Set out the new head and its washer, the product manual, a tape measure, towel, drain cover, soft cloth, adjustable wrench for removal only if needed, and plumber’s tape only if the new manual calls for it. A flashlight helps inspect the arm threads. Do not plan on using pliers on the new head; the cited Delta manual expressly says not to use a wrench or pliers for its installation.
Turn off the shower control and let residual water drain. A simple shower-head change normally does not require shutting off the whole house, but nobody should operate the valve while the connection is open.
Installation sequence for a tight ceiling
- Record the current geometry. Photograph the old head angle and measure the arm outlet height.
- Protect the enclosure. Place a towel over the shower floor and cover the drain.
- Remove the old head. Turn the connecting nut counterclockwise by hand. If a wrench is necessary, cushion the nut and hold the arm steady.
- Inspect rather than immediately assemble. Clean loose old tape without scratching threads. Stop for damaged threads, a cracked arm or movement at the wall.
- Install the specified seal. Seat the supplied washer squarely, or apply tape only where the exact instructions require it.
- Thread by hand. Start straight, turn slowly and back off if it binds. Hand-tighten to snug when directed. Do not overtighten to make the face point a particular way.
- Set the angle within the measured envelope. Keep the lowest rigid point above the clearance line established earlier.
- Run a staged leak test. Start with low flow, watch the joint, then use normal flow and cycle the spray angle if the head swivels.
Leak and stability inspection
Dry the connection before testing so a new bead of water is easy to see. Watch the head-to-arm joint for at least a minute at normal flow. A leak at a washer-sealed nut often means the washer is missing, twisted or obstructed—not that the joint needs extreme torque. Turn the shower off, relieve the water and reseat the connection according to the manual.
Then observe the escutcheon at the wall. Water there, movement of the arm, a scraping sound inside the wall or a damp ceiling below indicates a problem beyond the exposed head. Stop using the shower until the hidden connection is assessed.
Finally, have the tallest user stand in the dry shower and move normally without water running. Confirm head clearance and access to the control. Do not use the shower head or arm as a handhold during this check.
When to call a plumber
Bring in a qualified plumber if the shower arm rotates at the wall, the threaded outlet is damaged, there is evidence of a hidden leak, or achieving clearance requires moving the arm or opening the wall or ceiling. A ceiling-arm conversion also belongs with a professional when secure framing and the concealed connection cannot be verified. The site’s basic shower head replacement guide covers ordinary swaps; low-ceiling work should not expand into concealed plumbing by improvisation.
How we chose
We used Delta’s product manual for the washer, hand-tightening and concealed-fitting warnings, then used Delta’s replacement guidance for surface protection, steadying the arm and avoiding overtightening. The clearance calculation is based only on dimensions the reader must obtain from the actual shower and head drawing.
What we could not verify
The opened sources do not specify a universal minimum ceiling clearance, a universal shower head drop or a single sealing method for all fixed heads. They also cannot confirm the condition of the hidden elbow or backing in an existing bathroom.
FAQ
Is a rain head a good choice for a low ceiling?
Only if its full installed drop leaves comfortable clearance and its intended arm is secure. Large rain heads can be shallow, but their neck, swivel and overhead arm may use more vertical space than expected.
Can I point the head upward to gain room?
A slight angle may change the lowest point, but it can also send spray over the enclosure or make rinsing awkward. Measure at the actual usable angle rather than relying on an extreme position.
Should I use a wrench to align the face?
Not when the manual calls for hand-tightening. Forcing the connection to achieve visual alignment can damage the finish, washer or threads. The swivel should provide aiming adjustment.
What if the old head is stuck?
Protect the nut with a cloth, use the least force needed and hold the arm steady as Delta advises. Stop if the arm begins turning at the wall.
How do I know whether the leak is serious?
A visible drip at the exposed nut may be a seal problem. Water at the wall opening, arm movement, or moisture in an adjacent room suggests a concealed issue and warrants a plumber.
Bottom line
Choose the fixed head only after the measured outlet height minus its documented installed drop leaves real user clearance; if gaining that clearance requires moving concealed plumbing, use a plumber.
Sources
- Delta Faucet — Shower Head Manual 103199 Rev. B (opened October 27, 2026)
- Delta Faucet — How to Replace a Shower Head (opened October 27, 2026)