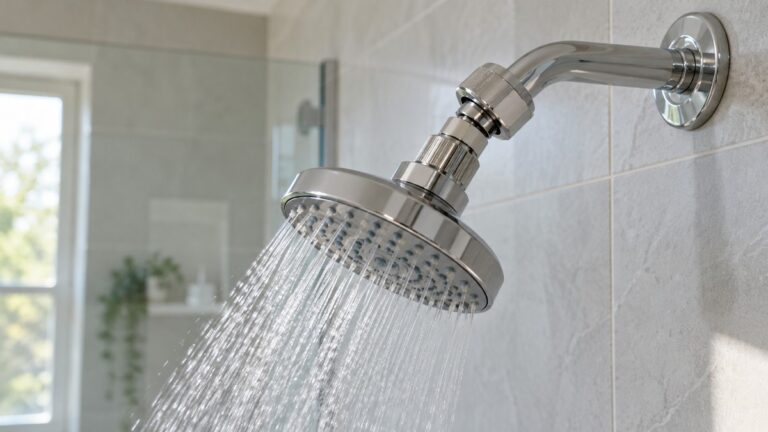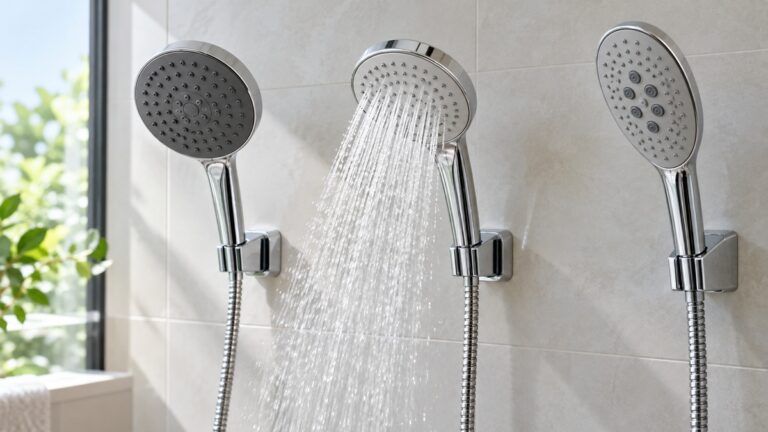
Plan an Outdoor Shower Head Installation for Beach House
As an Amazon Associate we earn from qualifying purchases.
Outdoor shower head installation planning for a beach house should begin with the parts that cannot be corrected by tightening the head: a lawful drain path, an accessible shutoff, a way to empty the exposed plumbing, and hardware suited to salty air. Choose the location and water-supply strategy before buying the visible fixture. A hose-fed rinse station, a cold-water pedestal, and a permanent hot-and-cold shower create very different plumbing obligations. The shower-head connection is usually the final, simple task; new supply piping, drainage, and backflow decisions belong in the project plan and may require a licensed plumber.
Quick answer
- Map supply, runoff, privacy, wind exposure, and winter access before marking a mounting point.
- Use the fixture manual to decide which threaded joints take seal tape and which seal with a washer.
- Plan a reachable shutoff and a complete drain-down route; trapped water can damage an outdoor fixture during a freeze.
- Bring in a plumber when adding hot and cold lines, altering concealed plumbing, or resolving drainage and local-code requirements.
Start with the site, not the shower head
A beach-house shower often has two jobs: rinse sand and salt before they enter the house, and provide a comfortable outdoor wash area. Those jobs lead to different layouts. A rinse station near a path needs a stable surface and controlled runoff. A private shower used with soap needs more deliberate drainage, screening, lighting, and hot-water planning. Write down the intended use first because it determines whether a simple seasonal connection is enough.
Stand at the proposed location after rain and after normal yard irrigation. Note where water naturally travels, whether the ground remains soft, and whether discharge could reach a foundation, neighboring property, dune, waterway, or pedestrian surface. Local rules govern where shower water may go. Do not assume that water can simply soak into coastal soil, especially when soap will be used.
Also trace the shortest practical supply route. A location against a utility wall may reduce concealed pipe work, but it still needs protection against wind-driven rain and an accessible indoor or weather-protected shutoff. If hot water is wanted, estimate the waiting volume rather than judging distance by sight. The pipe volume depends on pipe diameter and length, so a plumber can help compare routing options without promising instant hot water.
Make a coastal exposure plan
Salt is not merely dirt on a beach-house fixture. Building guidance on coastal corrosion explains that sea salt in the atmosphere can materially increase corrosion of metals. A Canadian conservation guide likewise notes that water combined with salt forms an electrolyte that promotes corrosion. That does not prove that one finish or alloy will last a particular number of years. It does justify treating exposure, cleaning access, mixed metals, and replaceable fasteners as design issues.
Record how directly the shower faces salt spray, prevailing wind, and irrigation. Check the fixture maker’s material and care instructions rather than relying on a finish name such as “chrome” or “brushed.” Confirm that mounting screws, anchors, brackets, valves, and the body—not only the shower head—are specified for the intended environment. If the manufacturer does not address coastal installation, that uncertainty belongs in the purchasing decision.
Design so fresh water can reach the fixture for routine rinsing and so joints remain visible for inspection. Avoid burying a service connection behind an enclosure that must be dismantled. Where dissimilar metals meet, ask the fixture maker or plumber whether isolation is required. Do not improvise coatings on threads or sealing faces; an incompatible product can interfere with a seal or finish.
Build the pre-installation worksheet
| Decision | What to verify | Stop condition |
|---|---|---|
| Water source | Hose-fed, cold supply, or hot and cold; shutoff location; fixture manual | New or concealed supply work is required |
| Runoff | Local rules, surface slope, expected use, destination of water | Water may pond or reach a protected/unsafe area |
| Mount | Base or wall structure, fastener schedule, level reference | Substrate is unknown, soft, or unable to hold specified anchors |
| Freeze protection | Shutoff, low-point drain, removable parts, exact winterization procedure | Any section can trap water with no approved drain method |
| Connections | Washer-sealed versus tapered thread; tape direction and amount in manual | Parts or instructions do not identify the sealing method |
This worksheet prevents a common planning error: treating every connection as a taped pipe thread. Outdoor Shower Company’s instructions state that certain connections containing washers do not need PTFE tape, while specified riser and accessory threads do. The correct rule is therefore joint-specific. If a rubber washer creates the seal, extra tape may not help and may work against the manufacturer’s design.
Gather only the tools the approved design needs
A typical head-only connection may need a clean cloth and the hand tools named in its manual. A pedestal or enclosure can require a level, tape measure, specified fasteners, and foundation work. Do not turn that broad list into permission to improvise. Collect the exact manual, all supplied washers and anchors, replacement-compatible seal tape if specified, eye protection for drilling, and a method to protect finished surfaces.
Before work begins, photograph the unopened hardware and label valves and drain points. Confirm that the main or branch shutoff actually stops the water. Flush a new supply as the fixture maker directs before attaching small passages that can catch debris. TerraBound’s instructions explicitly call for flushing the line, anchoring and leveling the fixture, then turning on the supply and testing for leaks.
Install in a sequence that preserves inspection access
- Approve the water and drainage plan. Resolve permits, discharge, backflow, and hot-water work before setting posts or closing a wall.
- Confirm the mounting structure. Mark the centerline, check level or plumb, and compare every hole with the manufacturer’s drawing. Locate concealed utilities before drilling.
- Dry-fit the assembly. Verify head clearance, handle movement, enclosure clearance, and access to serviceable unions. Do not apply sealants during this trial.
- Install the support exactly as specified. A pedestal may need a level anchor plate or concrete base. A wall fixture needs the approved substrate and fasteners. Stop if the actual structure differs from the manual.
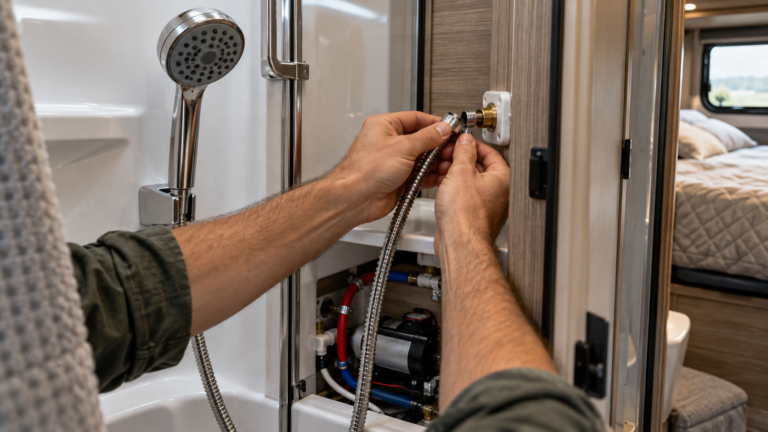
- Flush and connect the supply. Keep debris out of valves. Use a backup wrench only where the manual calls for one, and avoid transferring torque into a concealed pipe.
- Fit seals by joint type. Seat intact washers flat. Apply thread tape only to the threads identified by the manufacturer and in the stated direction. Start every connection by hand to avoid cross-threading.
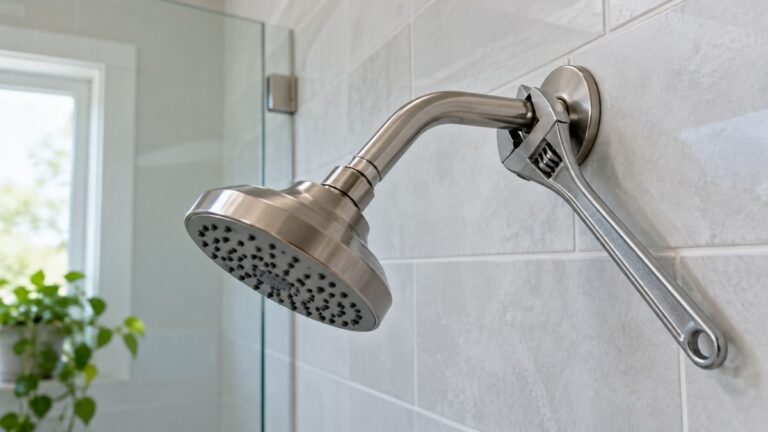
- Attach the shower head last. Hand-tighten first. Do not over-tighten a decorative or plastic part. Finish only as the manual specifies.
Run a two-stage leak and stability inspection
With the outlet controls closed, restore water slowly and watch each supply connection. Then operate the shower and inspect again under flow. Use a dry tissue at joints to reveal a small bead of water. Look behind access panels and at the base; a dry head connection does not rule out a supply leak.
If a joint drips, turn off the water, relieve pressure, and identify the sealing surface. For a washer joint, check that the washer is present, undamaged, centered, and facing the correct way. For a taped joint, follow the manual rather than adding repeated layers and force. The Rinse manual directs owners to locate the leaking fitting and check the rubber seal before retightening. Movement at the post or wall bracket is a separate fault: stop using the shower until the support is corrected.
Finish with a runoff observation long enough to show where water actually travels. Check for ponding, erosion, slippery areas, and splash against the building. Repeat the joint and fastener inspection after the first several uses because an outdoor assembly is exposed to vibration, temperature change, and wind.
Plan winterization as part of installation
Do not wait for a freeze forecast to discover that the lowest fitting cannot drain. Outdoor Shower Company recommends a supply shutoff for winterization and either removing/storing the unit or completely draining or blowing out moisture and removing accessories and valves. The Rinse manual also warns that standing water can freeze and crack the fixture. Those are manufacturer-specific directions, but together they show why drainage access must be designed in.
Make a labeled seasonal checklist for the exact system: close the approved upstream valve, open outlets as directed, drain the low point, remove named accessories, and store seals or parts where they will not be lost. Compressed-air procedures and pressure limits must come from the fixture and plumbing design, not a generic guess.
How we chose
This plan uses two outdoor-shower manufacturer manuals for connection, anchoring, leak-check, and winterization details, plus government or building-industry guidance for coastal corrosion. We kept model-specific pressure limits, tape rules, and fastening details attached to their source rather than presenting them as universal specifications. The planning order prioritizes decisions that affect the building and site before the replaceable shower head.
What we could not verify
The sources do not establish one material, finish, fastener, drainage design, or winterization method that suits every US beach house. They also do not determine local permit, wastewater, setback, or backflow rules for the reader’s address. No source supports a promised service life in salt air. The exact fixture manual and local authority remain controlling.
FAQ
Can I connect an outdoor shower head to a garden hose?
Some purpose-built outdoor showers are designed for a hose supply, but the product must say so and include or specify the correct adapter and backflow arrangement. A hose-fed rinse station is not automatically equivalent to a permanent hot-and-cold shower. Check local rules and never force mismatched threads.
Does every outdoor shower-head thread need plumber’s tape?
No. Some joints seal on tapered threads and may call for tape; others seal with a flat washer and may explicitly prohibit or omit it. Read the joint diagram. If the hose nut contains a washer, inspect and seat that washer instead of assuming tape is the seal.
What makes a beach-house installation different?
Salt-bearing air and water exposure increase corrosion risk, while seasonal occupancy can leave leaks or trapped water unnoticed. The plan should emphasize accessible inspection, manufacturer-approved exterior materials, fresh-water rinsing access, and a documented shutoff and drain-down procedure.
Where should the water drain?
There is no universal answer. It depends on soil, slope, frequency of use, soaps, proximity to buildings and sensitive areas, septic or sewer arrangements, and local rules. Resolve the discharge route before construction rather than directing water wherever it happens to flow.
When is a plumber necessary?
Use a licensed plumber or locally qualified professional for new hot or cold supplies, concealed pipe changes, backflow decisions, code or drainage uncertainty, a supply that will not shut off, or a leak inside a wall. A straightforward head swap should not expand into unplanned building plumbing.
Bottom line
Approve the water path in both directions—clean supply in and lawful drainage out—then choose a serviceable, winterizable, coastal-suitable fixture and follow its joint-by-joint manual.
For the final exposed connection, see the step-by-step shower head installation guide. If a fitting seeps during commissioning, use the connection leak troubleshooting guide. A plumber may also ask for a baseline reading from the guide to testing home water pressure with a gauge.
Sources
- Outdoor Shower Company — Free-Standing Cold Water Installation (opened October 27, 2026)
- TerraBound Solutions — Outdoor Shower Installation Instructions (opened October 27, 2026)
- Building CodeHub / BRANZ — Corrosion in Coastal Buildings (opened October 27, 2026)
- Government of Canada — Caring for Outdoor Objects (opened October 27, 2026)
- Rinse Outdoor Showers — Assembly and Operation Manual (opened October 27, 2026)